My workspace implements a dynamic captive portal that only allows internet access to users with valid credentials. It is a simple login form that pops up once on every device connected to the network. Even though it takes only a few seconds, I wanted to automate it on the iPhone. In this article, I’ll show you how to automatically login to the captive portal on iOS. Let’s begin.
The Problem
The Captive portal resets every day and I have to enter the credentials every day to get access to the internet. While trying to automate this process I found that most captive portals page sends a POST request over HTTPS. Siri Shortcuts can do that we’re simply going to automate this process of entering the credentials and sending the form using the shortcuts app.
1. Find out your Captive Portal’s URL
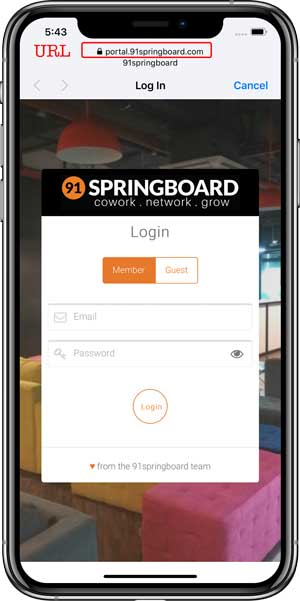
If you already know the captive portal URL then note it down somewhere because we’ll need it later. If you don’t know then either you can ask your IT guy or log out of the captive portal and wait for the login page to reappear. The text next to the lock symbol is the URL, note it down somewhere.
Related: How to Control a TP-Link Smart Bulb (Or Any Smart Home Device) With Siri?
2. Adjust Wi-Fi Settings
To ensure the script runs every day you join the office network, we have to adjust a few settings so that the iPhone only connects to the office Wi-Fi automatically.
Go to Settings> Wi-Fi> 91springboard> tap the i button> Turn on Auto-Join> Turn off Auto-Login.

Also Read: 10 Best Things Siri Can Do in 2020
3. Add the Shortcut to your iPhone
Before you can download the shortcut, you’ll have to allow your iPhone to install third-party shortcuts. Go to Settings> Shortcuts> enable ‘Allow Untrusted Shortcuts’.
Related: 20 Useful Shortcuts for Apple’s Shortcuts App on iOS 12

Now, go ahead and install the shortcut on your iPhone using this link and add it to the app. It may show a prompt that installing unverified shortcuts can be harmful, you can ignore that.

Must Read: 10 Best Mac Keyboard Shortcuts You Must Know
4. Enter Your Credentials
Once you have the shortcut installed, open the shortcut and add the details given by your IT Admin. As shown in the image below, you have to enter the username in the username field and the password in the password field. You’ll also have to enter the Wi-Fi name and the URL that asks for the credentials. Tap ‘Done’, after entering the details.

That’s all you need to do to, you can now tap the shortcut or ask Siri to run the shortcut for you. Simply say “Hey Siri Login to Captive” and it would execute this shortcut and you’d be logged in.
Automate it Further
The shortcut works well but we can take it a step further. I want this shortcut to trigger every time I come to the office and put my iPhone over an NFC Tag. You can buy NFC tags from Amazon, those are really cheap and are practically invisible.
Open the Shortcuts app on your iPhone and tap the Automations tab on the bottom. Select “Create Personal Automation” and tap “NFC”.

Now, Scan the NFC tag by bringing it near the iPhone. Name the tag and proceed by tapping ‘Next’.

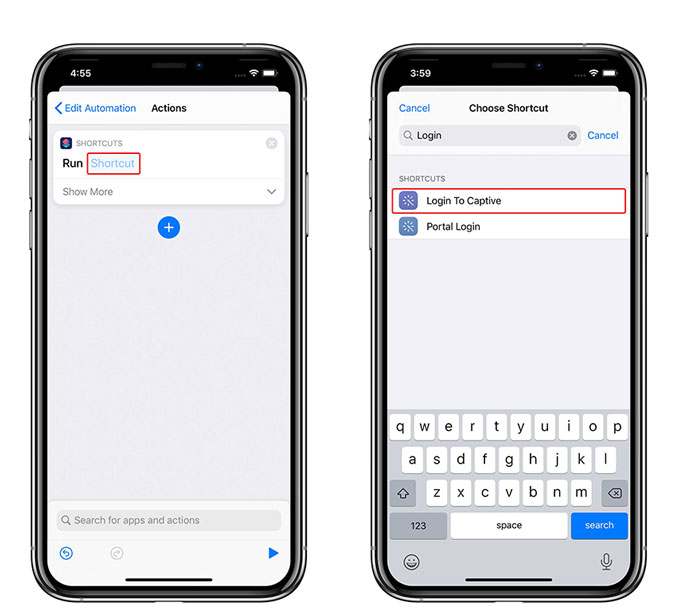
Tap the “Add Action” button, type ‘shortcut‘ in the search bar and select “Run Shortcut“.

Here we can simply link the shortcut we added earlier. Add the shortcut “Login to Captive” from the list and tap Next.
This is entirely optional but if you want this automation to run without your permission, disable the toggle next to “Ask before Running” and tap ‘Done’.

That’s all you need to do. Now, whenever you bring the iPhone near the tag, it will run the shortcut and authenticate the login form of the captive portal.

This was an easy way to automate the boring task of logging in to the captive portal every day. However, I can’t guarantee that it will work on your network 100%. Every place that implements that places a Captive Portal, does it differently and the basic structure is similar. If your Network just asks for a username and a password then automating it with this method should work. If it doesn’t then hit me up on Twitter and we’ll try to figure it out together.