Changing the appearance of macOS is certainly not a huge market but there are dozens of us who do it anyway. I wanted to change the mouse pointer or cursor to something more lively than a black spec on the screen and to my lack of surprise, you can’t do that easily. Unlike Windows, there’s a lot of restrictions on macOS that discourage customizations. After some digging, I found not one but three ways to do it. Here’s an easy-to-follow guide that would show you how to change the mouse pointer on Mac. Let’s begin.
Table of Contents
1. macOS 12 Native Option
WWDC 2021 announced a lot of new features across Apple platforms, however, the Cupertino giant left some features to be discovered rather than advertising them. macOS 12 adds the functionality to change the color and size of the cursor on your Mac. It’s intended to be an accessibility setting but you can use it to change the look of the mouse pointer.
You can either wait until macOS 12 becomes publicly available or install the developer beta to try out this and other features.
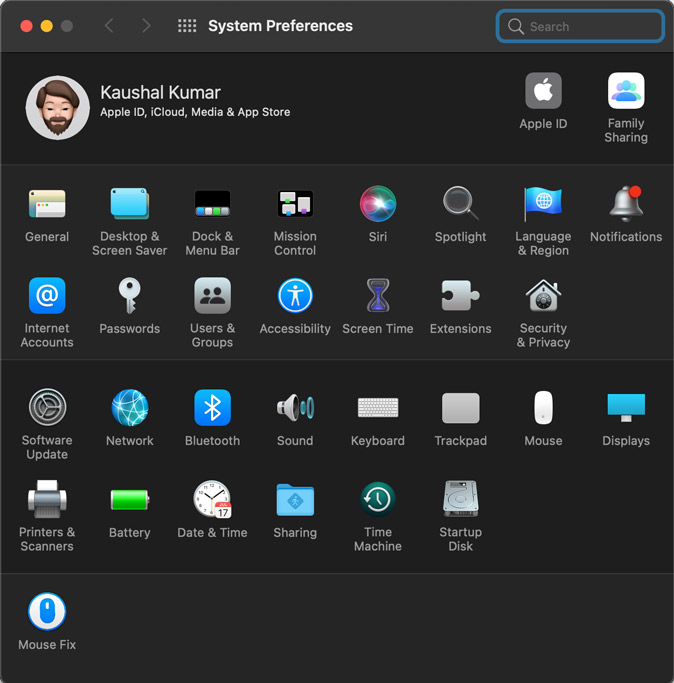
1. After updating to Monterey, open System Preferences on your Mac.
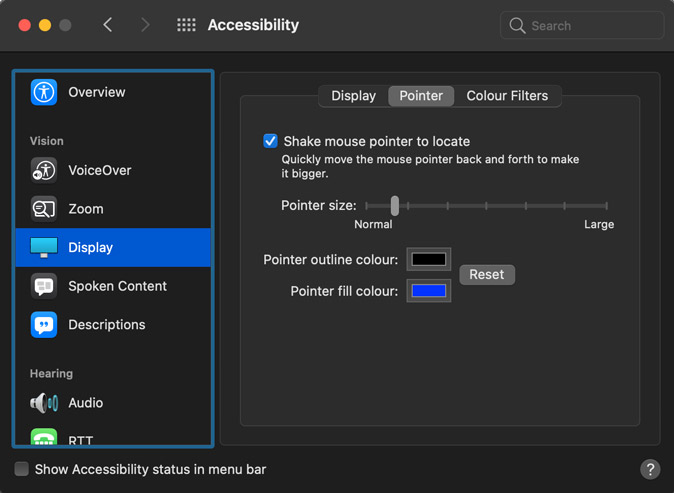
2. Navigate to Accessibility settings > Display > Pointer. On this page, you can adjust the fill and outline color of the mouse pointer, and also adjust the size by sliding the slider.
The only limitation is that you need to be on the latest macOS. Also, you won’t be able to change the cursor to any other shape or image. However, the next method takes care of that.
2. Mousecape | 3rd Party App
Mousecape is a third-party app that works really well and can actually change the mouse pointer to anything you want. It’s a comprehensive utility that can customize every aspect of the cursor and is fairly intuitive.
1. Start by installing Mousecape from GitHub.
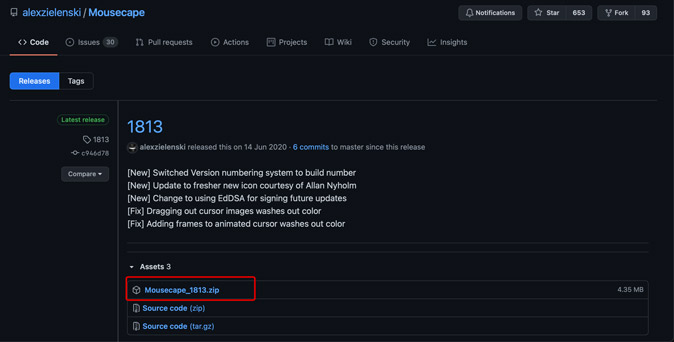
2. Open the app and you’d find an empty interface with no cursors. That’s because you would have to either find the cursor icon packs on the internet or create one yourself. Here are a few cursor packs that I found.
Simply download any of the packs above and double-click the file to open it in the Mousecape app.
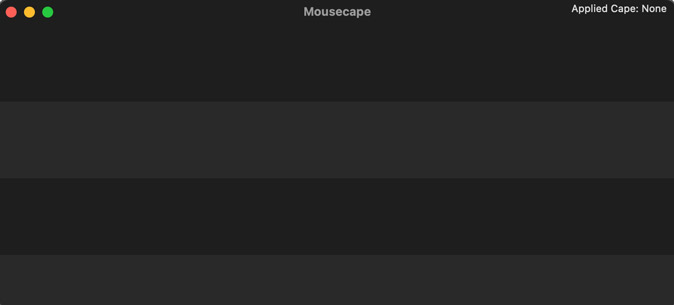
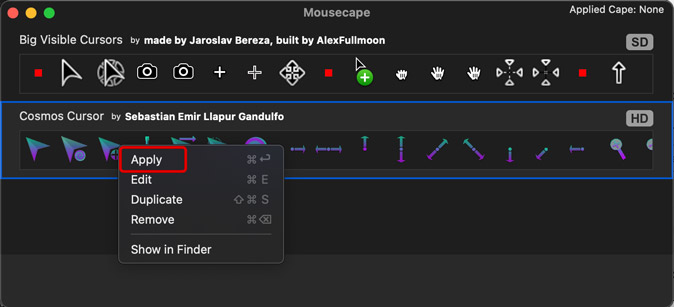
3. To apply a cursor pack, right-click the icon row and click Apply. The icon pack would be applied instantly and it would change dynamically based on the context. For example, the beach ball would be replaced with a swirling halo and the cursor with a gradient arrow.
Create Your Own Cursor Pack
While the icon packs are easy to install, you can take things to the next level and create your own icon pack too. Just go ahead and find a bunch of cursor files on the internet and apply it in Mousecape.
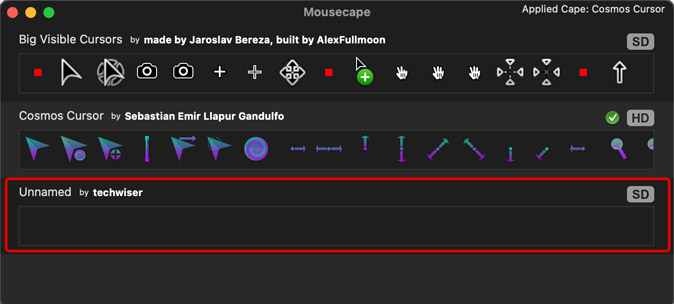
Begin with creating a new cursor pack by pressing CMD+N. Now, select the Unnamed icon pack and press CMD+E.
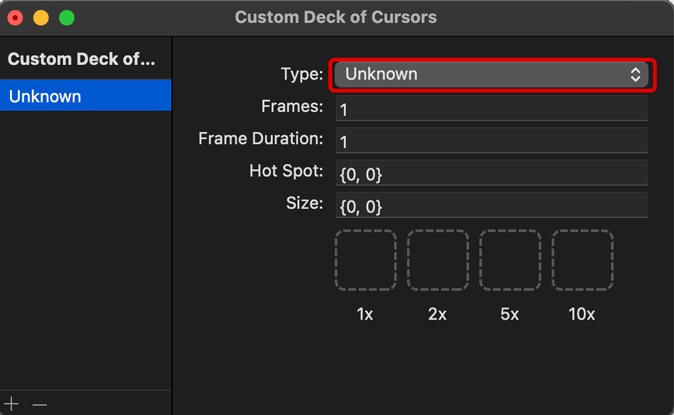
Select Type and choose an item from the list. The list contains all the instances where the cursor would change. For example, there’s a separate item for resizing, copy, drag, help, etc. The default state of the cursor is Arrow.
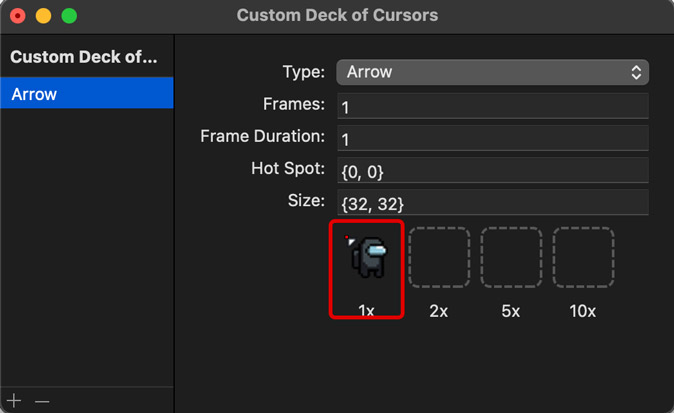
After selecting Arrow, assign a mouse pointer by dropping the cursor image in the box labeled 1x. You can put zoomed-in images of the cursor in 2x, 5x, and 10x.
Now just add as many instances as you want and complete the icon pack. It’s fairly straightforward but time-consuming.
As much as this method is comprehensive, the cursor still reverts to the original arrow shape when you’re not interacting with it. It could just be a bug on my Mac but it’s an error that breaks the illusion.
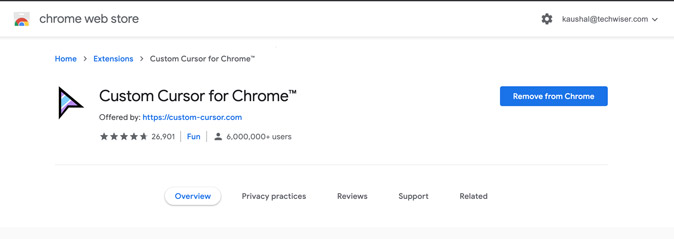
3. Custom Cursors | Chrome Extension
Mousecape is a powerful utility that lets you create a completely customized cursor but only if you put in the time and effort. However, if you use Chrome browser for most of your work then you can change the cursor with an extension too.
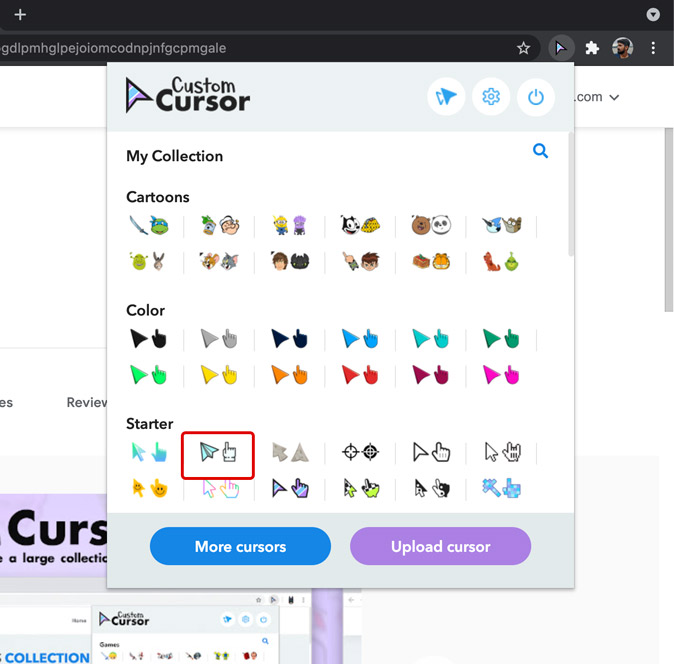
Custom Cursors is a Chrome extension that changes the mouse pointer with a click and has a ton of options available. The only drawback is that the customized cursor won’t work outside the Chrome browser. Outside the browser, you would view the regular, default cursor only.
1. Start by installing the Custom Cursor extension on Chrome browser from the Chrome Web Store.
2. Now, click the extension icon and choose from the list of available cursors. That’s it. Your cursor would update instantly.
How to Change the Mouse Pointer on Mac
These are three ways to change the cursor on Mac. The first method is limited to the newer macOS 12 and only lets you change the color of the pointer. The third method only works within the scope of the Chrome browser but the second method is the most sophisticated. It has the ability to customize the cursor completely. Which is your favorite way to change the cursor? Let me know on Twitter.
Also Read: 11 Best macOS 12 Features, Tips, and Tricks