Microsoft officially released Windows 11 OS to the compatible PCs out there. While there is a lot to like about Windows 11 OS in general, issues like Wi-Fi not working, or no sound after an update may spoil your mood. We have already talked about the former, and in this post, we will talk about how to fix Realtek audio not working in Windows 11/10.
What’s the point of using the new Start menu, redesigned apps, snap layout, and more when there are fundamental issues with your computer. Realtek is a company that provides various bits and pieces of hardware built into many computers. The Realtek HD audio comes pre-installed on many Windows computers out there.
Fix Realtek Audio Not Working in Windows 11 and Windows 10
The troubleshooting methods will work on both the Windows 11 and Windows 10 OS (which Microsoft promised to support till 2025). We will point out differences if there are changes in steps.
1. Update Realtek Audio Drivers
Corrupted or outdated audio drivers on your Windows computer might result in Realtek audio not working issue in Windows 11. Follow the steps below to find and update Realtek drivers to the latest version.
1. Press the Windows key and search for Device Manager.
2. Hit Enter and open the Device Manager menu.
3. Scroll down to Sound, video and game controllers.
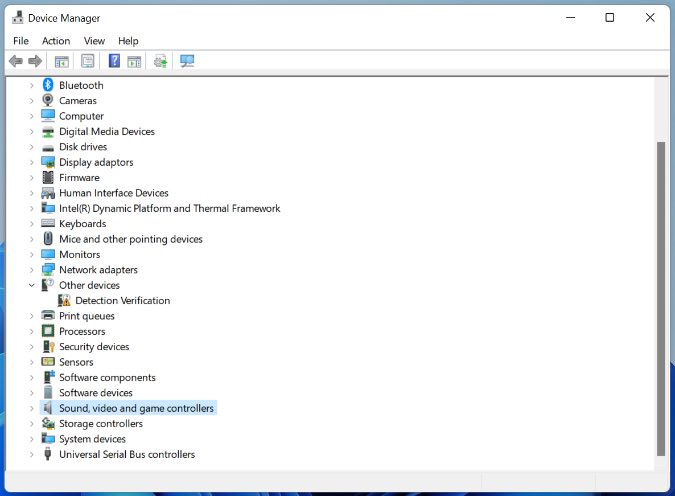
4. Expand the menu and find Realtek High Definition Audio on the list.
5. Right-click on it and select Update Driver.
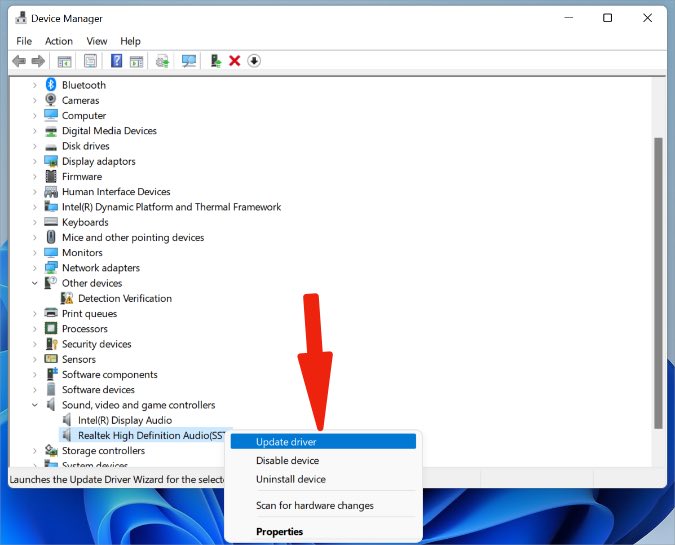
Windows will try to download and install the latest Realtek drivers from the web for your computer model.
2. Reinstall Realtek Audio Drivers
This trick has worked for many out there including the TechWiser team members. You need to uninstall and reinstall Realtek audio drivers from your computer. Here’s how.
1. Open the Device Manager menu on Windows 11 or Windows 10.
2. Find Sound, video and game controllers in the list.
3. From the menu, right-click on Realtek High Definition Audio and select Uninstall driver from the context menu.
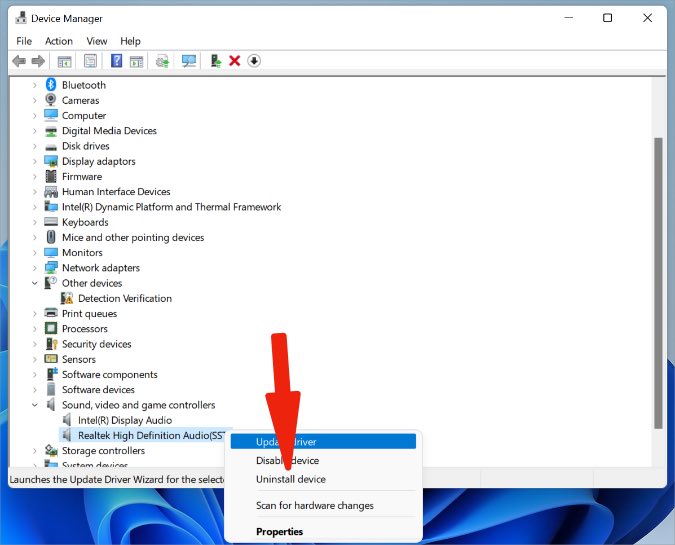
Open the Windows 11 Start menu and use the Power menu to restart the PC. The system will reinstall the required Realtek audio drivers during the startup process.
3. Restart Realtek Audio Services
If for some reason, Realtek audio service is disabled in the background, it won’t work on your Windows 11 or Windows 10 PC. Follow the step below to restart Realtek audio services.
1. Press the Windows key, search and open Task Manager.
2. Move to the Services tab.
3. Scroll down to RtkAudioService.
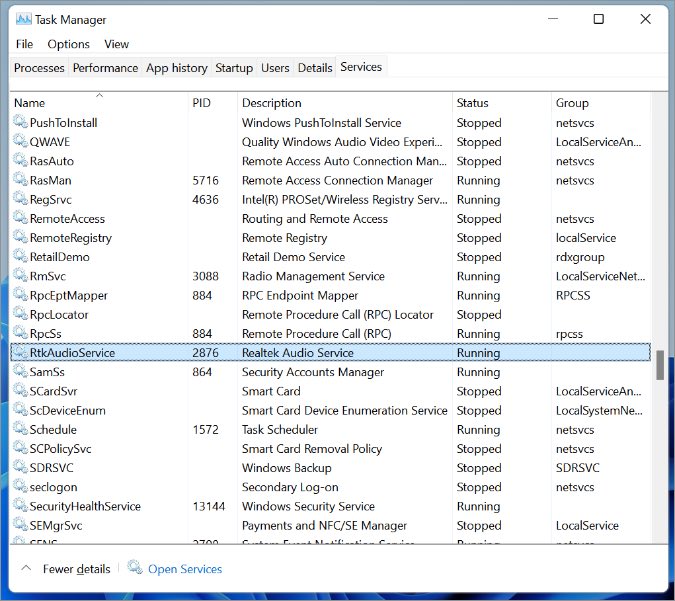
4. Right-click on it and select Restart from the context menu.
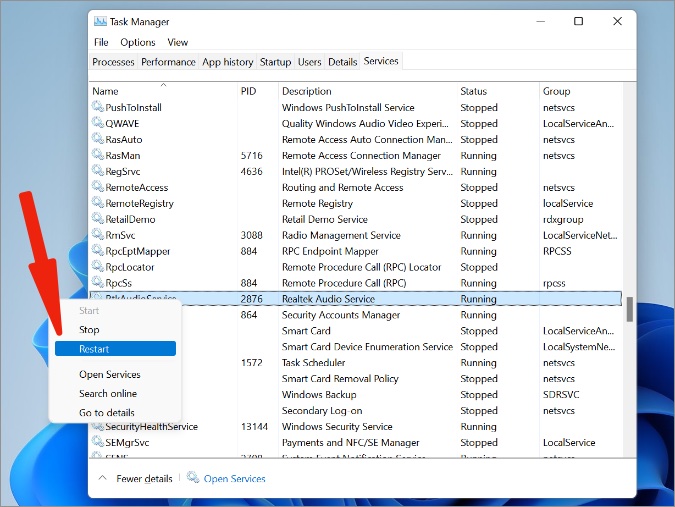
Close the Task Manager app and try playing some sound on your computer.
4. Manually Install Audio Drivers from OEM Websites
While Microsoft has done a splendid job with drivers on Windows 11/10, the OEMs do offer drivers from their websites as well. Windows hardware partners like HP, Dell, Lenovo, etc offer relevant drivers from the company websites.
Visit the official website, and try searching for Realtek audio drivers for your computer model. Manually install them on your computer.
5. Check Sound Output
Are you working with third-party speakers on your Windows PC? You need to select relevant output devices from the Windows Settings menu. Here’s what you need to do to resolve the Realtek audio not working on Windows 11 issue.
1. Open the Settings app on Windows 11 (Use Windows + I keys)
2. Go to the System menu.
3. From the Sound menu, find Output.

4. Go to the ‘Choose where to play sound’ and select a relevant device to play audio.

From the same menu, you can pair a new output device as well.
6. Run Windows Audio Troubleshooter
Microsoft offers a built-in audio troubleshooter to fix Realtek audio not working problem.
1. Open the Windows Settings menu (Use Windows + I).
2. Go to System > Troubleshooter > Other troubleshooters menu.
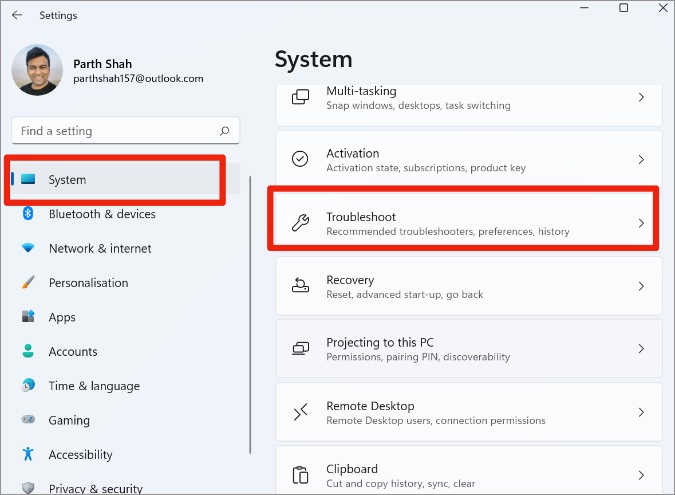
3. Run the troubleshooter for Playing Audio and let Microsoft fix the issue.

Windows 10 users can find the Audio troubleshooter option from the Settings > Update & Security > Troubleshoot > Additional troubleshooter menu.
Windows will run the audio troubleshooter and identify the cause to fix the issue.
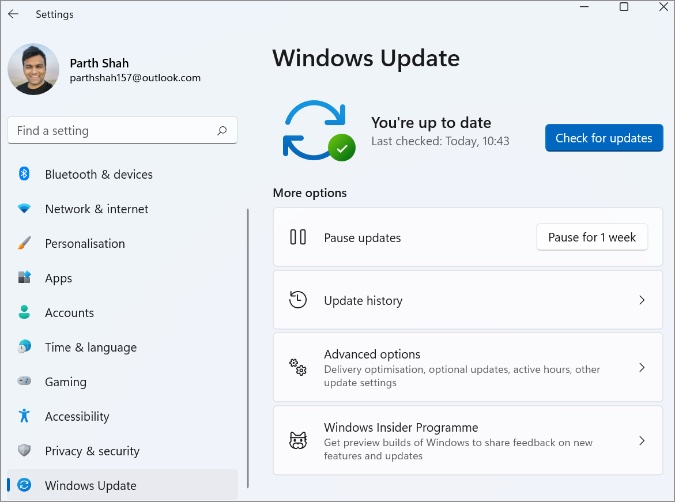
7. Update Windows OS
If the Realtek audio not working in Windows is a widespread issue, Microsoft will issue a quick fix with a software update. You should go to the Windows Settings > Update & Security and install the latest OS on the computer.
Wrap Up: Fix Realtek Audio Not Working in Windows 11 and 10
In today’s work from the home era, audio plays a major role in our work lives. Realtek audio not working may lead to unproductive hours. The steps above should help you troubleshoot the issue in no time.