This guide will show you how to add any custom folder to the ‘This PC’ folder on Windows 10/11, which makes accessing destinations such as Downloads, Documents, Pictures, etc. quite handy. The steps to add a folder to This PC on both Windows 10 and 11 are the same. Let’s begin.
Adding Any Custom Folder to This PC on Windows File Explorer
When you open File Explorer (Windows+E) on Windows 11, it opens Home or This PC. While you can navigate to different folders using the sidebar, it makes life easier if you can simply add your favorite or most used folders to This PC directly. Save time. You can use this to access any folder present on any drive instantly.
The second section will show you how to restore the usual folders such as Downloads, Pictures, Documents, etc. back into Windows 11 as it was removed in a previous update.
Note: You must be using an administrator account to make these changes.
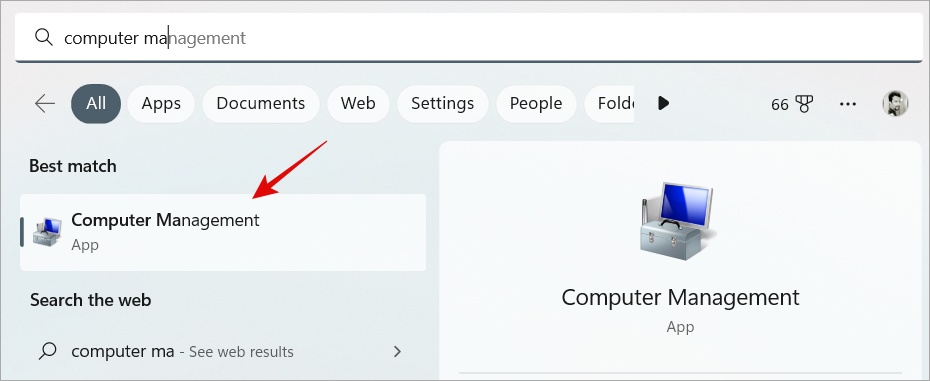
1. Open Computer Management on your PC by clicking the Windows button, and searching for it. Then, click on the search result.
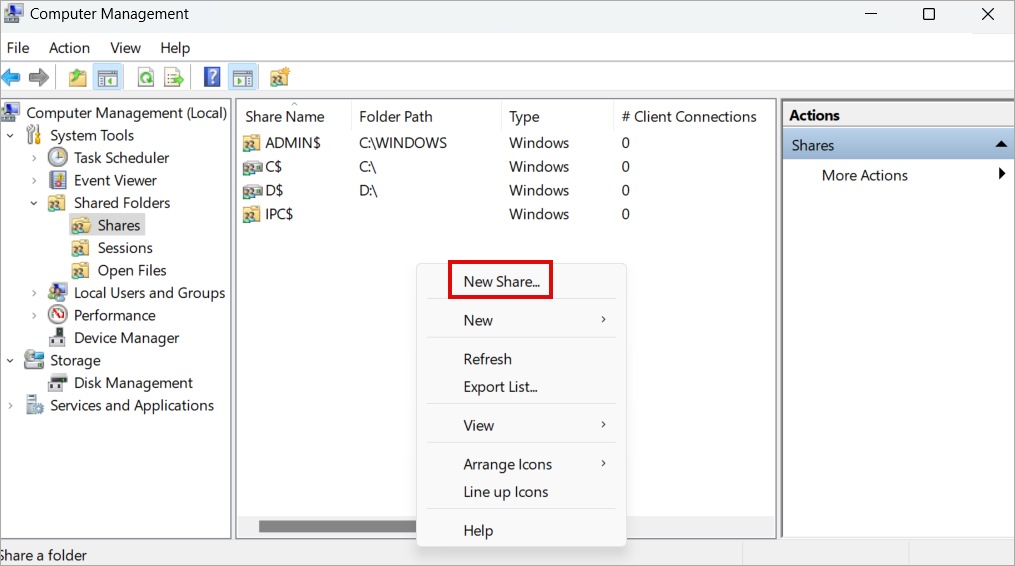
2. Under System Tools, navigate to Shared Folders > Shares in the left sidebar. You will notice directories and drive letters on the right.

3. Next, right-click anywhere in an empty space, and select New Share from context menu.
4. In the pop-up that follows, click on Next. Then, click on Browse and navigate to the folder of your choice on any drive of your choice that you want to add to This PC. Once you have selected the right folder, click on OK. When done selecting your custom folder’s destination, click on Next again.
For this example, we are adding an important folder from D: drive to the This PC section of Windows 10/11.

5. On the next screen, copy the entire Share path of your chosen folder destination as we will need this in a later step. After copying it, click on Next.

6. Now to give necessary permissions, check Administrators have full access; other users have read-only access option. Then, click on Finish.

7. Another screen that says Sharing was successful will pop up. Click on Finish here as well.

8. Navigate to the This PC folder in File Explorer. Then, right-click in an empty space and click on Add a network location. When using Windows 11, you must right-click on the empty space, click on Show more options, and then click on Add network location.

10. When the Add Network Location Wizard pops up, click on Next.

11. Click on Choose a custom network location, and then click on Next.

12. Under Internet or network address, paste the previously copied share path from step 5. Then, click Next just like we have been doing so.

13. You will be asked to type a name. Enter the desired name for this new custom folder which will now show up under This PC on your Windows 10/11 PC, and click on Next. I recommend giving it the same name as the original folder so you can recognize it quickly.

14. Click on Finish at the last step and you are done.
As you can see below, we have successfully created custom folders under This PC in Windows 10 and 11 File Explorer.

Adding Back Common Folders Through RegEdit in File Explorer
This is for Windows users who would like to get back common folder links such as Desktop, Downloads, Documents, Pictures, Music, and Videos which were previously present inside the This PC folder. But Windows 11 took this away with an update.
1. Open Notepad on your PC by clicking the Windows button and searching for it. Click on the search result that pops up.

2. After opening Notepad, copy-paste the text below into the Notepad file.
Windows Registry Editor Version 5.00

; Documents
[HKEY_LOCAL_MACHINE\SOFTWARE\Microsoft\Windows\CurrentVersion\Explorer\MyComputer\NameSpace\{d3162b92-9365-467a-956b-92703aca08af}]
"HideIfEnabled"=-

; Downloads
[HKEY_LOCAL_MACHINE\SOFTWARE\Microsoft\Windows\CurrentVersion\Explorer\MyComputer\NameSpace\{088e3905-0323-4b02-9826-5d99428e115f}]
"HideIfEnabled"=-

; Music
[HKEY_LOCAL_MACHINE\SOFTWARE\Microsoft\Windows\CurrentVersion\Explorer\MyComputer\NameSpace\{3dfdf296-dbec-4fb4-81d1-6a3438bcf4de}]
"HideIfEnabled"=-

; Pictures
[HKEY_LOCAL_MACHINE\SOFTWARE\Microsoft\Windows\CurrentVersion\Explorer\MyComputer\NameSpace\{24ad3ad4-a569-4530-98e1-ab02f9417aa8}]
"HideIfEnabled"=-

; Videos
[HKEY_LOCAL_MACHINE\SOFTWARE\Microsoft\Windows\CurrentVersion\Explorer\MyComputer\NameSpace\{f86fa3ab-70d2-4fc7-9c99-fcbf05467f3a}]
"HideIfEnabled"=-

; Desktop
[HKEY_LOCAL_MACHINE\SOFTWARE\Microsoft\Windows\CurrentVersion\Explorer\MyComputer\NameSpace\{B4BFCC3A-DB2C-424C-B029-7FE99A87C641}]
"HideIfEnabled"=-
3. The Notepad window should look something like this after the code is pasted.

4. When done, go to File at the top left corner of Notepad. Then, click on Save as.

5. Once the save menu opens, select the destination as Desktop and make sure to select File Type as All Files (*.*). Once done, type the file’s name like below. Keep in mind to add .reg at the end as the file extension. Then click on Save.
all custom folders.reg
6. Now go to your desktop and right-click on the saved file, and then click on Open.

7. It will ask for your confirmation, click on Yes.
8. After this, it will display a successful message. Click on OK. Then, navigate to This PC folder using File Explorer to view the newly applied changes. We have now successfully restored the custom folders back in Windows 11 File Explorer.
That Folder in This PC
It is not that difficult to add a custom folder to This PC section on Windows 11 File Explorer. You can add all your favorite folders by repeating the steps in the first section. There is no limit to how many folders can be added. Additionally, if you miss popular folders such as Desktop, Downloads, etc. on your Windows 11 OS, you can get them back too.
File Explorer has some neat tricks like multiple tabs. We have shared plenty of tips and tricks before that will come in handy for both Windows 10 and 11 users.