When you are creating a business letter or proposal in Google Docs, you need to add page numbers, dates, and company details on every page to make it look more professional. Instead of manually adding it, you can use headers and footers to add sections at the top and bottom of the Docs document. Here’s how you can add headers and footers in Google Docs and save it as a template for later use.
Note: If you are looking to add headings in Google Docs instead, we have covered that too.
Add Headers and Footers in Google Docs
Once you add a header and footer to a document, you would want to save it as a template. The next time you can simply open the template and start writing the document ⏤ no need to waste time with headers and footers.
Insert Headers and Footers in Google Docs
You don’t need to use any third-party add-ons to add headers and footers in Google Docs. The company has built-in tools to add them. Here’s how you can use them.
1. Launch Google Docs on the web.
2. Open an existing document in which you want to add headers and footers or create a new one from scratch.

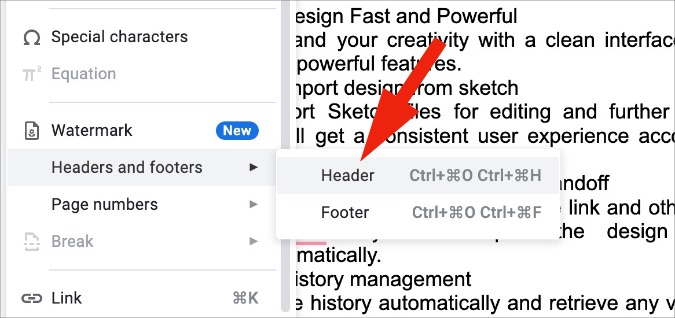
3. Click on Insert at the top, expand Headers and footers, and select Header.
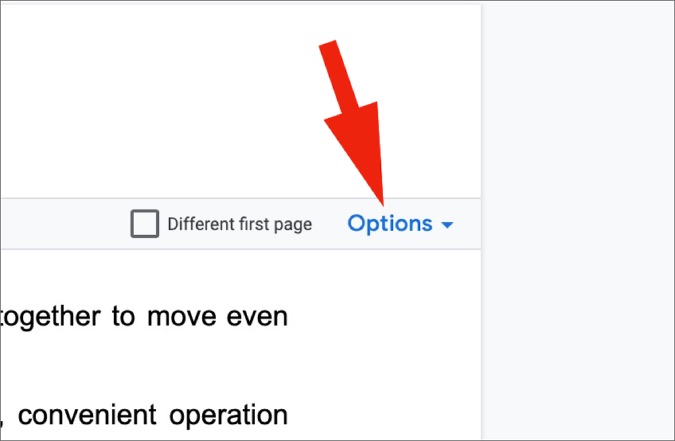
4. If you want to change the default header margin from the top, click on Options and select Header format.
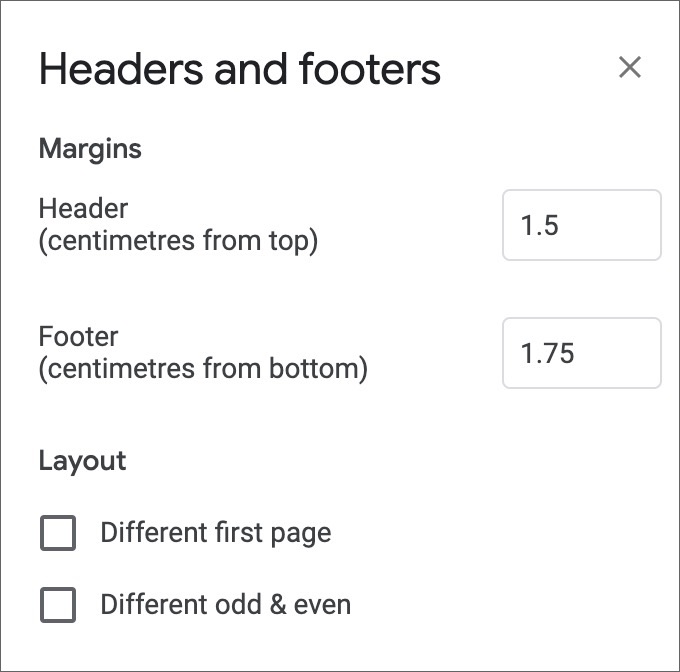
5. Change the header margin from 1.5 centimeters to your preference and hit the Apply button.
Similarly, you can enable the footer option from the same menu.
6. Click on Insert from the menu bar, expand Headers and footers, and select Footer.
7. The footer is set at 1.75 centimeters (this may vary on your side) from the bottom. Click on Options and change the margin.
Add a relevant header at the top and you will see all the Docs pages with the same header. If you want to keep the first header separate from other headers, you need to enable the Different first page option. Google Docs will remove the first page header and you can add a new different one at the top.
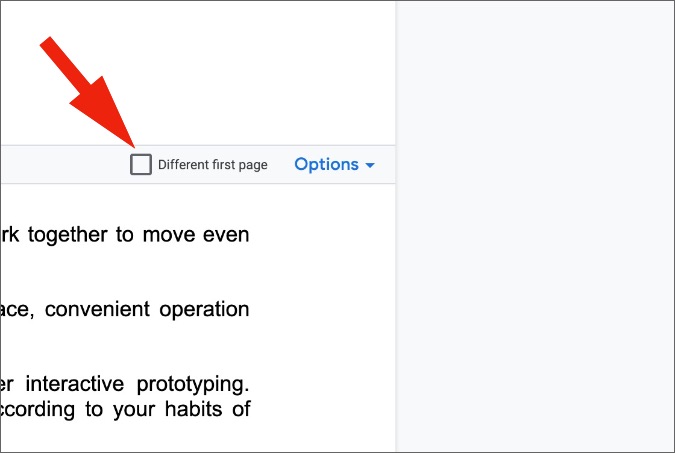
Just like the header, you can add a custom footer to the first page as well.
Add Page Numbers in Headers and Footers
This is yet another use-case of headers and footers in Google Docs. When you are working with long documents in Docs, you need to add page numbers for your convenience. Here’s how you can add them.
1. From a Google Docs document, add headers and footers from the Insert menu (check the steps above for the reference).
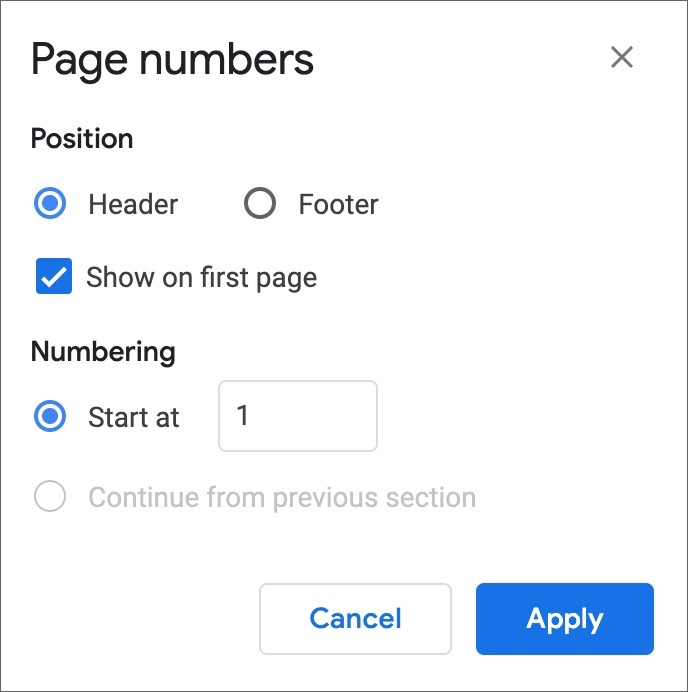
2. Select Options in the Header and select Page numbers.

3. You can either add page numbers on the Header or Footer, exclude the first page from page numbering, and even specify a number from which you want to start the document.
Create a Template with Headers and Footers in Google Docs
If you write those business letters frequently, you need to create a template after adding headers and footers. This is useful for companies that want to standardize the use of headers and footers in Google Docs. Simply create a Google Docs template with a header and footer and ask everyone to use the same when writing documents.
1. Open your preferred web browser and type docs.new in the address bar.
2. The browser will open a new Google Docs document in your default Google account.
3. Insert header and footer (refer to the steps above).

4. Save the document with a recognizable name in your Google Drive account.
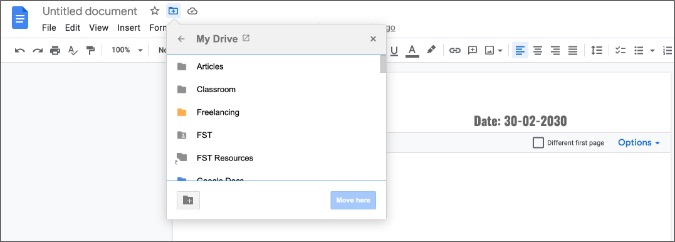
The next time you want to use the same header and footer, you can simply open the saved template from your Google Drive account.
5. After opening the template, click on File at the top and select Make a copy.
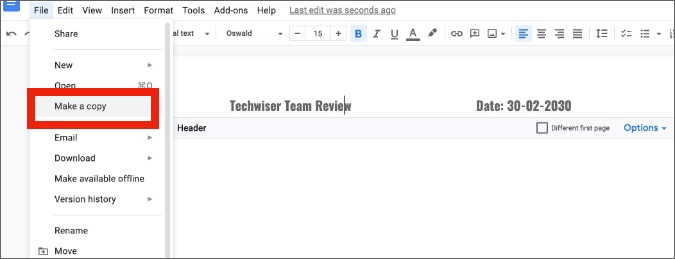
6. Google Docs will create a copy of your template and you can start making changes to it.
Do note that you shouldn’t make any changes to the original template saved on your Google Drive account. You can now close the original template.
Make Your Google Docs Documents Attractive
You can always go with a third-party Google Docs template that comes with decorative headers and footers. If you don’t find such relevant templates on the web, you can use the steps above and add a header and footer manually. Don’t forget to create a template out of it to use in other documents in the future.