Photos normally include various tags such as ISO, frame rate, the phone used to take that photo, date and time along with the location tag. These tags help in situations like sorting photos by time and date. Location tag in Google Photos is even more advantageous as you can revisit memories and photos plotted in a map view. But, it can also raise privacy issues. So, here’s how you can add, edit or delete the geolocation tag on Google Photos. But before that, there are a few things you have to know.
Table of Contents
Things to Know Before Changing the Geo-Location Tag on Google Photos
- Google Photos may show you photos that are not backed up, but you can only change the location data for photos that are already backed up.
- You cannot change or delete the location data added by the camera app.
- Location tags added by Google Photos can be shared with others when you share them through Google photos. But you can share with third-party apps without any problem.
- Location details added by Google photos will only be visible on Google photos, the location data will not appear when you open photos in other photo apps.
Add, Edit, Remove Geo-Location Tag for One Photo on Google Photos
On Smartphone
1. Open the Google Photos app on your Android or iOS smartphone. Then select an image to open it.

2. Now tap on the three-dot menu at the top right corner and you should see some options.

3. Under the Details section, you should find the location tag. If the location tag is already added, you should see the location name and a small map with a view of the location. Or else, you should see Add a location option.
4. To add the location, tap on the Add a location option. Next enter the location name and select the location from the options provided.
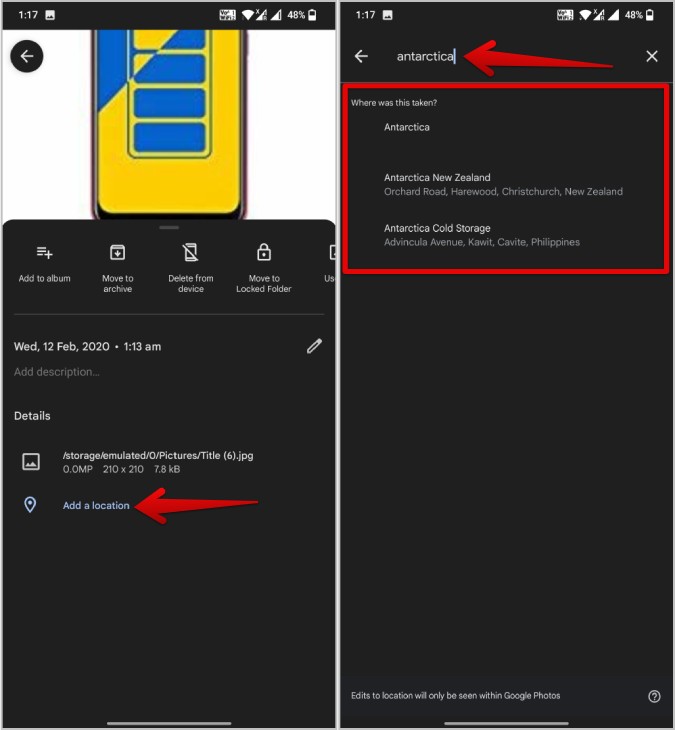
5. To edit the already existing location, tap on the pencil icon beside the location name and enter the location name that you want to change.

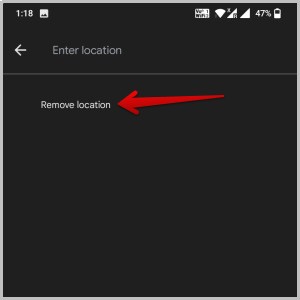
6. To remove the location tag altogether, tap on the pencil icon and select the Remove location option. This should remove the location tag instantly.
On Desktop
1. Open the Google Photos web app on the browser. Then select any image to open it.

2. Now click on the (i) icon at the top right corner.

3. Just scroll down and click on Add a location option.

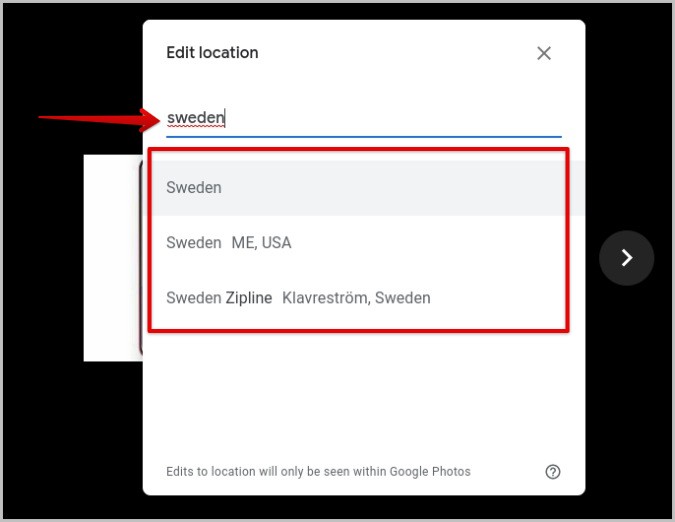
4. In the pop-up, enter the location and select the location it suggested to add the location.
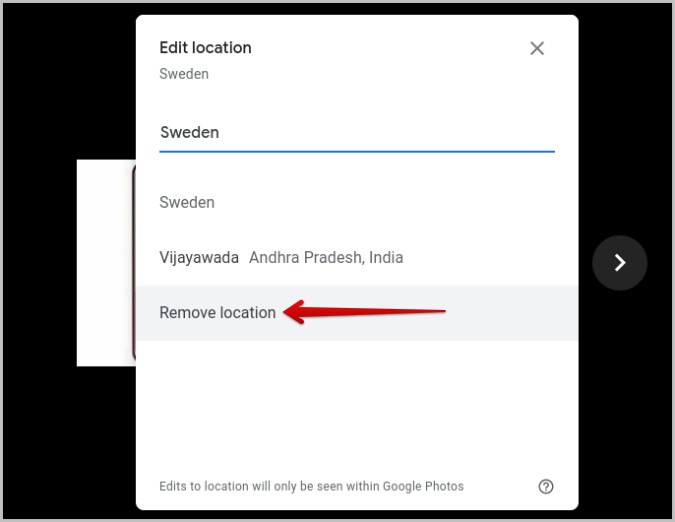
5. To edit or remove, click on the pencil icon beside the location name.

6. Then in the pop-up, change the location or click on the Remove location option to remove the location completely.
Add, Edit, Remove Geo-Location Tag in Bulk on Google Photos
It’s really hard to open each and every photo and add, edit, or remove the location tag for each. To make the process faster, here’s how you can make changes to the location tag for multiple photos at once.
On Smartphone
1. Open the Google Photos app (Android or iOS) and long-press on any photo to select it. Once selected, now you can just tap on other photos to multi-select them.
2. Once done, tap on the three-dot menu at the top right corner and select the Edit location option.

3. Now you can enter the name of the location and select a place from the results.

4. If any of the selected photos already have a location tag, when you tap on the three-dot menu, you will see the Remove location option instead to delete the location tag first.
On Desktop
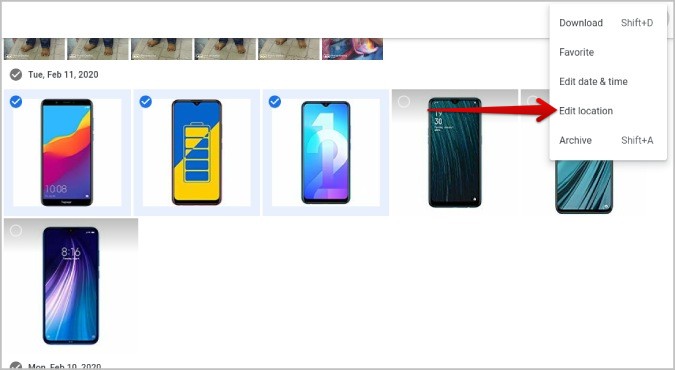
1. Open the Google Photos web app and select multiple photos. You can do that by hovering on the phone and clicking on the checkmark icon to select it.

2. Once you have selected all the photos you want to edit, click on the three-dot menu and select the Edit location option.
3. In the pop-up, search for a location and select it from the results to add.

4. To remove the location tag in Google Photos, select the No location option which will remove the location from all the selected photos.

Add Location Tag Automatically on Google Photos
Another easy way to add a location tag to as many photos as possible is with the Google Photo’s Estimate missing location feature. Once enabled, this feature uses the landmarks in your photos and location history to estimate the location of your photos.
On Smartphone
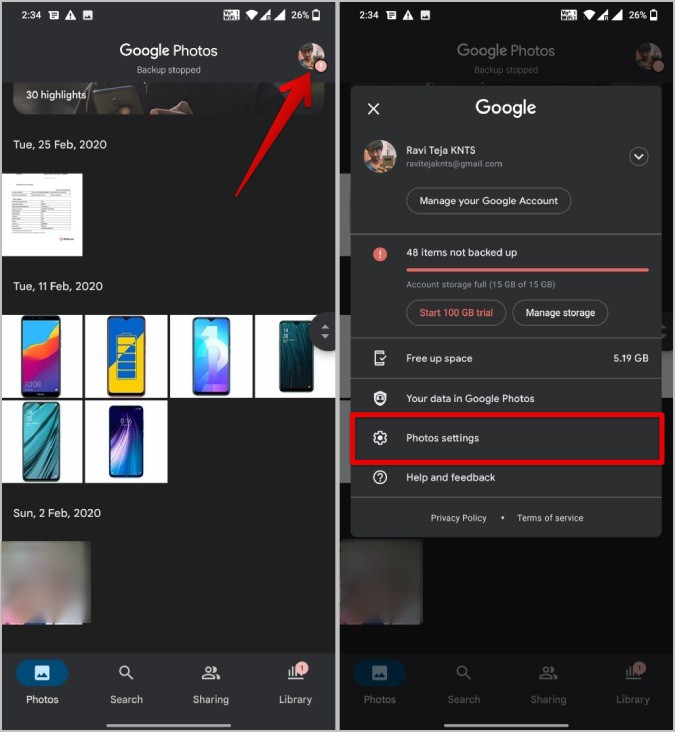
1. Open the Google Photos app (Android or iOS) and tap on the profile icon at the top right corner. Then select the Photos settings option.
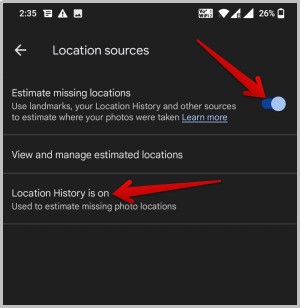
2. In Settings, select Location and then Location sources.

3. Now enable the Estimate missing location option. Below you can check whether your Location history is on or not. If not, you can tap on it and enable the location history from there.
On Desktop
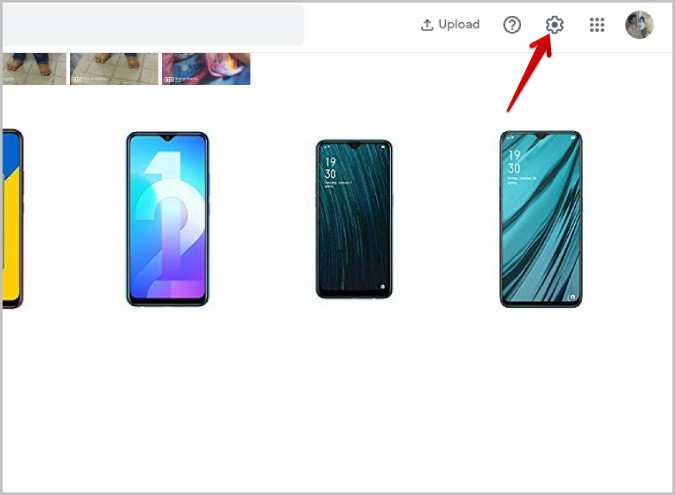
1. Open Google Photos and click on the Cog icon at the top right corner to open Settings.
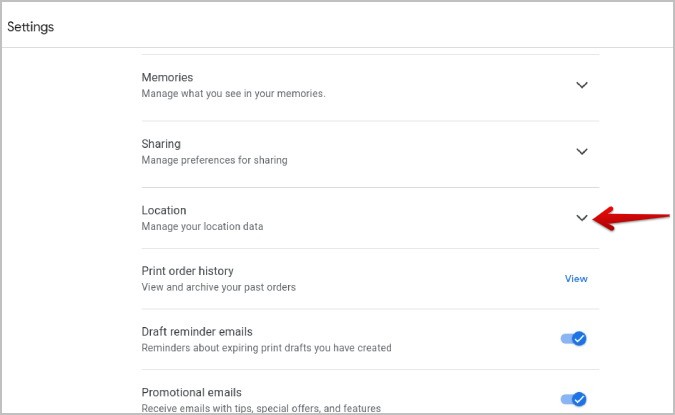
2. Now scroll down and click on the drop-down icon beside the Location option to open the Location settings.
3. Here enable the Estimate missing locations option.

4. You can also check whether your Location history is on or not from here. If not, you can click on the View option and turn on the location history.
Turning on location history means that Google will keep track of all the places you visit. So turn it on only if you are fine with that.
Adding Location in Google Photos Albums
Adding location detail in the album is not similar to adding a location tag to the photos. The location feature in albums adjusts the layout of photos’ placement according to the time and location. For example, if you went on a multi-destination trip and added all those photos in a single album, when you enable location feature, it sorts the layout according to the time and adds city names and traveling maps in between photos for a better viewing experience.
On Smartphone
1. Open the Google Photos app (Android or iOS) and select the Library tab from the bottom bar. Here select the Album that you have created.

2. Tap on the three-dot menu and select the Edit option.

3. Now tap on the location icon in the top bar, then select the All suggested locations options. Doing so will add those locations and maps automatically. But you can also choose to add them manually by selecting the location or map option.

4. This will add the location names in between photos to divide the album accordingly. It also adds maps when there is a change in the location.

On Desktop
1. Open the Google Photos website and select the Albums option in the left sidebar.

2. Then select the Album from here that you have created.
3. Here click on the three-dot menu and Edit album option.

4. Then select the location icon in the top right corner.
5. Now select the All suggested locations option to add locations automatically. You can select location or map options to add them manually.

This will add locations and maps between the photos just like on the mobile.
Location Tags on Google Photos
When you have location tags added or enabled for photos and share them from Google Photos app, you also share the location data along with it. To stop it, while sharing a photo, tap on their username in the chat and disable the toggle beside the Share photo location. Along with the location tag, you can also change the date and time tag on Google Photos.