Windows 10 was released three years ago and It has so many features that users are still discovering today. It has so many hidden features that finding them just makes everyday use of Windows 10 much more wholesome. In-built hotspot, one-touch screengrab, and the one that I recently discovered Projecting your screen to another Windows 10 computer using the Miracast Standard.
This is a very useful feature if you’re someone like me that shuffles work on different computers and then get confused where did I save my presentations. I can just project the other computer on my screen and control that computer to complete my work and then save it on the cloud. You can use this feature if you don’t have a secondary monitor but you have a spare laptop running Windows 10.
You can also use Teamviewer to mirror your screen, but with this method, you can share your laptop screen to another laptop and use it as an extended display. Also, since it’s a Windows native feature, it has much higher speeds than Team Viewer.
It can mirror your computer Display to a computer or TVs Windows support Miracast (or using an Intel compute stick) and use it as a second screen with a Windows 10 computer or tablet. And this works not just as a mirror but also lets you control the projected computer.
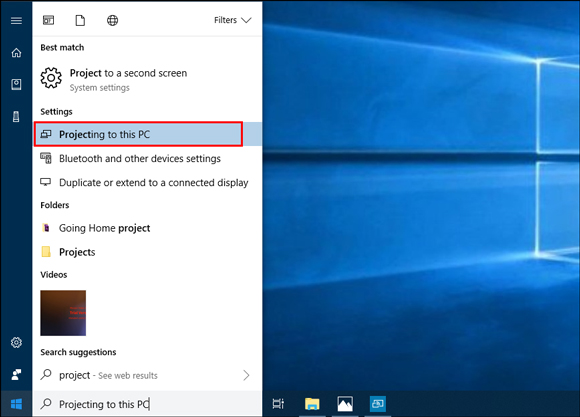
Before we begin, make sure you have two Windows 10 computer that supports Miracast. To check if your computers are eligible, go to Start, and type in “Project to this PC“, if you see an option in the Settings menu, it means it’ll work for your system. The earlier version, Windows 8.1 supports only mirroring. There are apps available to use this feature if you don’t have windows 10. You can install Airserver Universal for Windows and use it to cast or mirror your computer screen, its a paid software though. We have this little tutorial for you on how to share your laptop screen to another laptop, both running Windows 10.
Read: Cast Screen to TV without Chromecast
How to Share your Laptop Screen to Another Laptop
Make sure you have at least two Windows 10 computers and are connected to the same WiFi network.
Now, take hold of a computer on which you wish to project the computer screen. Let’s call it Computer Blue. The Computer Whose screen will be projected, we’ll call it Computer Orange.
First Computer
Press the Start button on Blue and type “projecting to this PC”, you’ll see the icon under settings. Click the icon and a window will appear.
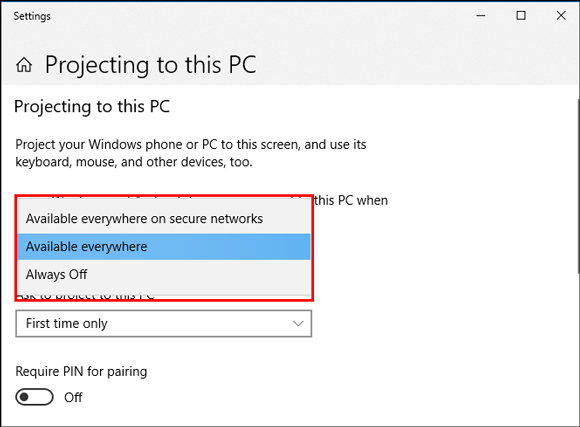
Now we’ll set the computer Blue to receive Projections from other computers.
There are a couple of dialog boxes we’ll select the appropriate options and ready the device.
Select ‘Available Everywhere’.
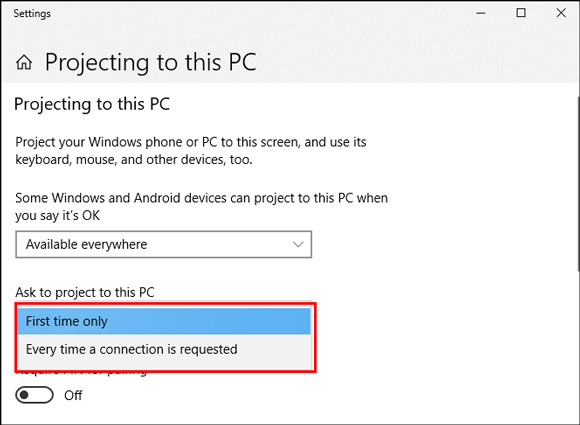
Now we’ll move on to permissions.
In the next drop down bar, you can set when a computer should ask for permission to project. We chose ‘every time’ but you can choose ‘first time only’ too if you’re going to use this feature often.
Next is the Security pin, you can turn it OFF if you only use it in your home or office but it is recommended so it is best if you leave it ON.
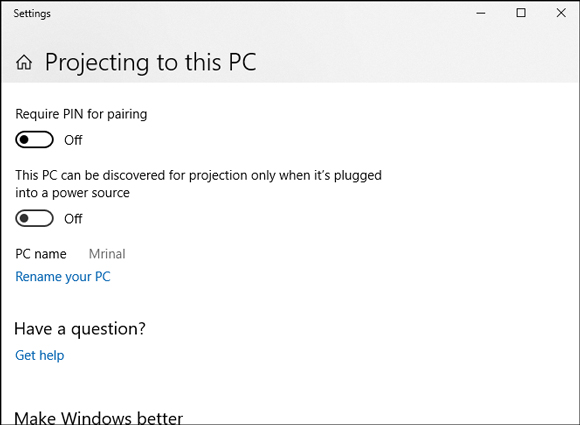
The first computer is ready and the second computer can cast screen on this computer.
Now, move to Second Computer
Now we’ll go on to Computer Orange and click on the Action Center icon on the bottom right of the taskbar. Its placed between the desktop button and the clock.

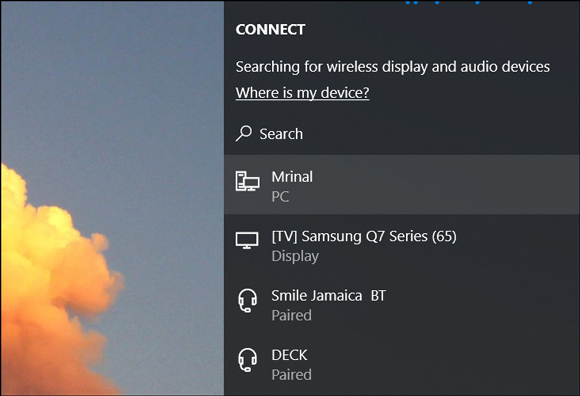
Press the icon and Action center would pop from the right and display a few icons. look for the Project icon. It’ll list all the devices on which you can project your display on.
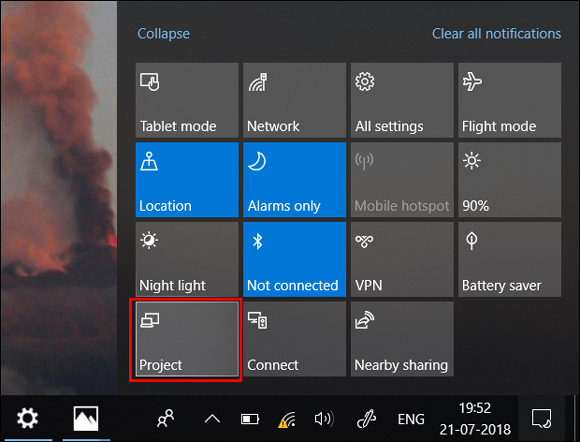
You’ll see Computer Blue’s Name, press the icon and connect. It might prompt you for a PIN.
Enter the PIN and press Okay.
Tick the box which says ‘allow inputs from this device’ otherwise, you won’t be able to control your screen. It would just be projected.
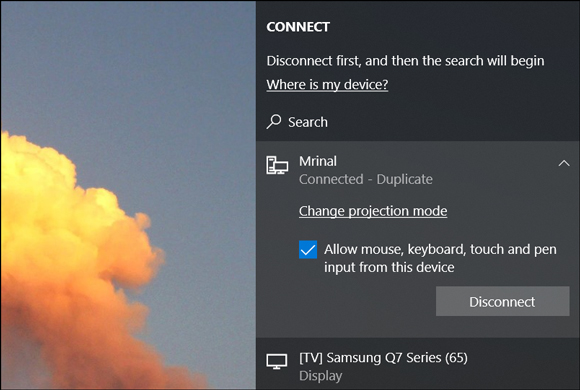
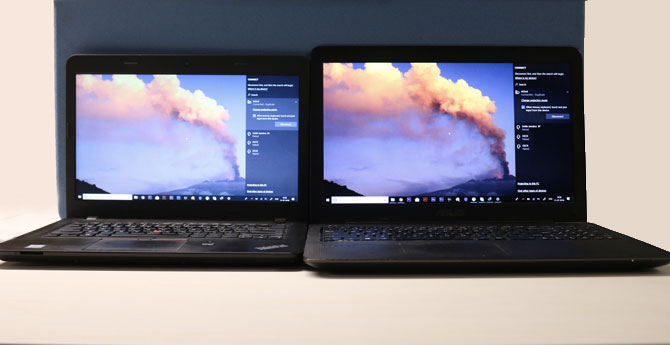
If you’ve followed everything correctly Computer Blue should now display Computer Orange’s screen and you can control it with your mouse as well.
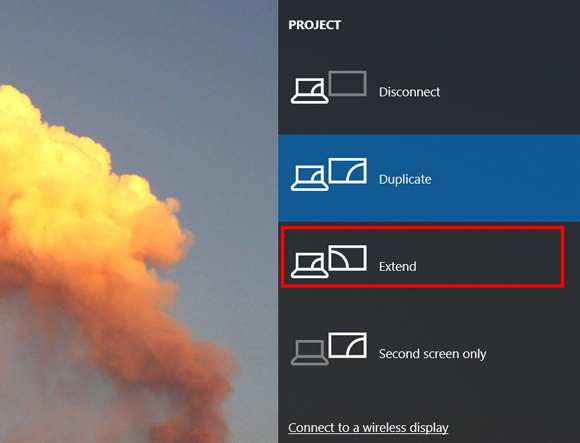
This above tutorial was to show you how to mirror the screen on a computer but if you want to extend instead of mirroring you can do it too. Press WIN+P and select Extend and that’s it. Now your computer screen is an extended computer Screen, pretty neat right? what’s even better is that you don’t even have to worry about different Screen sizes, it automatically adjusts to your device’s screen resolution.
How to switch it off?
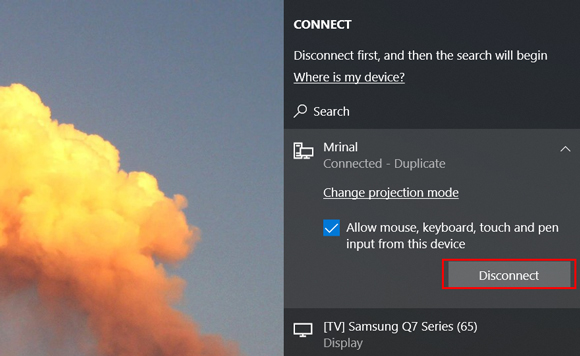
The second display is active and if you wish to turn it off, you just press WIN+P, select ‘connect to a wireless display‘ and disconnect the connected device.
Also Read: Duet Display Alternatives for iPad
How to Share your Laptop Screen to Another Laptop Wirelessly
People often find it rather difficult and confusing with new technology and features. Projecting your computer screen is rather simple if you know the correct way to do it. We showed you a very easy tutorial on how to share your laptop screen to another laptop.