Sony’s PlayStation 4 is a huge step up from the last generation, it has a completely redesigned controller, upgraded hardware and a few under the hood improvements to make the gaming experience a lot better. I really like that they’ve included an option to take a screenshot and even record your gameplay without the need for additional hardware and workarounds. Although the option to record gameplay and capture screen is intuitive, you still need to configure it to your liking. Let’s see how to take screenshots on PS4.
PS4 does not allow you to take screenshots (or even screen recording) in certain situations such as some game opening screens or cut-scenes that may be considered as spoilers by developers.
Capture Screenshots on PS4
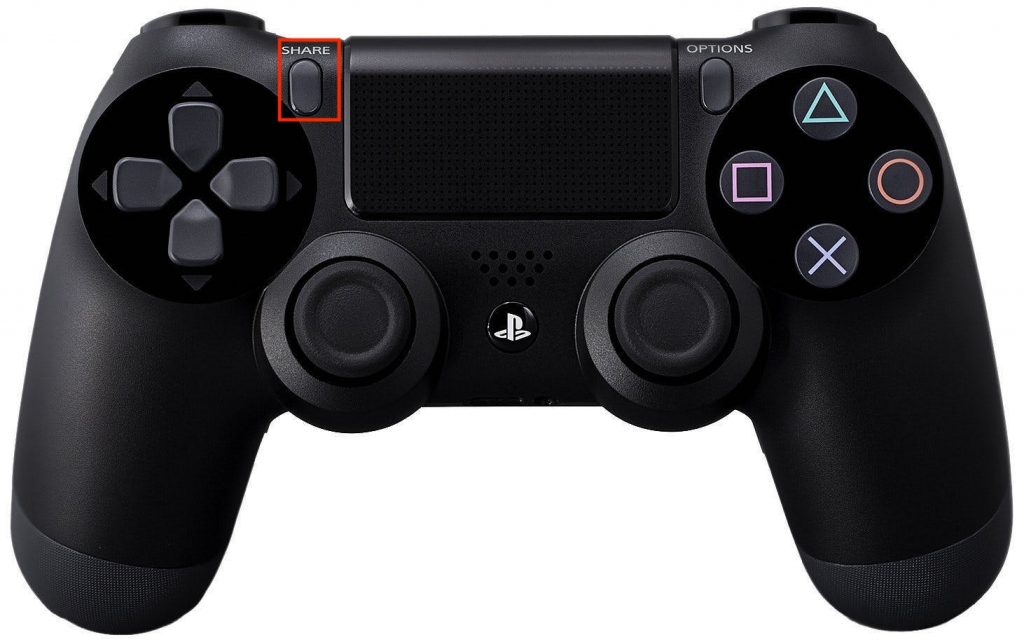
If you’ve never fiddled with the screenshots settings on the PS4, you can capture screenshots using the SHARE button on the controller.
Go ahead and Power ON your PS4 (or PS4 Pro) and grab the controller. Next, press and hold the SHARE button on the controller for at least 1 second to capture a screenshot, since a regular tap will just open the share menu.
Once you take the screenshots, it’ll be saved in the screenshot folder of your PS4 (called Capture Gallery), which you can either copy to the USB drive or share it on social media or sent it to other PS4 users.
Also Read: How to play PS4 games on iPhone/iPad
Open SHARE Display Menu
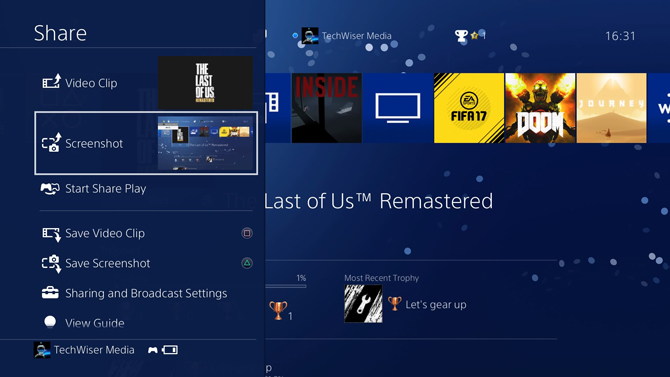
SHARE Menu has a list of options which lets you save a screenshot or a video clip quickly. This menu comes in handy when you’ve just done something incredible in a game but forgot to take a screenshot or press the record button to capture the video. PS4 shows you the latest recorded video clip and screenshot on the left. These screenshots are only saved to the Capture Gallery if you manually save them.
Press the SHARE button on your PS4 controller to open up the menu from the left. You can press the triangle(Δ) button on the PS4 controller to save the screenshot or, press the circle(O) button to go back to your game.
Although do keep in mind, depending on the content of the game or settings, you might not be able to take a screenshot. Some games wish to keep the story and prevent spoilers. You can, however, use a capture card to record all those gameplays without any restrictions.
Change SHARE Button Control Type
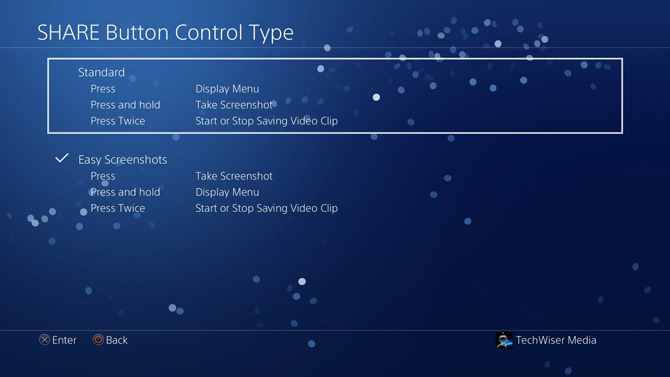
By default, PS4 take the screenshot when you long press the SHARE button while a single tap on the SHARE button opens the Share menu. However, if you are like me, it would make more sense to take a screenshot with a single tap on the SHARE button without disturbing the gameplay. Thankfully, there is a setting in PS4 (called Easy Screenshots), which lets you interchange the default SHARE function.
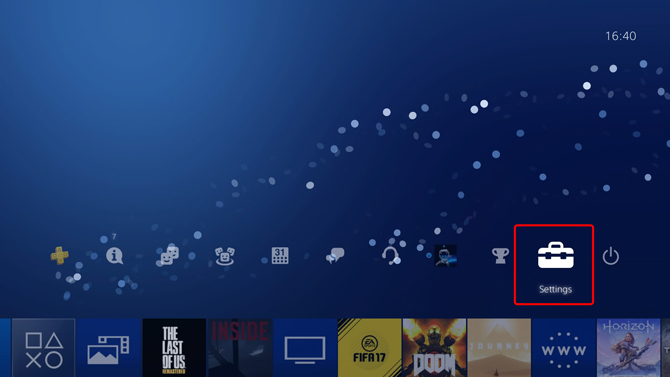
To change the SHARE button settings, Go to the Home Page on the PS4 and select the Settings icon.
Scroll down to Sharing and Broadcasts in the list of options and press X to open.

In the ‘Sharing and Broadcasts’ page, you’ll see a few options like Screenshot Settings, Broadcast Settings, Length of Video Clip, SHARE Button Control Type, etc. Open SHARE Button Control Type by pressing X on the PS4 Controller.
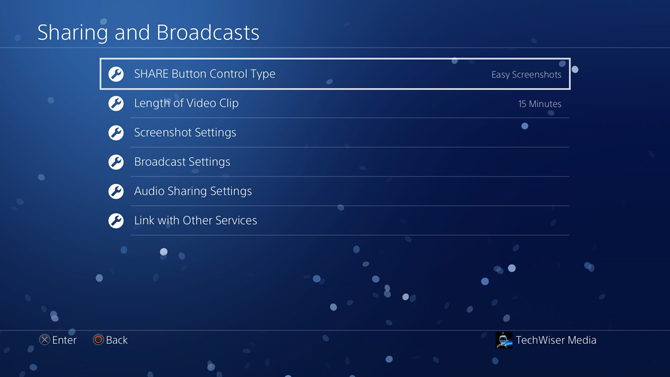
It has two configurations; Standard and Easy. The default mode takes a screenshot when you press and hold, records a clip when you press the Share button twice. The display Menu and Screenshot shortcut can be interchanged to make capturing of screenshots easier.
Take a Screenshot Automatically when you earn a Trophy
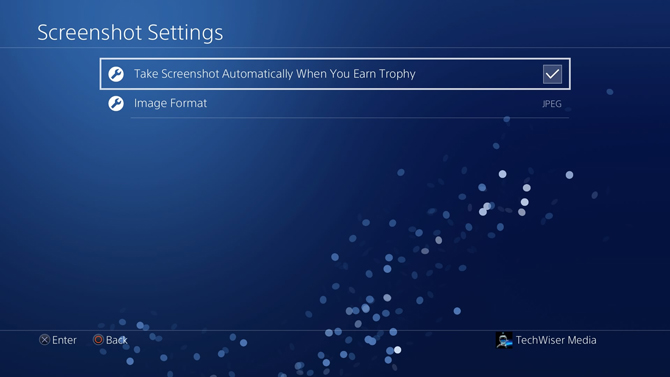
While the SHARE button comes in handy when you want to capture moments in a game. PS4 can automatically capture a screenshot every time you receive a trophy in a game. You can then share the screenshots on your social media and brag to your friends.
To enable auto screenshots, go to Sharing and Broadcasts Settings, Select Screenshot Settings from the list of options. Tick the checkbox and you’re good to go. All of your automatically captured screenshots will be saved to Capture gallery.
Read: How to Connect Wired Headset to PS4
Link your PS4 Account with your Social Media
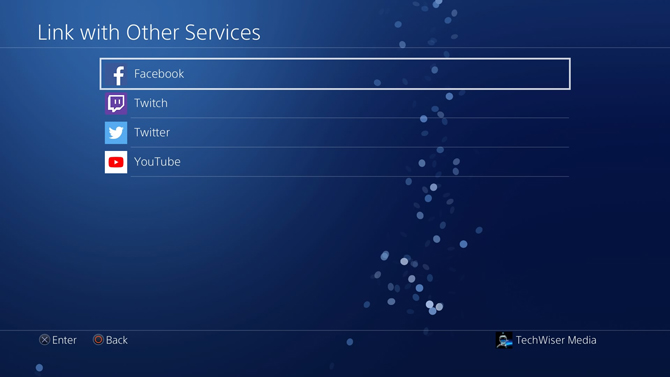
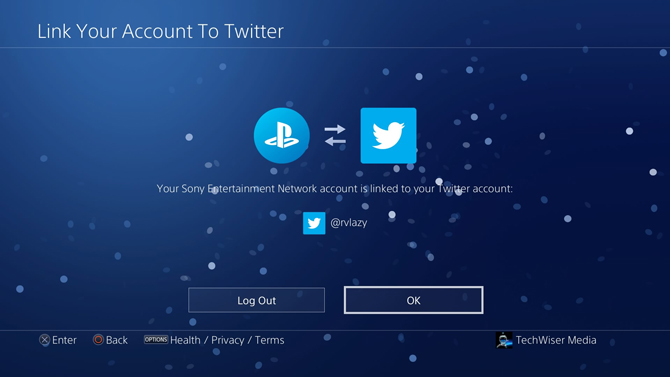
You can directly share your achievements on Social Media by linking your PS4 account with your Social Media accounts. You can connect your Facebook, Twitch, Twitter, and YouTube to share gameplay and screenshots.
To link your Social Media, go to Share and Broadcasts Settings and select ‘Link with other Services’. Select any one of the icons to begin setup.
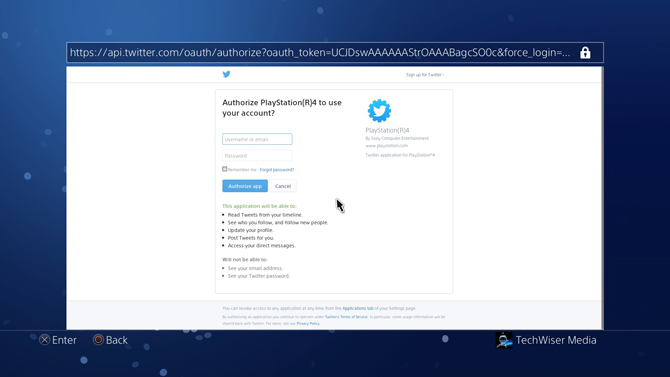
PS4 would prompt you to enter your credentials to authorize posting permissions for the PS4. Enter the details and click ‘Authorize App’ button.
Now, your Social Media is linked to the PS4 account and you can post directly from the Capture Gallery. If you wish to de-link your account in the future, you can do that in the same Settings page which we used to link.
Share a Post on Social Media
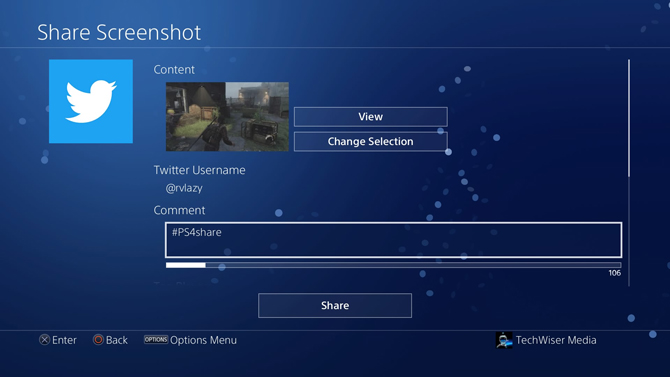
To Share a post on your Social Media, go to Capture Gallery and select a screenshot. Press and hold the SHARE button, select your Social Media account, and click Share.
Copy Screenshots to a USB drive
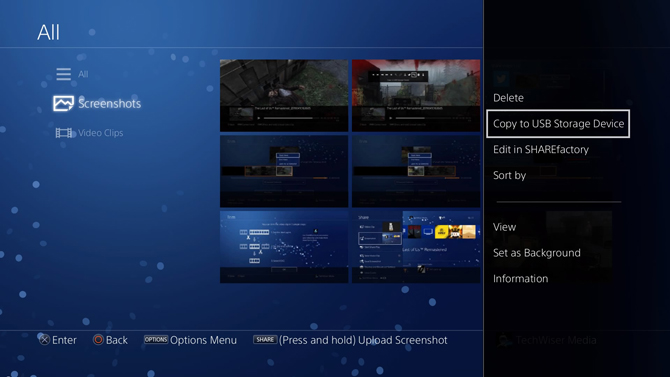
You can copy the screenshots captured on the PS4 to a USB drive. First, go to the Capture Gallery and press the options button on the PS4. It would show you a list of actions, select ‘copy to USB Storage Device‘ from the right.
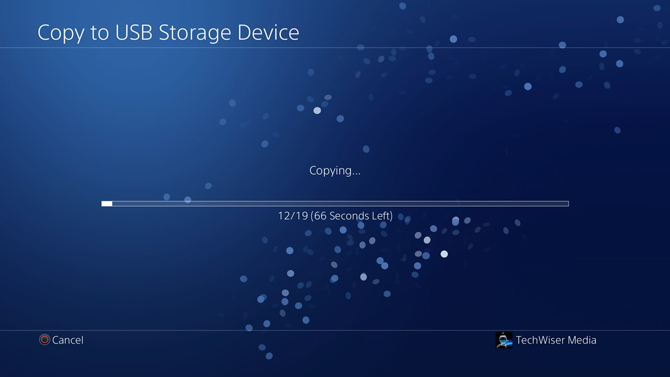
All of your files will be copied to the flash drive and you can remove the drive and transfer the files to a computer or a smartphone.
Opinion: Is PS4 worth buying in 2019?
Take Screenshots on PS4
PS4 comes with a lot of useful features which makes it a suitable console for anyone who wishes to capture their achievements during gameplay. You can capture screenshots and instantly share with your friends on Social media or copy to a USB drive. Drop a comment if you face any problem while capturing screenshots or recording videos.