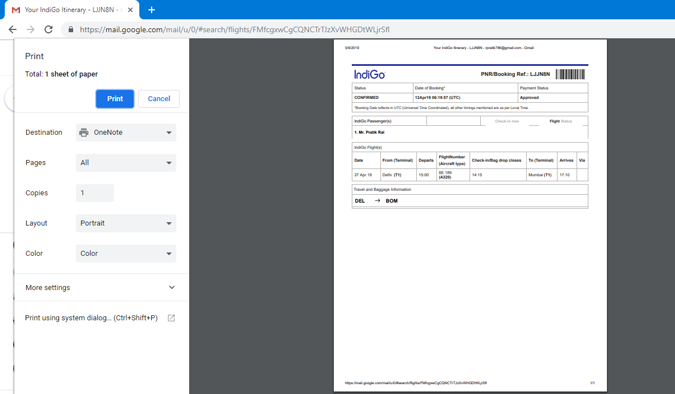
The most tedious task is to print Gmail Threads & Conversations. Even if you manage to somehow get them in a single page, the next thing is to get rid of the Gmail Logo. The Gmail logo and header don’t look pretty. It’s also informal when you send the prints to customers. So, here are 3 neat ways to get rid of the Gmail Logo and Headers from your prints.
How to Print Email From Gmail Without Header
1. Right-Click
The simplest way to print email from Gmail without header is by selecting the entire text and print it. All you have to do is first select the text you want to print. Then, right-click on it and click on Print.

When you click on Print, you will get the print preview dialogue box. Now, you can see that the Gmail Logo is missing from the print preview. This happens because you are not using Gmail’s inbuilt print option.

This is a one-time trick and is not possible when you want to print multiple threads and conversations.
2. Inspect Element
Select and Print is the quickest way to print without the Gmail Logo. But, even after you do that, you can still see the Header text which says “Gmail: Subject Line”.

To remove Gmail Header, we can use the Inspect Element tool. In case you don’t know, Inspect element is a tool built in the most web browser which lets you modify the code on any website. If you are not good with code, please skip to the Chrome Extensions option.
Now first, we need the print preview page. To get that, click on the print icon on the Gmail page. It is located at the top right corner of the subject line.

On the Print Preview Page, you can see the Gmail Logo, email ID, and header line. This is what we want to get rid off. But, this page is hidden and we cannot modify the Inspect element here. Hence, click on Cancel to hide the Print Preview.

After you have canceled the Print Preview, right-click and select “Inspect” on the webpage. Alternatively, you can press Ctrl+ Shift + I to access the Inspect Element.

On the Inspect Element tab, make sure you are in the elements tab. Now hover through the code until you reach the <table> element. As you can see in the screenshot when you hover over the table element, the Gmail Logo is selected in the page. Once, you get the element, right click on it and click on “Delete Element”.

Once you have removed the Gmail Logo, we need to remove the header text as well. To do that, expand the head section at the top of the Inspect Element code. Double-click on the text section to edit it. Remove the Gmail appended before the text. Alternatively, you can also rename it to something of your choice.

Read: How to Track Gmail Emails on Android
After removing the logo and title, hit Ctrl+P to print the page. In the print preview, you can see that the header text and Gmail Logo is not visible.

While this method works flawlessly, it is time-consuming and not feasible when you have to print a lot of pages. If you print frequently through Gmail, you should use a Chrome Extension instead.
3. Chrome Extensions
Google Web Store provides several extensions like Pretty Print Gmail, Print Email without Logo which cleans up the print page. But all these extensions still leave the header in the file which says “Gmail: Subject Line”.

I modified an existing Chrome extension which even removes the Gmail header from the Email. You can download it from this Google Drive Link. But, since the chrome extension is not published on Chrome Store, you’ll have to manually sideload the extension in Google Chrome.
Now, once you have downloaded the zip file. Move ahead and unzip the file. You will see the following contents in the zip folder.

Now, we need to load this extension to Google Chrome. To do that, go to Google Chrome and click on the three dots at the top right corner. From, the extended menu, navigate to More Tools and click on “Extensions”.

Alternatively, you can also type “chrome://extensions” in the Google Chrome search bar or Omnibox.

On the Extensions menu, turn on “Developer Mode” by clicking on the toggle at the top right corner. Once the developer mode is enabled, you will 3 different options extend out below the search bar. From the extended menu, click on “Load Unpacked” button.

Once you have clicked on “Load Unpacked” button, you will see a file browser dialogue box pop up. Navigate to the extracted zip file on your local computer and click on “Select Folder”. Make sure you do this when you are in the main folder named as “print-email-without-header”.

After you have selected the folder, you will see the extension appear in the Chrome Extensions List below.

Now, head over to Gmail and now when you print an email, you should see that the Gmail Logo and Header will be invisible from the print file.

Download Print Email Without Header
Wrapping Up
If you print frequently from Gmail, then downloading the extension would be a good option. For one time usage, selecting texts or removing things from Inspect Element. Select and Print is a convenient option if you are not familiar with codes.
For further queries or issues, let me know in the comments below.
Also Read: 15+ Best Gmail Chrome Extensions