We all know that Google Docs is great for writing documents. Fortunately, it doesn’t disappoint when it comes to basic image editing. You can crop the image, resize and rotate it, and even adjust light and colors. And if you want to go a step ahead, Google Docs lets you add text to pictures too. Whether you want to add text behind an image or in front of it, this post shall help you. You can use it to create beautiful images for documents or add a watermark, company logo, etc. to your images. Let’s see how to put text over an image in Google Docs on Android, iPhone, and computer.
How to Add Text Over Picture in Google Docs
There are two methods to achieve that. You can either use the text wrapping feature or Google Drawing. We have covered both.
1. Using Text Wrapping
Earlier, Google Docs offered only three text wrapping options for images — inline, wrap, and break text. In May 2021, Google announced two more text alignments — behind the text and in front of the text. That means, now you can add text behind an image or in front of it.
Here’s how the two options work:
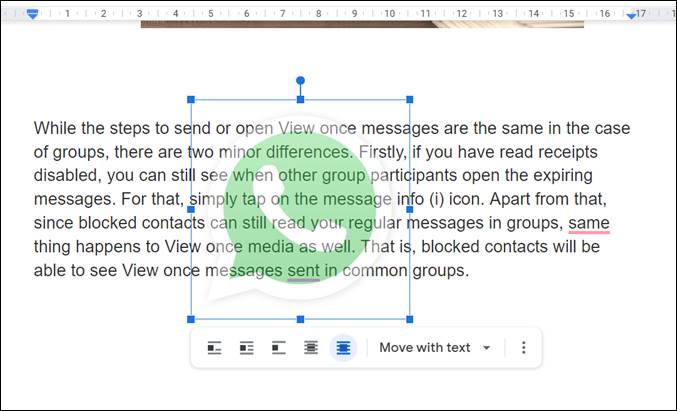
Behind Text: With Behind text selected, the image will appear in the background of the text. There are two ways to use it. You can start writing the text just before the image. Then that will continue on the image instead of moving the image. Alternatively, you can move the image over any text in your document. The text will automatically appear above the image.

In front of text: In this mode, the image will appear on top of the text. You can use it to hide the text underneath the image or add the text on the image by decreasing the transparency of the image.
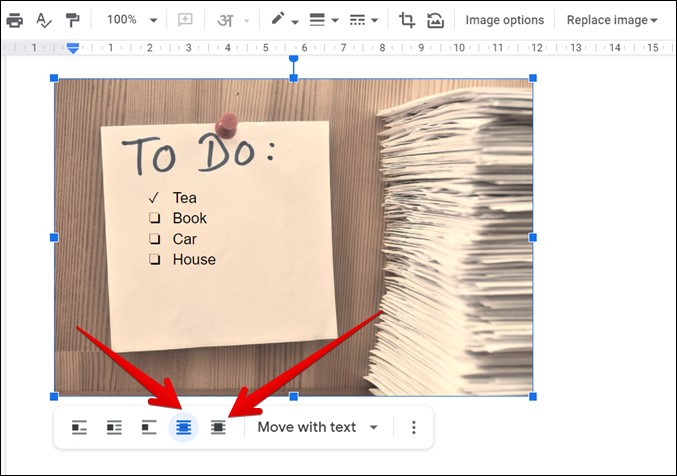
To use this feature on the web version of Google Docs, open the document and insert your image in it. Click on the image to select it. You will see text wrap options at the bottom. Click on Behind text or In front of text as per your need.
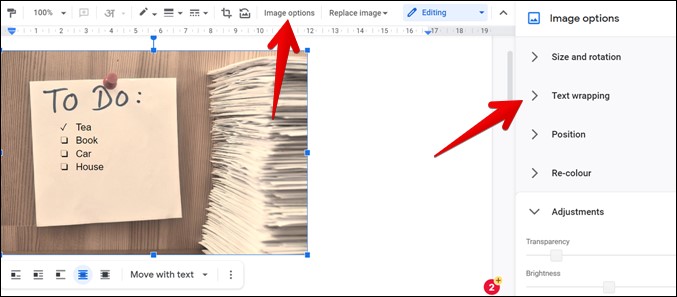
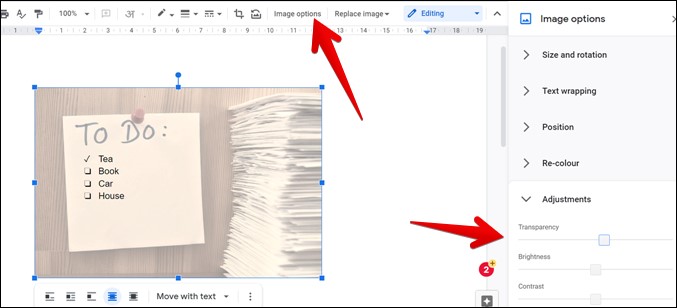
In case the text wrapping options do not appear, click on the Image options at the top after selecting the image. Then hit the Text Wrapping setting from the right sidebar and choose your preferred mode.
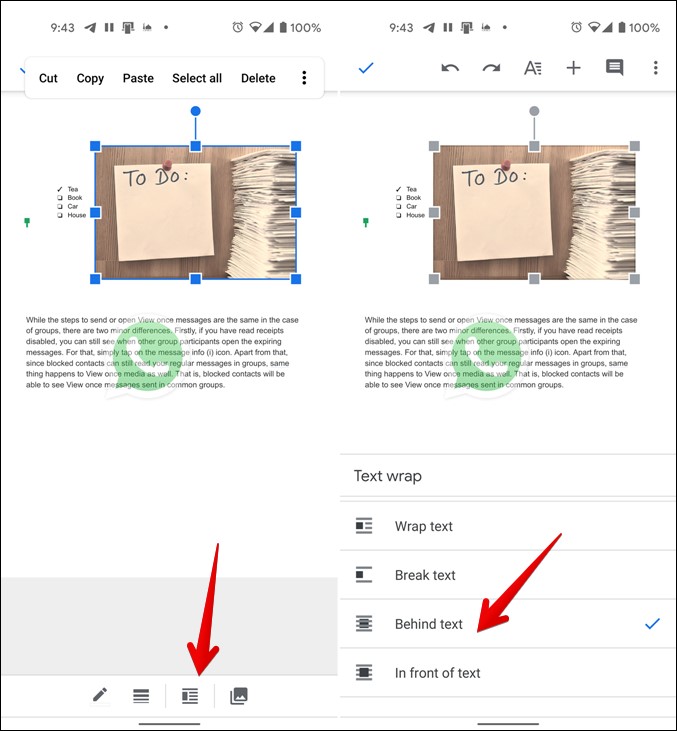
On the Google Docs mobile apps, tap on the image to select it in your document. Then tap on the Text wrapping button. Choose Behind or In front of text.
You will have to edit and adjust the image to get your desired result. Here are some tips that will come in handy.
Move Text
When the text is added on top of the image, you will find it difficult to move the entire text in different lines. If you try to select it, only one line will be selected. To select the entire text, first, select the starting line. Then press and hold the Shift key and click where you want to end the selection.
Adjust Transparency
You will get better results if you adjust the transparency of the image. This will prove useful if you are trying to add watermarks to the document. Click on the image and hit the Image options. Go to Adjustments and use the slider to adjust the Transparency of the image. Similarly, you can change the brightness, contrast, and colors of your image.
Format Text
All the text formatting features will work when you add them above or below the image. Use those to edit the final look of your image and text. You can change the text color, font, size, and other things.
2. Using Google Drawing
If the above method doesn’t suit your requirements, there is another way to put text over an image in Google Docs. In this method, we will be taking the help of Google Drawing which is baked in Google Docs.
Note: This method doesn’t work on mobile.
Here are the steps to use Google Drawing in the web version of Google Docs.
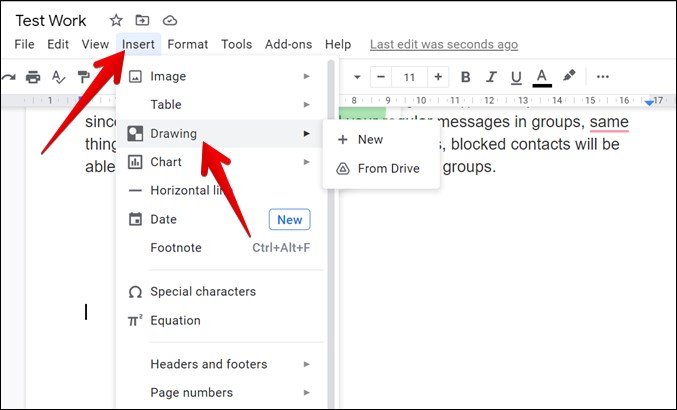
1. Launch the web version of Google Docs and open the document.
2. Click on Insert at the top followed by Drawing > New.
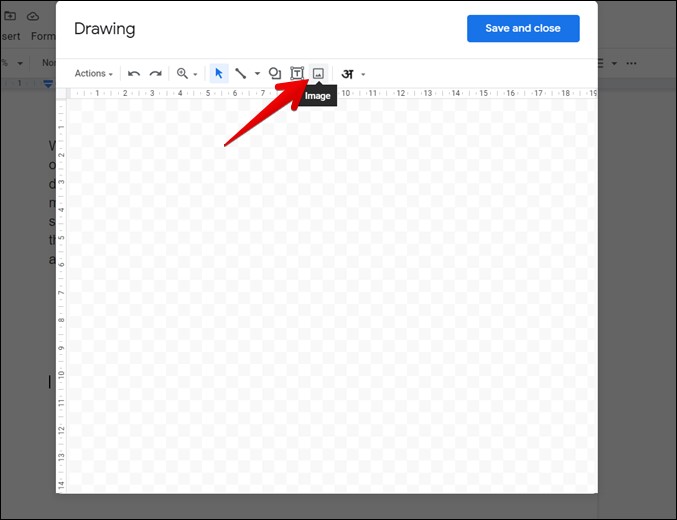
3. The Drawing pop-up window will open. Click on the Image button at the top to add your image. You can add from the computer, URL, Google Drive, or search on the web.
4. Once the image appears in the Drawing window, click on the Text box button. Then draw the text box on the image using the mouse and enter the required text.

You can format the text using the available options. You can also freely move the text box, change its color, font, and even resize it. Finally, hit the Save and close button at the top to insert the drawing in your document.

You can use the text wrapping options mentioned in method 1 along with this method as well. In case you want to further edit the image, simply double click on the image.
Explore Google Docs
Google Docs may look simple but it’s not. As you saw above, you can easily put text over an image in Google Docs. It is capable of performing some other interesting tasks that you may not expect it to do. For instance, you can use it to draw and sign documents, make address labels, and even create invoices.