Resizing images and screenshots are a part of my daily work. I love it if I can reduce even a millisecond of time in resizing those images. Recently, I bumped into the newly released Microsoft PowerToys. It lets you quickly resize an image just with a right-click and no loss in quality. Let’s see how to use it.
How To Quickly Resize Images In Windows 10
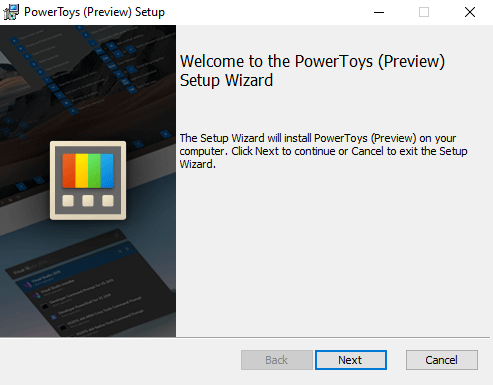
Step 1: To get started, first, we need to install the Microsoft PowerToys. It contains various useful tools, one of such is Image Resizer, which we’ll use this article.
For the unknow, Microsoft PowerToys is an add-on utility for Windows 10 power users, which means they aren’t a native part of Windows 10 and you have to additionally install it from GitHub.
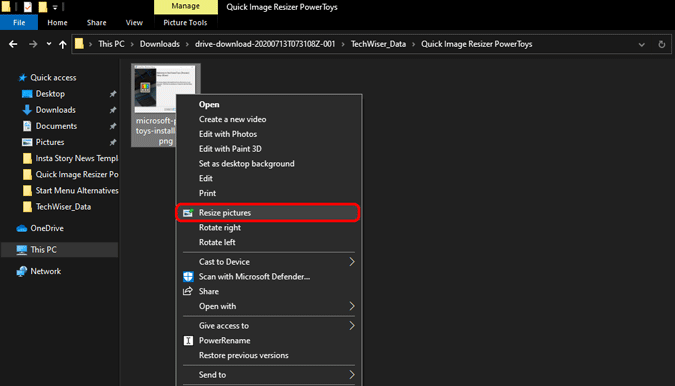
Step 2: Once you have Windows PowerToys installed, right-click on any of the image and you would have a new option called “Resize pictures”. Click on it and you will get the Image Resizer pop-up.
Step 3: From the pop-up, you can select the pre-defined resize values or even enter a custom value. Moreover, it also provides you the option to enter a custom value in Inch, Centimetre, or even Percentage. Leave everything else as default.
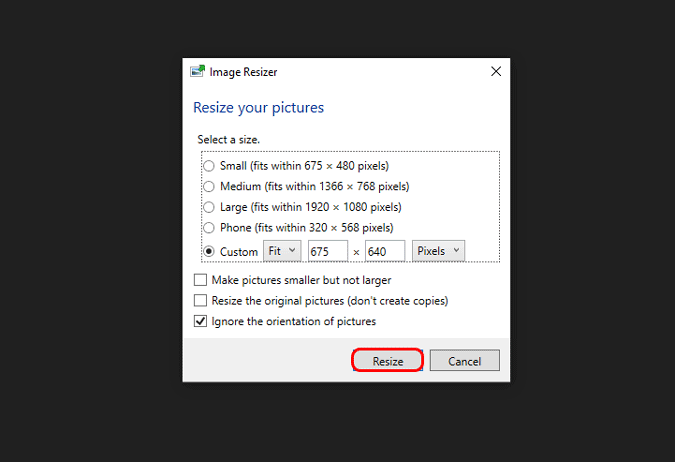
In case you enter a custom value, just enter either the width or height. Image Resizer can automatically populate the other dimension. For instance, we upload pictures to TechWiser with a 675-pixel width. Hence, I just enter the width and leave the height to be automatically populated.
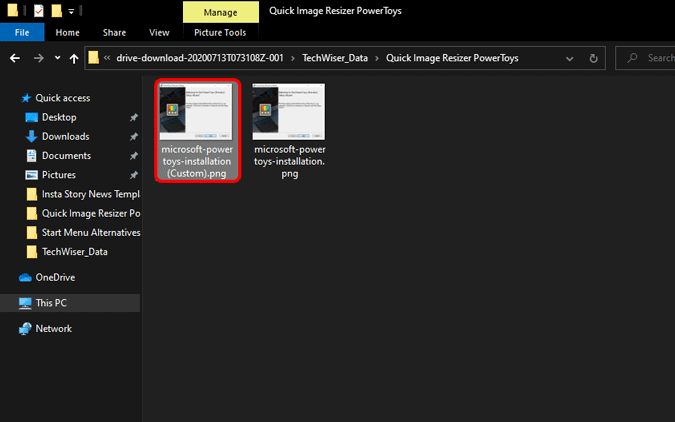
Step 4: Image Resizer doesn’t overwrite the original file. It creates a duplicate file with the same name proceeded by the resize setting name. The resizing is absolutely lossless (in case you are reducing the dimensions).
Read: How to Remove Metadata on Windows, Mac, and Linux
Additional Features /rather put ‘batch resize images’ in h2
Image Resizer also lets you batch resize images. I use it mostly to resize all of the images in a folder at once. To do that, just select all the images, right-click and click on “Resize pictures”. The process ahead is identical to the above-mentioned steps.
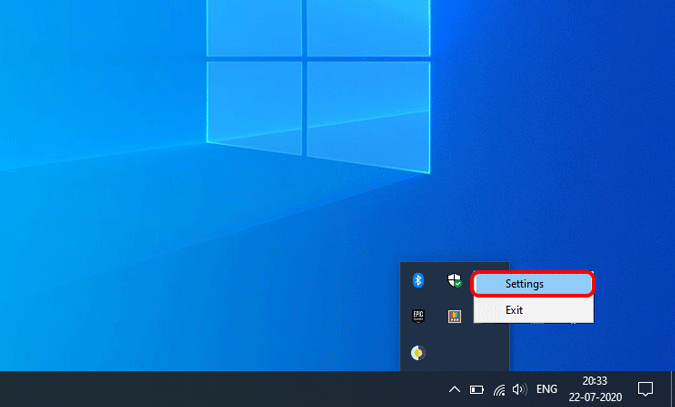
In case you frequently resize images like me, Image Resizer also provides you the option to edit pre-defined templates. To do that, head over to the icon tray at the bottom right corner. On the icon tray, right-click on the PowerToys icon and click on “Settings”.
In the PowerMenu settings, navigate to the Image Resizer tab. Here, you will see the 4 default Image resize options – Small, Medium, Large, Phone. You can change the values as per your requirement, remove, or even add dimensions.
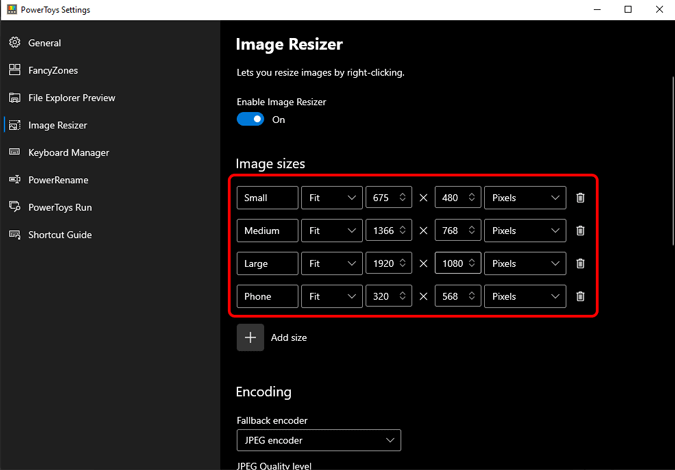
Further, if you scroll down, it provides the encoding options. In case, Image Resizer doesn’t support the file format you are resizing, it converts it into JPEG. This is known as “Fallback encoder”. Next, up you have PNG interlacing and TIFF compression options. In case these words sound new to you, leave them as default.
Other Alternatives
Microsoft’s Image Resizer is based on Brice Lambson’s open-source tool “ImageResizer“. The tool has been shut down now and all development is redirected to Microsoft PowerToys. Similarly, there are other apps like Resize Image. It also lets you batch resize images, however, the approach is slightly different. You have to right-click on images and select “Share”>”Resize Image”.
You can also try the popular command-line tool ImageMagick. It can quickly batch resize images, compress, and convert images.
Also Read: 3 Ways to Get Picture in Picture on Windows 10