Microsoft’s default screen capture tool received a major overhaul with the Windows 11 update. However, the Snipping Tool is far from perfect and leaves a lot to desire. Here’s where third-party alternatives come in and one such popular option is Snagit. If you are confused about whether to hit the buy button on Snagit or not, read the comparison post below to learn all the differences between Snagit and Snipping Tool.
Snagit vs. Snipping Tool
The comparison will be based on the user interface, convenience, editing features, additional functions, pricing, and more. Let’s get started.
Before we go ahead, let’s have a quick word about Snagit’s cross-platform availability. Unlike Snipping Tool that’s Windows exclusive, Snagit is available on Mac as well. If you move from Windows to Mac in the future, you won’t lose the familiarity. Without further ado, let’s get started.
User Interface
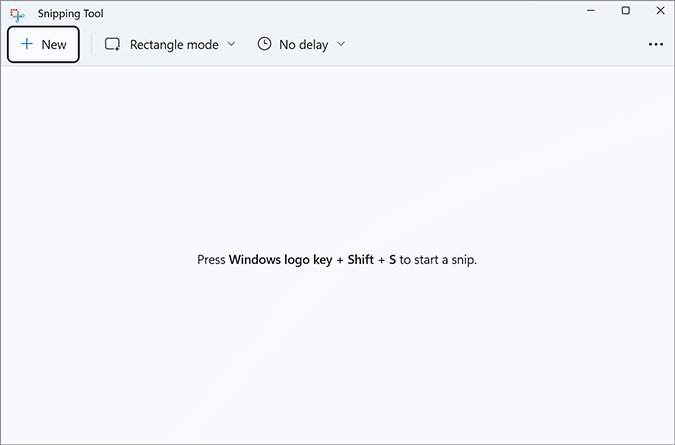
The Snipping tool received a UI makeover with Windows 11. It blends nicely with the rest of the Windows 11 theme with rounded corners and big buttons. The app supports dark theme too. The screenshot editor looks better than the previous version.
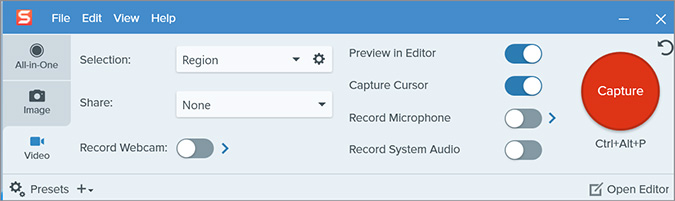
Snagit has remained mostly unchained in the last few years. It looks and feels outdated compared to the Snipping Tool. The app supports a dark theme and that’s about it. The preferences menu is a blurry mess and menus/options are designed as if it’s still 1980. Snagit definitely needs a modern UI to match the OS theme.
Convenience
Convenience is another factor to keep in mind when using a default screen capture tool versus a third-party one. Since the Snipping Tool is built-in, you can hit the Windows + Shift + S keys and the system is ready to take a screenshot.
Simply select from region, app window, full capture, or free-hand capture, and start taking screenshots.
With Snagit, you need to enable the app to run at startup and assign a hotkey to capture a screenshot or start video recording. On Snagit, go to File > Capture Preferences and enable Run Snagit when Windows starts option.

You also need to assign a key shortcut for taking screenshots. From now on, whenever your log into the desktop, Snagit will be running in the background to let you take quick screenshots. If Snagit fails to launch at startup (it happens sometimes), you might need to open the app manually to activate the app’s hotkeys.
Screenshot Annotation
Once you capture a screenshot with the Snipping Tool, you receive a desktop notification. Simply click on it and you are ready to do annotation.
You can use the pen tool, select from different colors, sizes, and even highlight phrases in a screenshot. The standard feature-set covers a ruler, protractor, cropping functions, and eraser.

With Snagit, you have a magnifier tool to take precise screenshots, a built-in image resolution count, and the ability to take scrolling screenshots. Snagit easily beats the standard Snipping Tool here.

As for annotation, you can add arrows, text, callout, shapes, stamps, and even hide confidential information using the blur tool. You can also play with quick effects, and numbers to guide a process, and add a watermark.
Additional Functions
As for the Snipping Tool, you can add a timer to a screenshot after a few seconds, change the keyboard shortcut, and enable the clipboard.
We use the clipboard function all the time. Simply snap a screenshot and use Ctrl + V keys to send the image in a chat or over an email. One interesting addition is the Snip outline.
You can enable the function from the Snipping Tool Settings and select a color and border thickness to add around an image. From now on, whenever you take a screenshot, the app will automatically add a stroke with the selected color and thickness.

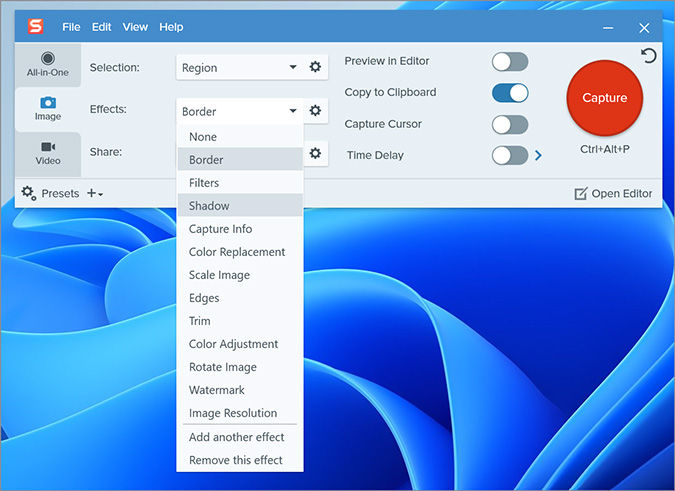
Snagit is a step ahead in automation. You can add more effects such as Border, Filters, Shadow, Color Adjustment, Time, Watermark, and Image Resolution. Similarly, you can share the screenshot directly to cloud platforms and even note-taking apps like OneNote and Evernote.
The software’s video recording tools are a must-have for educators or for someone creating a digital course to sell.
Pricing
The Snipping Tool is free to use. Snagit is priced at $63 as a one-time purchase. The purchase is good for one year of free updates. You can opt for Snagit Maintenance at $12.60 per year to continue receiving updates. If you are a student or teacher, you are eligible for a generous discount and get a Snagit license at $38.
Capture the Screen
We would advise trying out the Snipping Tool first. But if you take frequent screenshots in your workflow, you will definitely feel lacking with Microsoft’s solution. You can slide with Snagit. It’s a one-time purchase (if you exclude the yearly maintenance).