If you have to edit a picture in Word, there’s no need to download any third-party photo editor on your PC. Microsoft Word offers an interesting photo editor that lets you perform many photo editing tasks. You can crop the image, resize, flip, and add effects and filters to it. You can even remove the background or compress a picture right inside your Word document. We have already covered how to crop a picture in Word in our dedicated post. Let’s check other tips to edit a picture or screenshot in Word.
Table of Contents
1. Resize Picture in Word
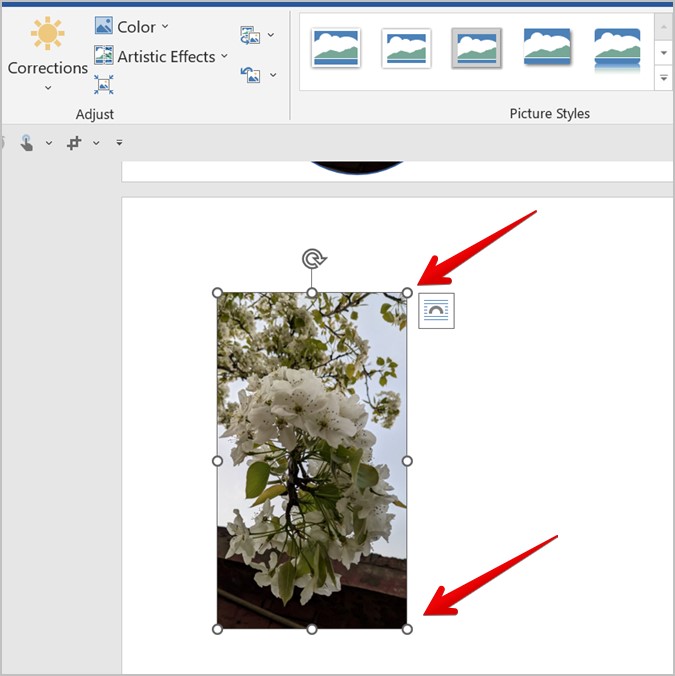
There are three ways to resize your images in Word. In the first method, click on the picture once to select it. Then, drag the image in or out using the round icons at the corner edges.
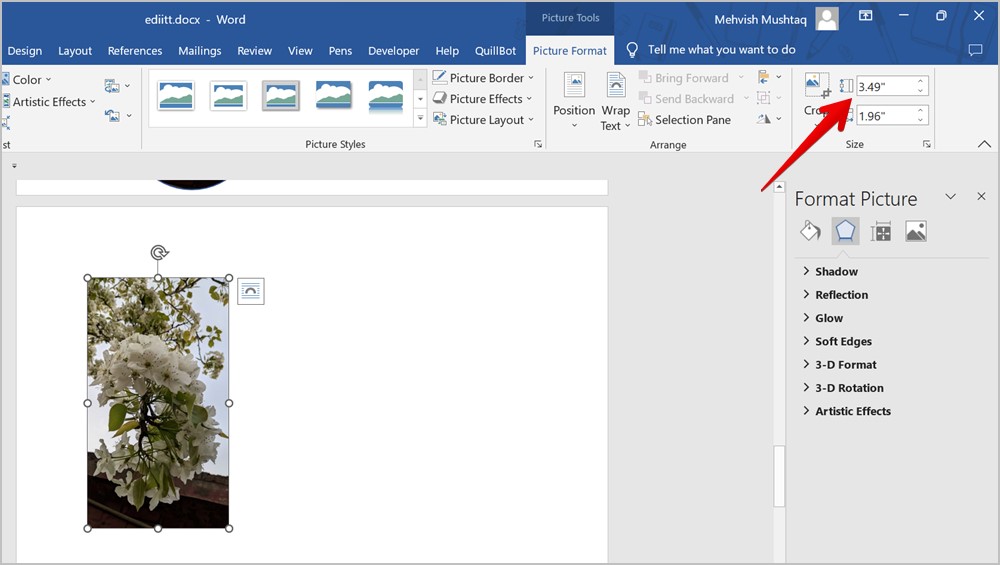
Another way to change the size of a picture in Microsoft Word is to double-click on the image. That will open the Picture Format toolbar at the top. Here you need to manually enter the required width and height for the image in the available boxes in the Size section.
Alternatively, you can even right-click on the image and select the Size and Position option.
Tip: Check out other ways to resize a picture on Windows PC.
2. Flip the Image
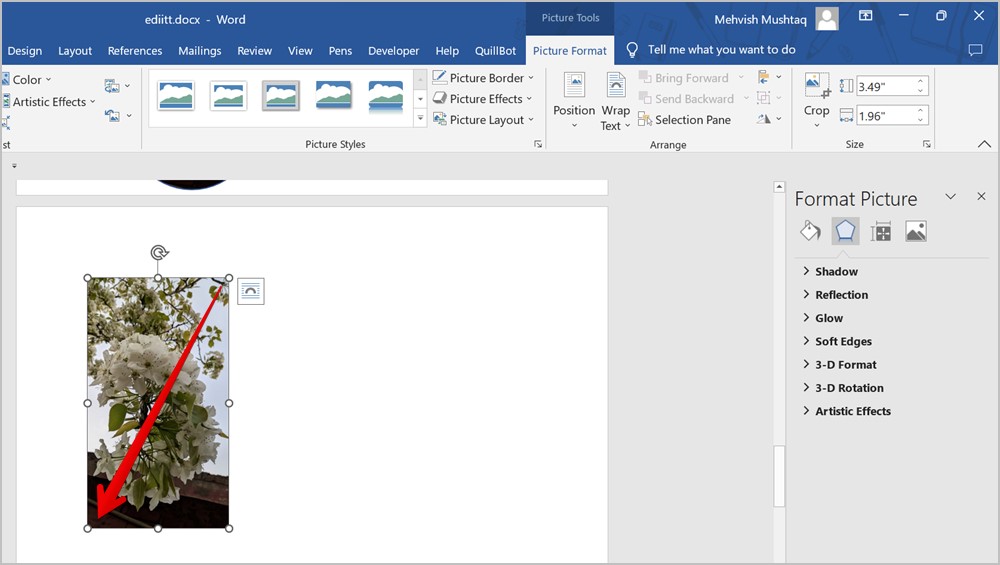
To flip an image quickly in Word, click on it once to select it. Then, hold and drag any one of the four corner edges to the opposite end.
To flip an image horizontally, you need to drag it from the right to the left corner or vice versa. Similarly, to flip it vertically, drag it from top to bottom or vice versa.
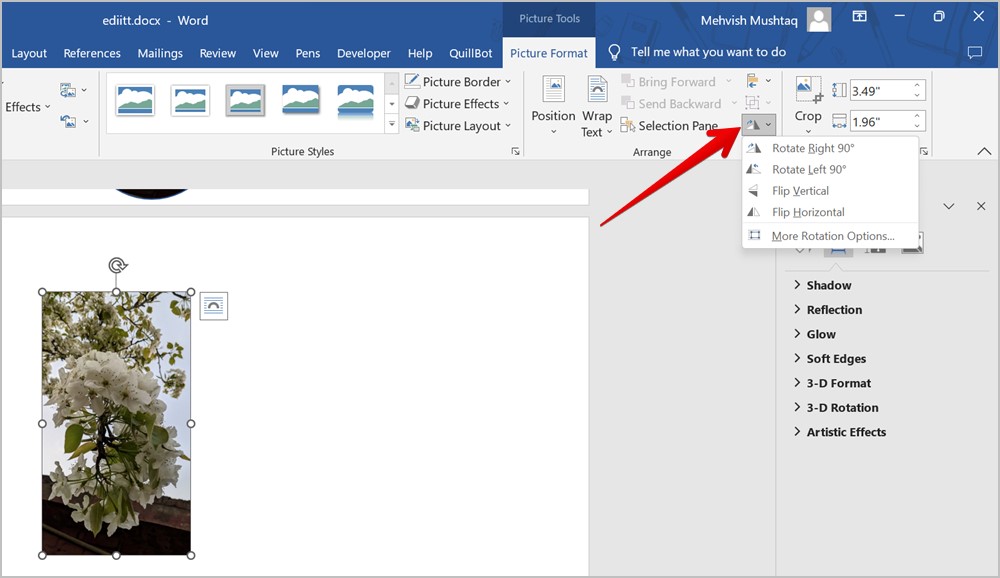
3. Rotate the Image
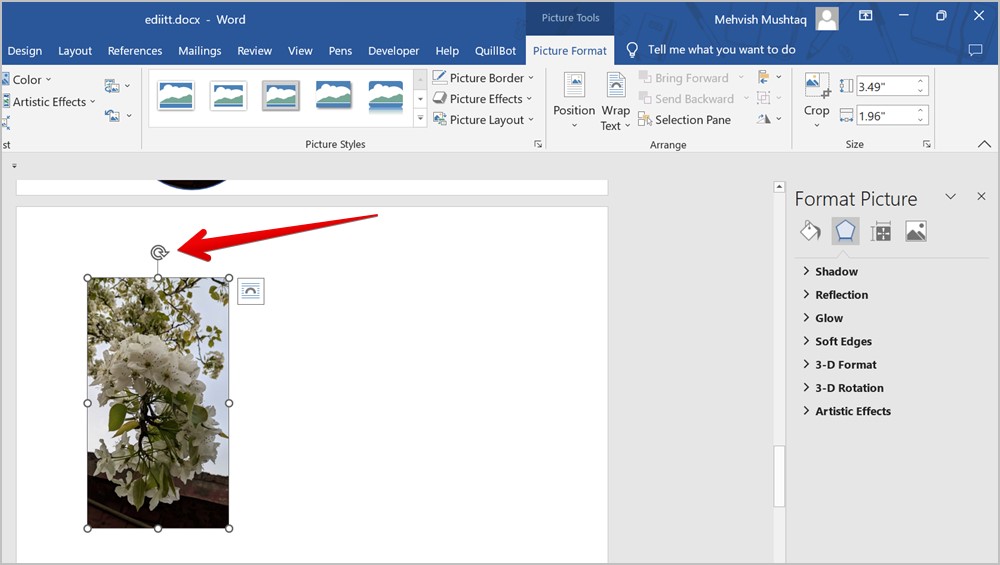
You can rotate a picture at any angle in Microsoft Word. Simply, select the image first. You will see the Rotation icon at the top of the image. Hold it using your mouse and move it in the direction that you want to rotate the image.
Alternatively, you can rotate and flip an image using the Rotation feature in the toolbar as well. Double-click on the image to open the Picture format toolbar. Click on the Rotate icon and select the rotation angle or flip mode.
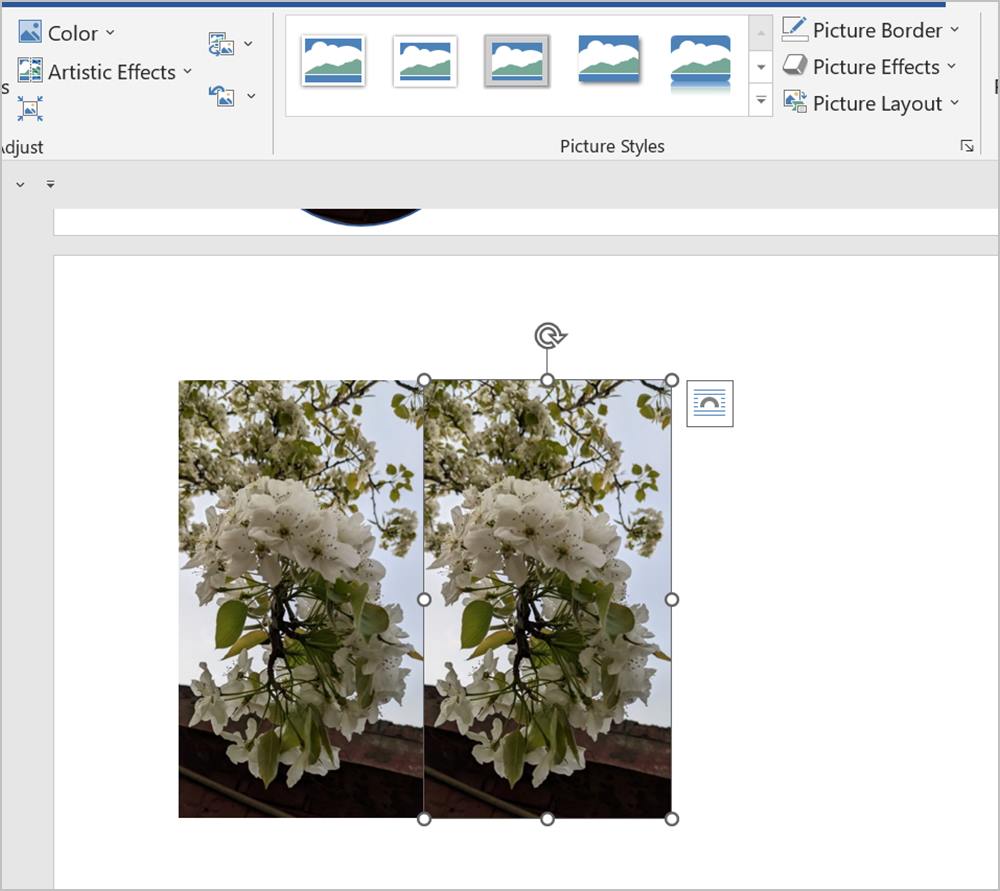
4. Create Copies of a Picture
The regular way to create copies of an image is to use the Ctrl + C and Ctrl + V keyboard shortcuts. But Word offers another way to duplicate your image.
For that, select the image by clicking on it, then hold the Ctrl key and drag the selected image to its right side. A duplicate copy will be created. Similarly, repeat the process to create multiple copies of your picture.
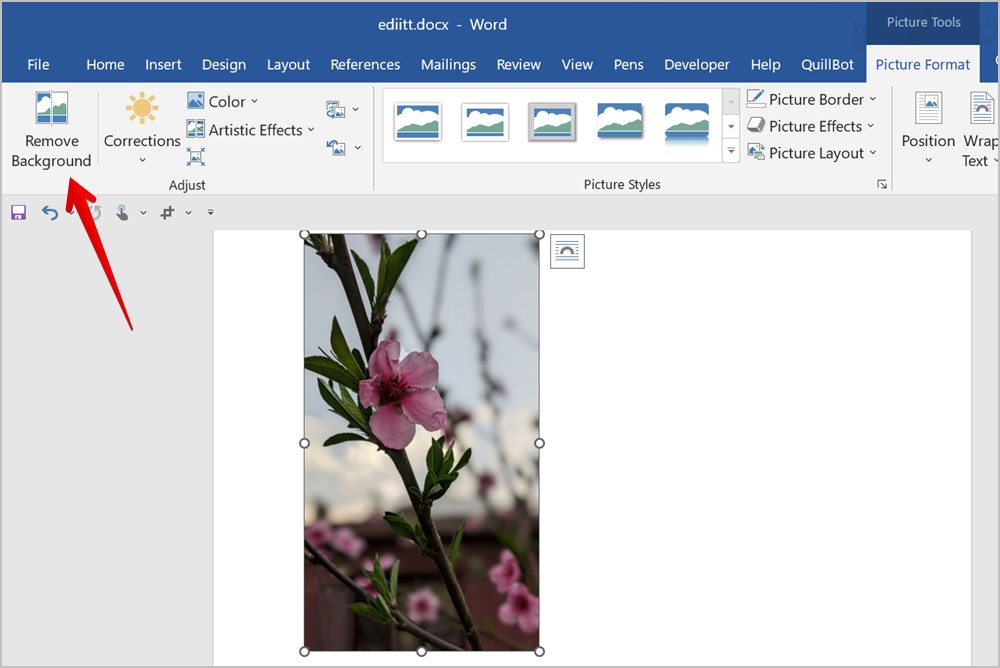
5. Remove Background from a Picture
The next tip to edit a picture or screenshot in Word is to remove the background from an image. Interestingly, Microsoft Word offers a native feature to remove the background from your pictures. Follow these steps:
1. Insert the picture in your Word document.
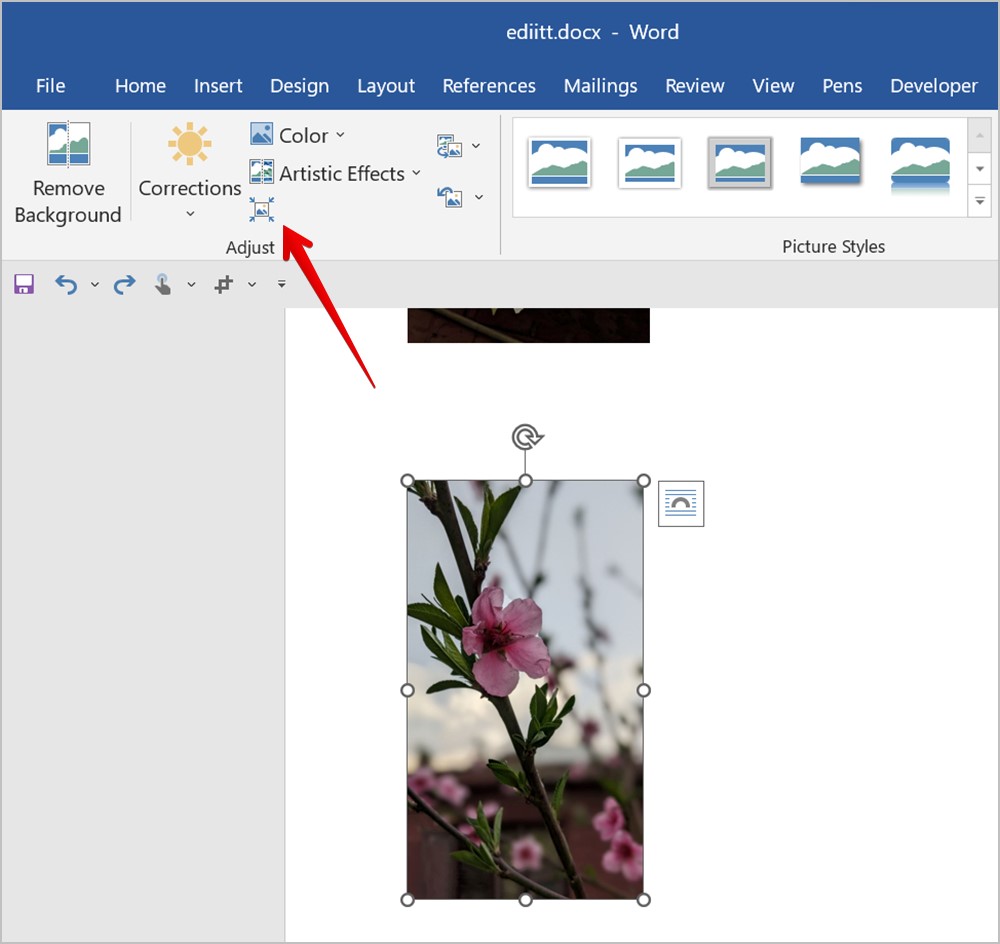
2. Double-click on the picture to open the Picture Format menu at the top.
3. Click on Remove Background.
4. Word will automatically detect the background and the same will show up in magenta color. Basically, the area in magenta color will be removed. If you want to make changes to the selection, use the Mark areas to keep and Mark areas to remove tools to add or remove areas from your selection manually. After you select the tool, mark the areas on the image.
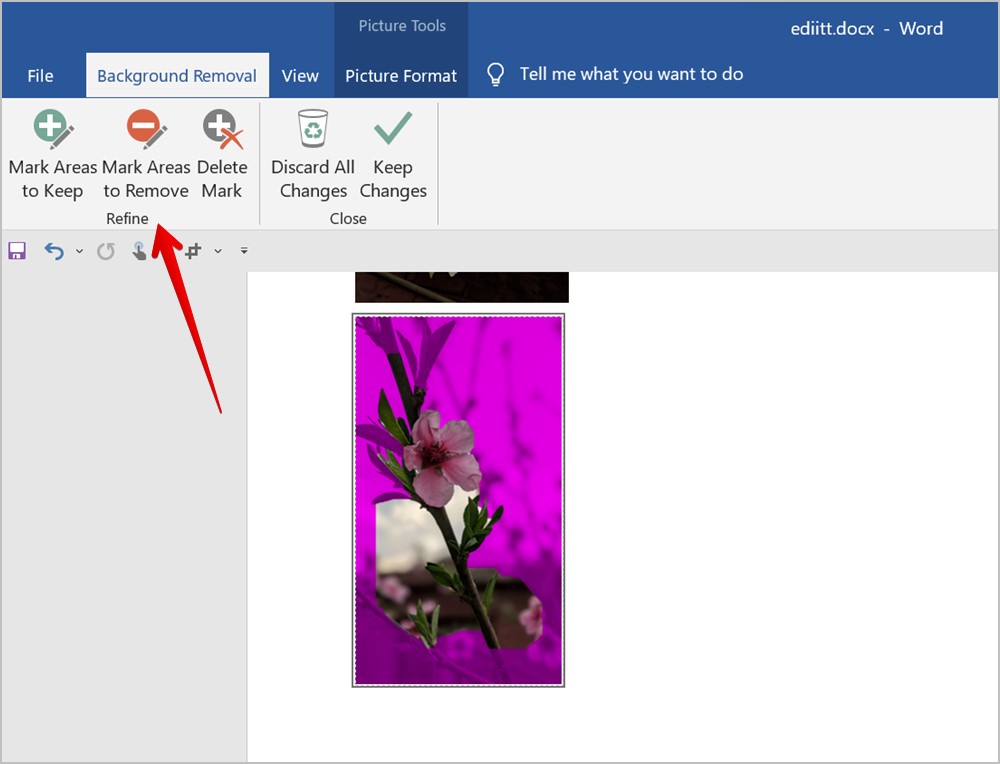
5. Once you are satisfied with the selection, click on Keep Changes or press the Enter key to remove the background from your picture.
Tip: Check out other ways to remove the background from any picture.
6. Add Frame to Picture
To make your picture or screenshot stand out, you can add a frame to the picture as shown below:
1. Double-click on the picture in your Word document.
2. Click on the desired frame in the Picture Styles section to add it to your image.
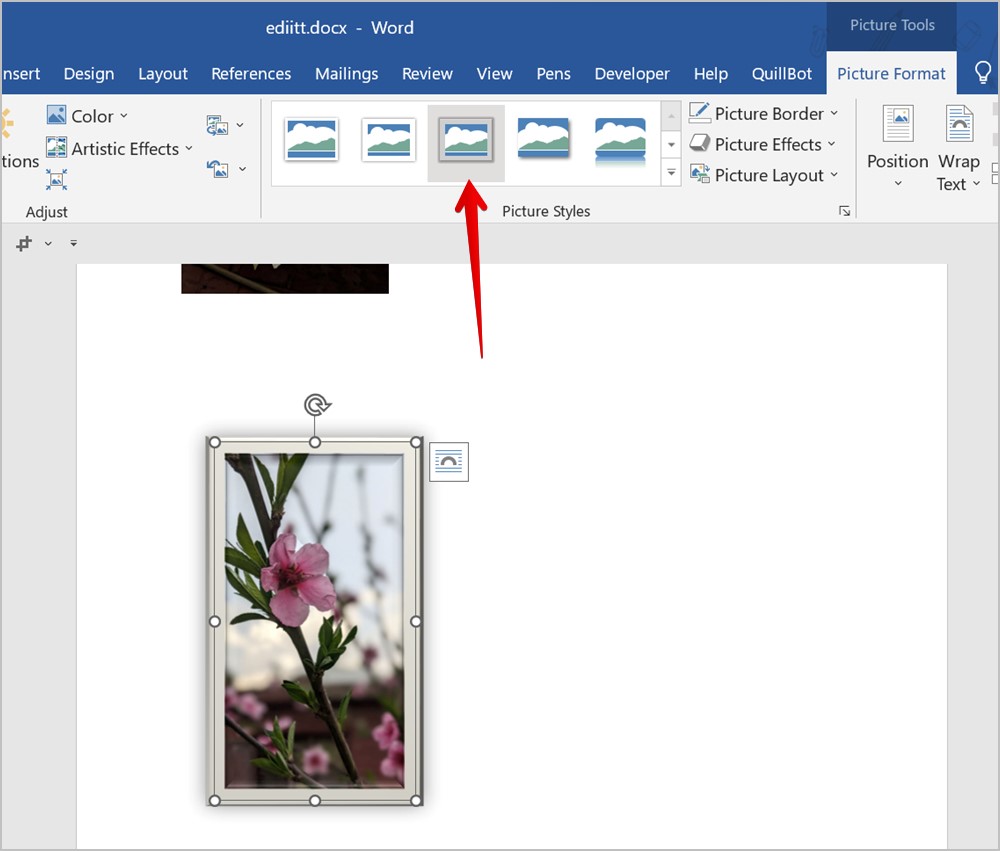
Pro Tip: Click on the More arrow to view all the available frames.
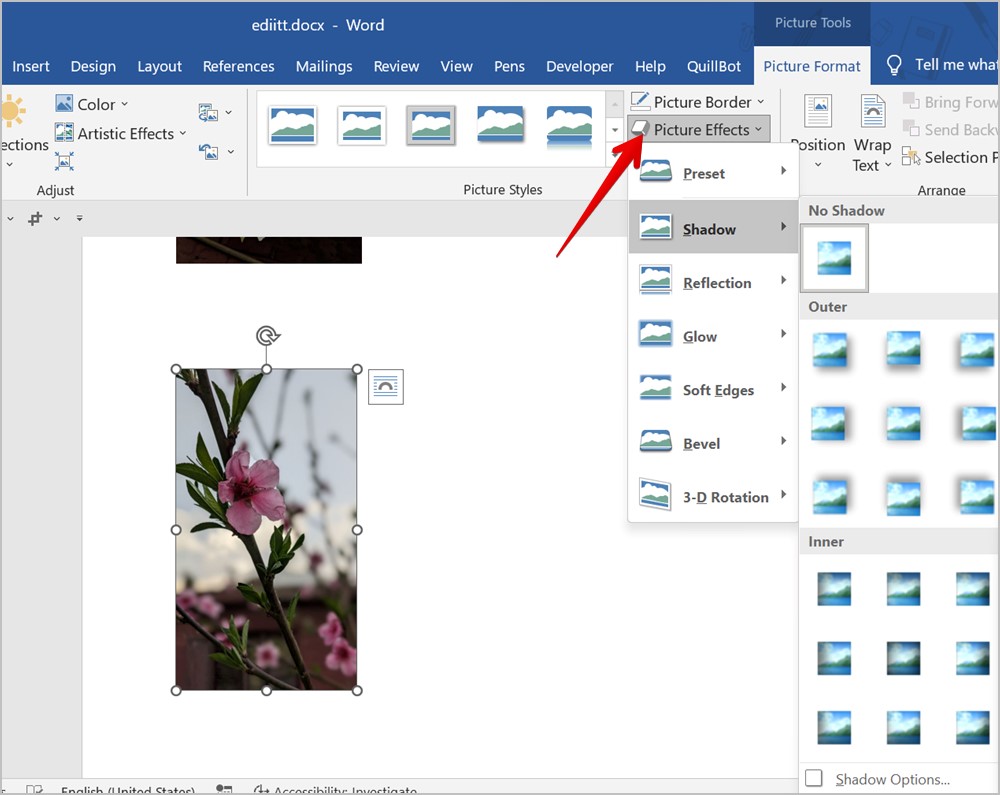
7. Add Effect to Picture
Another way to enhance the look of your picture is to add an effect to it. You can add effects like shadow, reflection, glow, etc.
Double-click your picture and then click on Picture Effects in the Picture Format toolbar. Select the desired effect from the list.
8. Add Border to Picture
If you want to keep it simple and just add a regular border to your picture instead of a proper frame, you can do that too.
1. Double-click on the picture and select Picture Border from the Picture Format toolbar.
2. Choose the border color from the available options. Or, click on Weight or Dash in the menu to customize border size and style.
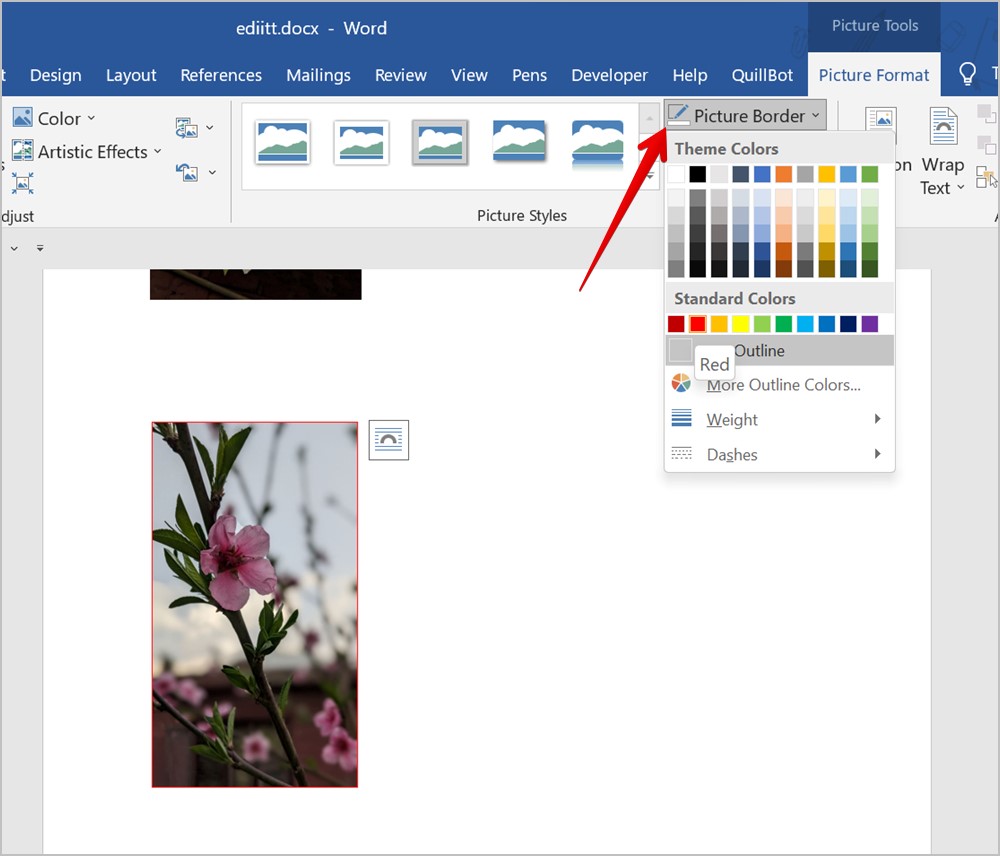
Pro Tip: To use a custom color or to add a hex color code for the border, click on Picture Border followed by More outline colors in the menu. Then, click on Custom.
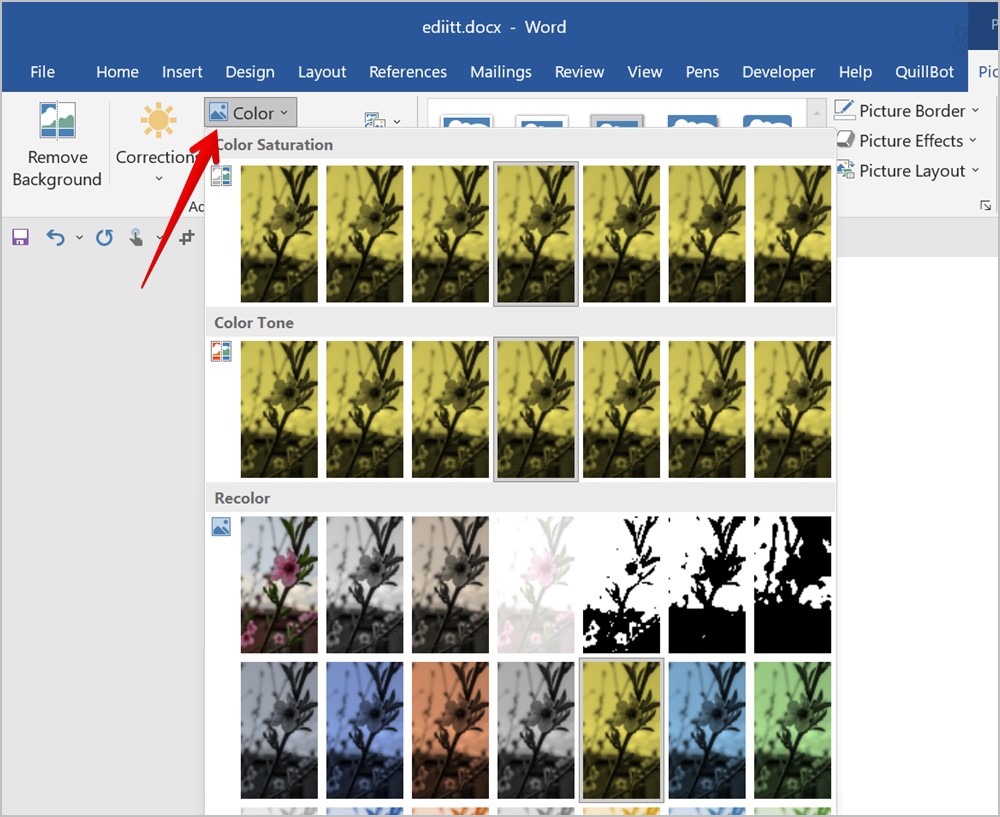
9. Change the Color of a Picture
Want to add a filter or change the colors of your picture? You can do that too in Microsoft Word.
Double-click on the image and then click on the Colors option in the Picture Format toolbar. Select the preferred color from the list.
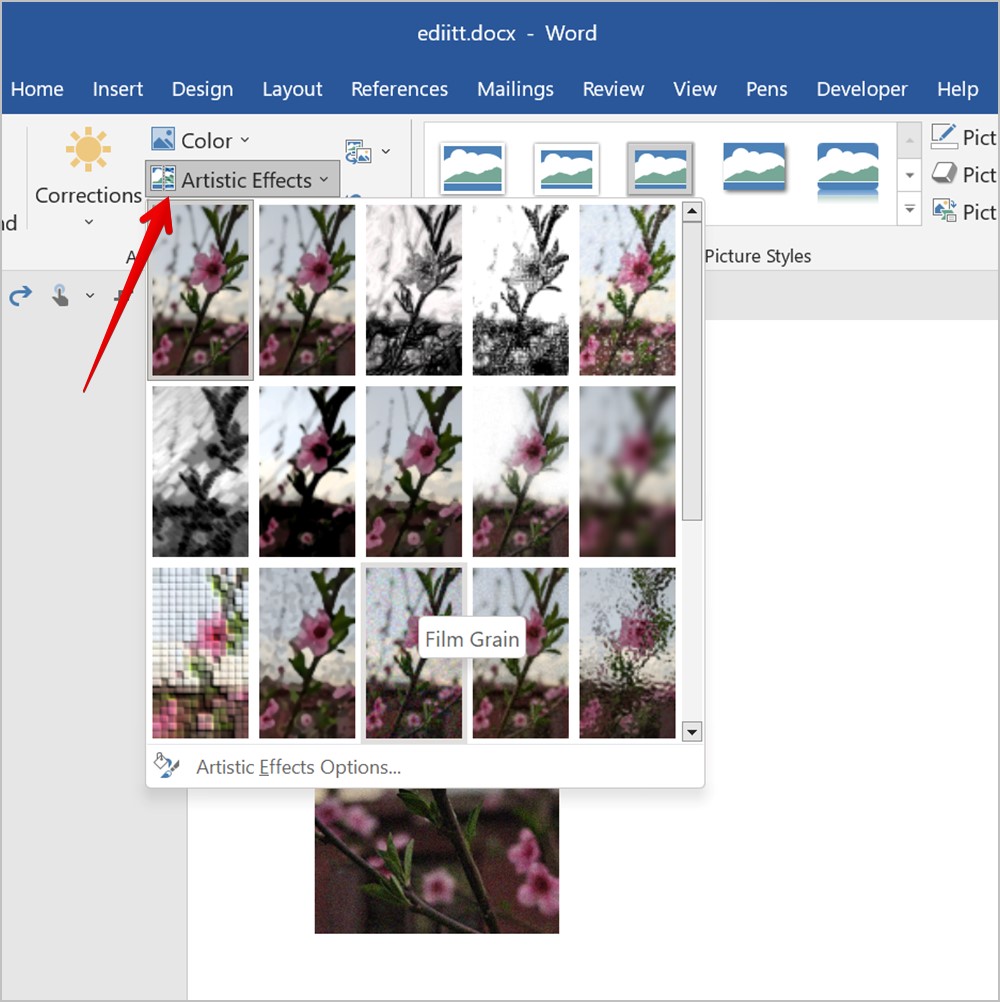
10. Add Artistic Effect to Picture
Next, you can add artistic effects like a pencil sketch, paint strokes, paintbrush, etc. to your image in Word.
For that, double-click the picture and select Artistic Effects from the Picture Format toolbar. Choose an effect to add to your image.
11. Change Brightness, Contrast, and Other Lighting Conditions
To customize various lighting conditions of your picture, follow these steps:
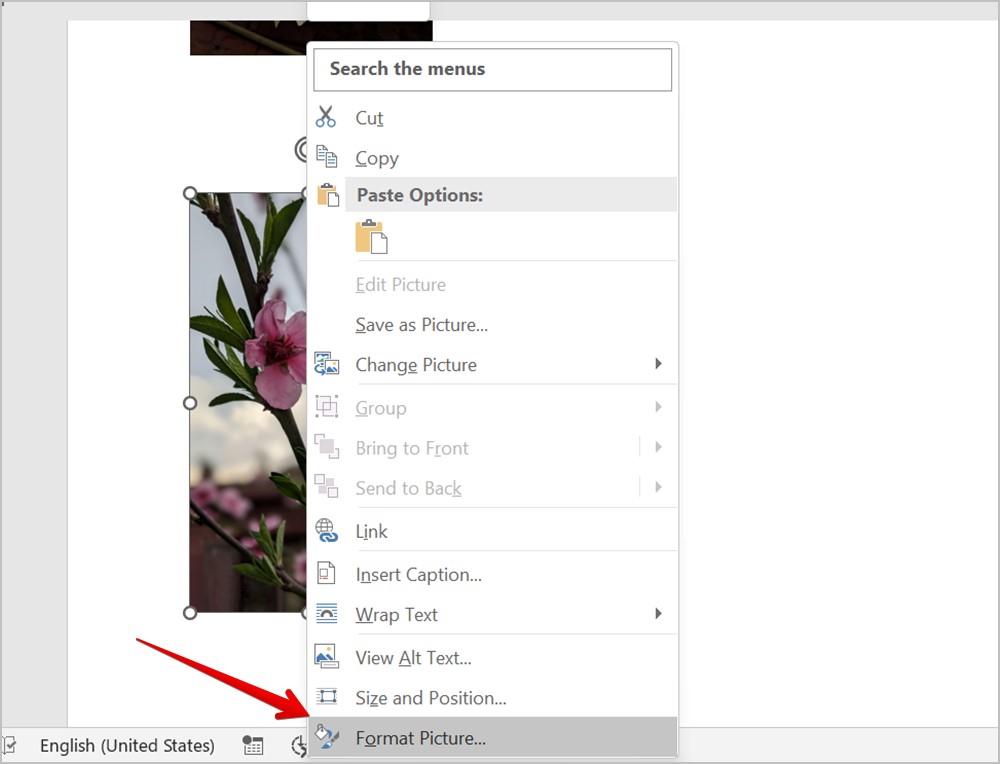
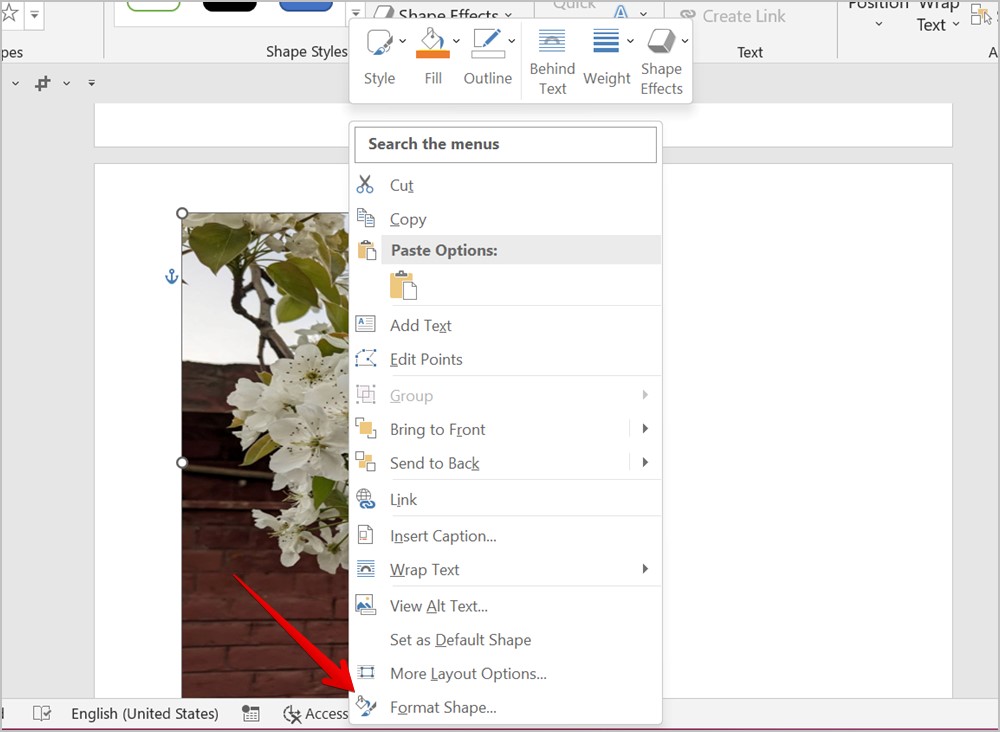
1. Right-click on your picture and select Format Picture from the menu.
2. Click on the Gallery icon in the right sidebar and expand the Picture Corrections section.
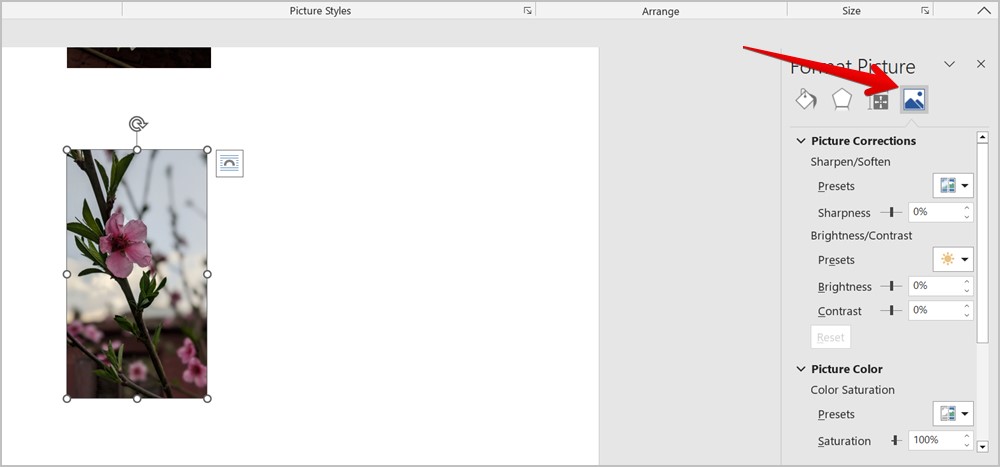
3. Change the available parameters.
Pro Tip: You can also double-click the image and select Correction in the Picture Format toolbar at the top to adjust the brightness and contrast of your picture.
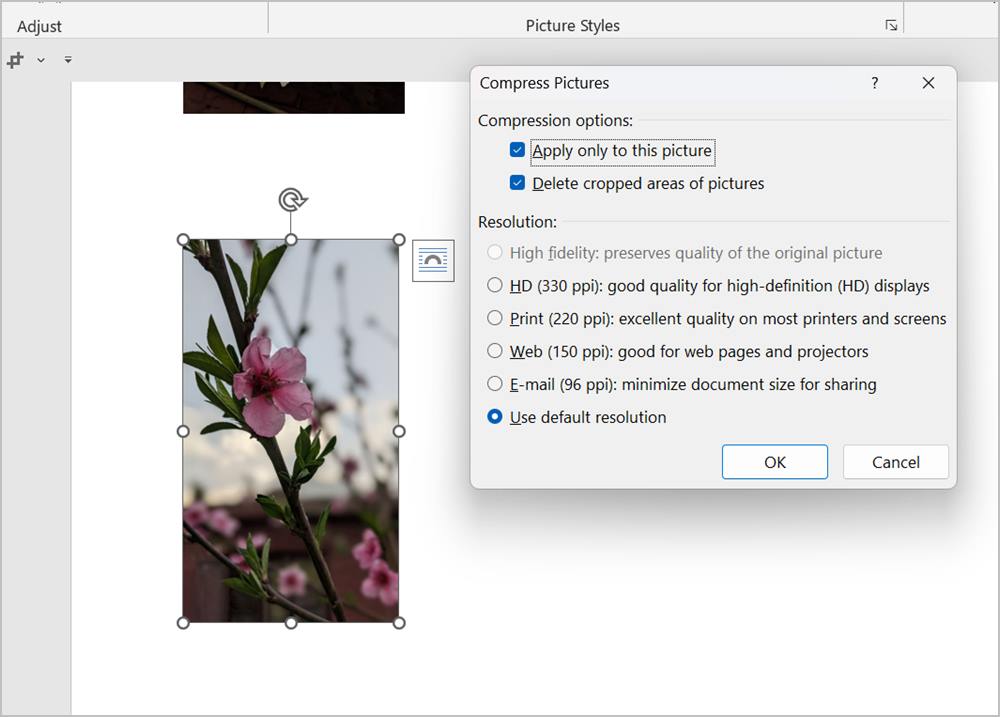
13. Compress Picture
Is your Word document quite big? You can reduce its size by compressing the pictures in it. You can change the resolution of one picture or all pictures and delete the cropped part of a picture and that will also compress the picture.
1. To compress a picture, double-click on it and click the Compress Picture icon in the Picture Format toolbar.
2. Choose the preferred resolution and select whether you want to compress the selected picture only or all pictures. Click on Ok to confirm.
14. Change the Transparency of a Picture
To make your image transparent, follow these steps:
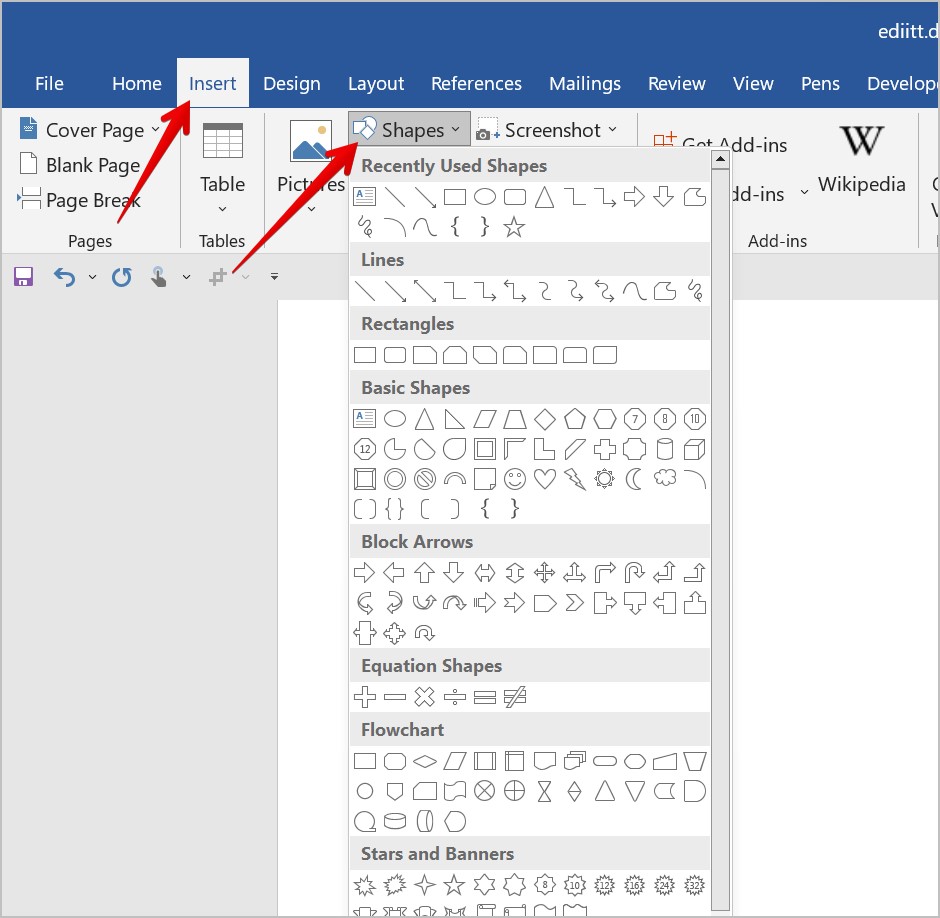
1. In your Word document, click on the Insert followed by Shapes. Select the shape where your image will fit perfectly.
2. Draw the desired shape in your document.
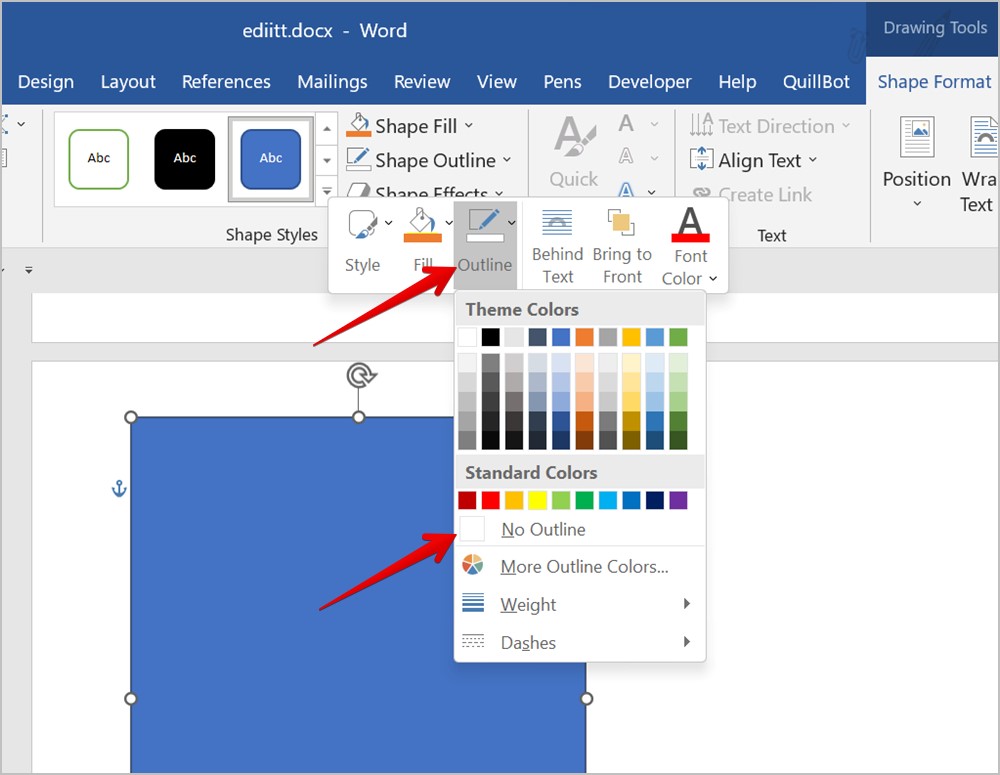
3. Right-click on the shape and click on Outline. Select No outline from the menu.
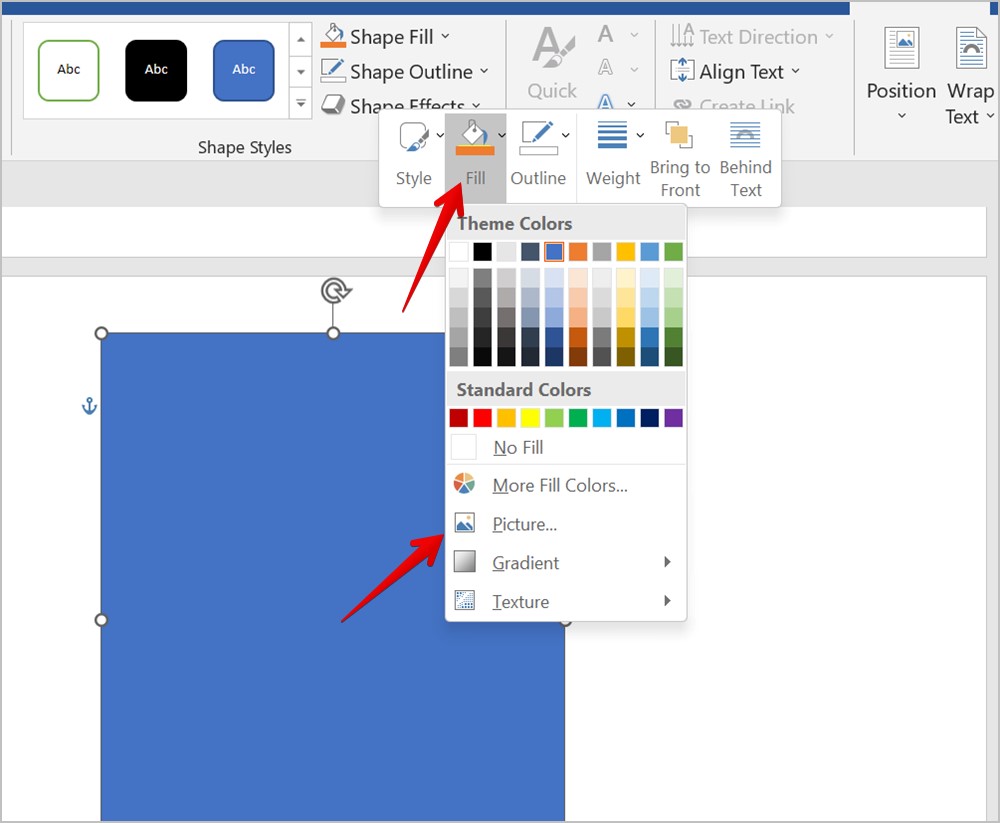
4. Right-click again on the shape and select Fill followed by Picture. Select the picture whose transparency you want to change.
5. With the picture added in the shape, right-click on the picture and select Format Picture.
6. The Format Picture panel will open on the right side. Click on the Fill tab (Bucket icon) and expand the Fill section.
7. Use the slider next to the Transparency to change the transparency of your picture.
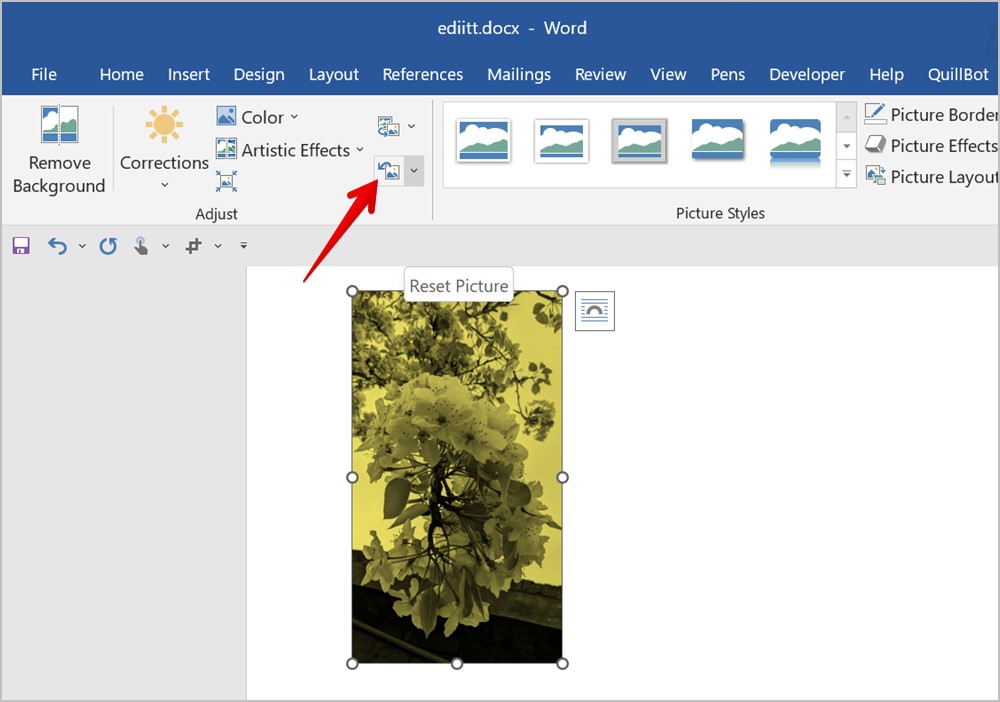
15. Reset Changes Made to a Picture
If you don’t like the edited picture in Word, you can reset the changes and restore the original image. For that, double-click the edited image and click on the Reset Picture icon in the Picture Format toolbar.
Make an Amazing Word Document
Hope the above tips to edit a screenshot or picture in Word were helpful. Once you have edited the pictures, know how to put two pictures side by side in Word. Also, know how to create a watermark template in Word.