Just like you can flash custom ROMs on Android to access new features, you can also flash the third-party firmware on your DSLR. And one such popular firmware is Magic Lantern. Now, by no measure is Magic Lantern is new to the market, but it is still relevant and feature-packed when compared to the stock firmware.
Magic Lantern comes free and runs from the SD card, providing some much needed additional features. For example, if you wish to shoot time-lapse videos then you’ll need to buy an intervalometer separately. But Magic Lantern lets you shoot it natively. Similarly, it helps with manual focussing, overexposure etc.
Read: 5 Best Time Lapse Apps for Android
The best part about magic lantern though is that it doesn’t override the Stock firmware. So if at any time you wish to remove magic lantern, just format your SD card.
Is Magic lantern safe?
Though, do note that using magic lantern on your DSLR may void your camera warranty, so proceed at your own risk. Both Canon and Magic Lantern won’t take responsibility for the damage it may cause to your camera. That being said, the chances of your DSLR turning into a brick are exceptionally low. We never had any problem using it.
Another reason why you should not be worried is that Magic Lantern is stored and booted from your memory card. So if there is any issue, just swap the memory card and you’re back to your stock camera firmware.
Before we begin
There are two things that you need to take care of while using Magic Lantern.
- since you are running Magic Lantern from your SD card, make sure to never delete the ML files from the card. Format the card from your DSLR instead.
- Second, even if your camera is turned off, wait for 5 seconds before removing the card.
Read: Use Android and iPad as an External Monitor for your DSLR
Supported device
Magic lantern is available only for Canon cameras. For this article, we are using it on a 70d, however, as of writing this post, you can install magic lantern on Canon 5D2, 5D3, 6D, 7D, 70D, 50D, 60D, 500D/T1i, 550D/T2i, 600D/T3i, 650D/T4i, 700D/T5i, 1100D/T3, EOS M etc. you can find the complete list of supported models on the Magic Lantern website.
If you are a Nikon user, you can use Magic Lantern alternative like Nikon hacker. Although, since I’ve not used it personally, I won’t be able to compare it to Canon’s ML.
Installing magic lantern
Installing magic lantern could seem tricky at first, especially if you are a first time user. Well, fret not, we have put together this guide on how to install, use and uninstall magic lantern on your Canon DSLR.
For the sake of this article, we’re using Canon 70d for screenshots, but the process is pretty much same for all Canon DSLRs. So, let’s begin. Shall we?
Follow these steps
Before we start it’s recommended that you use a fully charged Canon battery. Also, while you are at it, clear all your camera settings. That said, it’s all optional, we didn’t delete our camera settings when we first installed magic lantern on our DSLR, and the installation went just as fine.
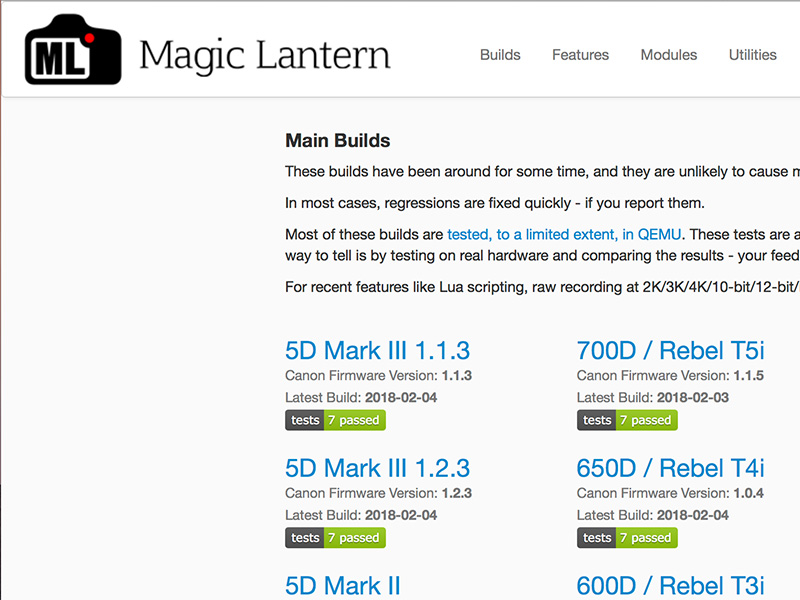
1. First, make sure your camera’s firmware is up to date. Make a note of your Camera Firmware, we’ll need this in the next step.
2. Next, go to the Magic Lantern site and download the software that matches your firmware version exactly. To find your camera model number, press (win: Ctrl+f, mac: Cmd+f) to open up the search input and type in your camera model number.
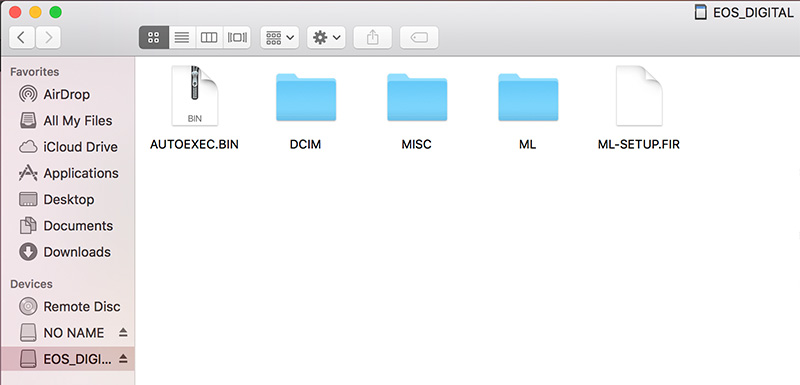
3. Once the files are downloaded in your computer, copy-paste Magic Lantern files to your SD card.
Some Magic Lantern features require a high-end SD card (for example shooting videos in RAW), so if you have multiple SD cards lying over, use the best one.
4. Now, safely eject the SD card from your computer and place it in the DSLR. Turn on your DSLR and go to update the firmware.
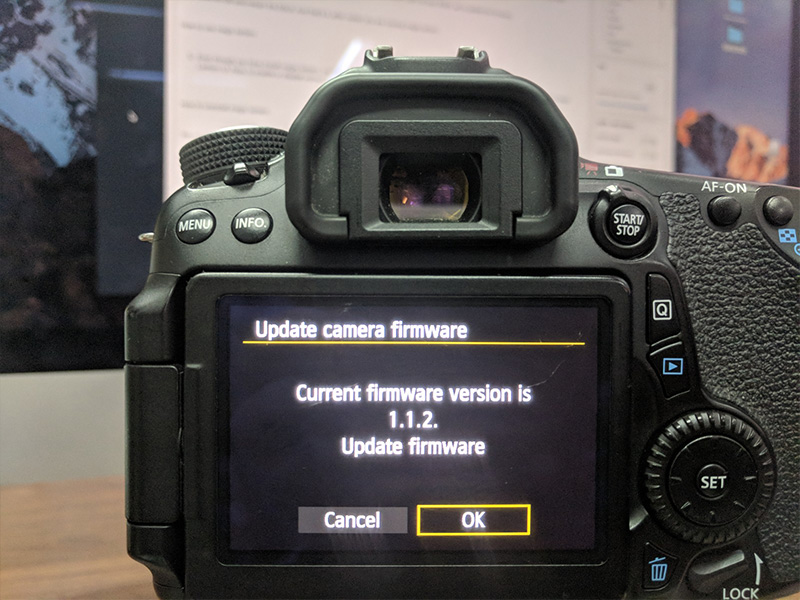
5. Click on OK and restart the DSLR. It might take some time to update the settings, don’t touch the camera while it’s installing Magic Lantern firmware. Once done, it’ll ask you to reboot your camera, restart it and now, you will be running magic lantern in parallel in your DSLR. (make sure you are in the manual mode if you don’t see magic lantern’s interface)
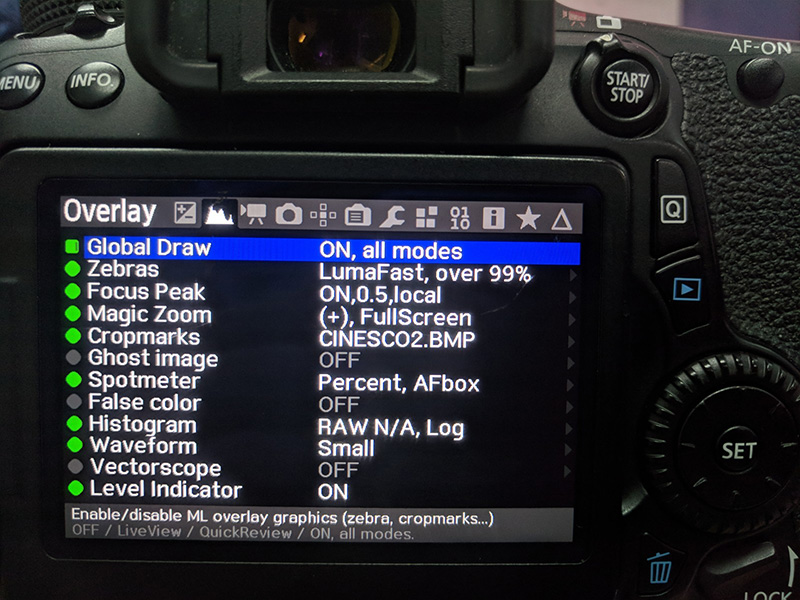
How to use Magic Lantern
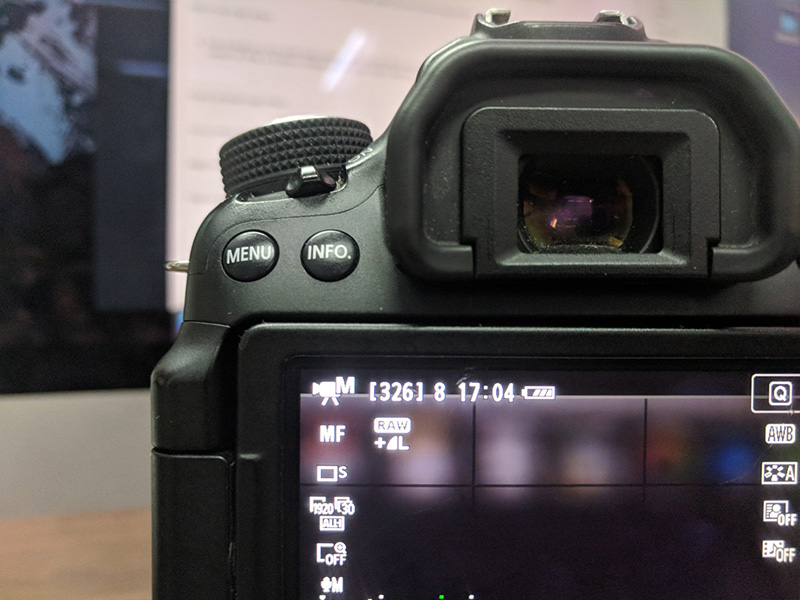
Even though you have installed Magic Lantern, you’ll see the native Canon UI in the preview display. press the “info” button in your DSLR to toggle to Magic Lantern’s UI. Now, to enable or disable various magic lantern features, you can press the trash button to bring up the options menu.
How to uninstall magic lantern
Again, before uninstalling Magic Lantern. make sure your battery is charged and take a backup of your SD card as a precautionary measure.
Okay; now, since you’re running Magic Lantern directly from the SD card, removing it is a breeze as well. There are two ways to remove magic lantern from your DSLR.
1. First, since Magic Lantern runs from the card, you can simply replace it with a new SD card which doesn’t contain Magic Lantern files. Doing so, your DSLR won’t have the Magic Lantern settings and will automatically use the stock settings.
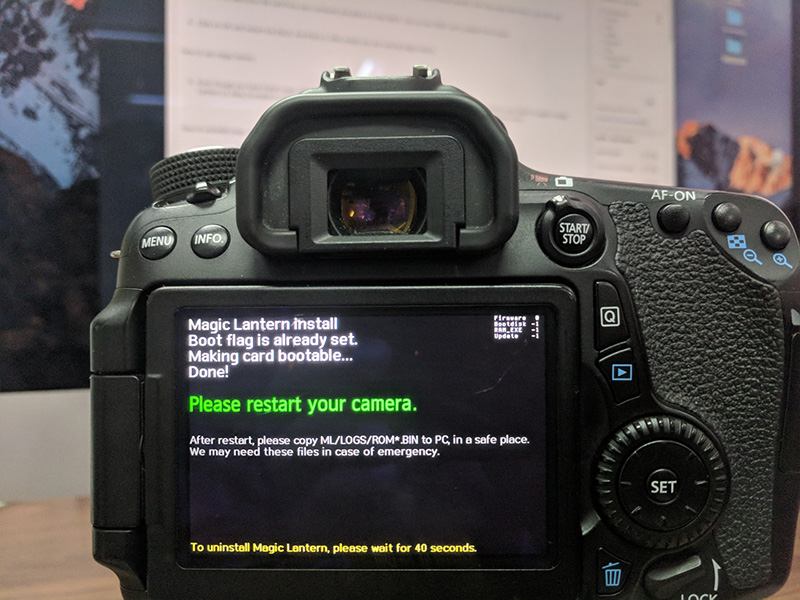
2. However, if you’re using only one SD card (not a good practice) or if you want to permanently get rid of Magic Lantern from your SD card, then all you have to do is, update your camera firmware. Once done, you’ll see a message that reads “Magic Lantern is successfully installed” (Wait, What)
Well, if you look at the bottom of the screen, you’ll notice a small message saying “To uninstall Magic Lantern, please wait for 40 seconds“. As you have guessed, don’t touch your DSLR for 40 seconds and it’ll automatically remove ML and restart the device.
You’ll still be having the Magic Lantern files in your SD card though, so you’ll need to delete those from your computer. If not, you can let it remain ionthe SD card and reinstall it again.
Note: In some DSLRs like Canon Mark II, it’ll ask you to change the shooting mode from manual to Auto/TV/M etc to uninstall Magic Lantern. In a nutshell, the steps might vary in different DSLR model but the concept remains same. That is, update your camera firmware and follow the onscreen instructions.
Wrapping Up: Use Magic Lantern?
Well, this is how you can install and uninstall ML in your Canon DSLRs. In the next article, we’ll talk about the best features of Magic Lantern and how to use them.
If you have any questions, let us know in the comments below.