One of the most frustrating problems that you may encounter with Microsoft Edge is when the browser continuously flickers or flashes on your Windows computer. This typically happens when Edge experiences problems while loading visual content on your PC. This guide will walk you through all the possible solutions to fix the Microsoft Edge flickering issue in Windows. So, let’s take a look.
Table of Contents
1. Disable Hardware Acceleration
Enabling hardware acceleration in Edge is an effective way to enhance the browser’s visual output. However, if this feature malfunctions, Microsoft Edge might flicker on the Windows screen. You can try disabling the hardware acceleration feature momentarily to see if that helps.
Type edge://settings/system in the URL bar at the top and press Enter. Then, turn off the switch next to Use hardware acceleration when available.

2. Turn Off Extensions
A faulty or outdated extension can also disrupt browser processes and cause such anomalies. To check for this possibility, you will need to use Edge without any extensions.
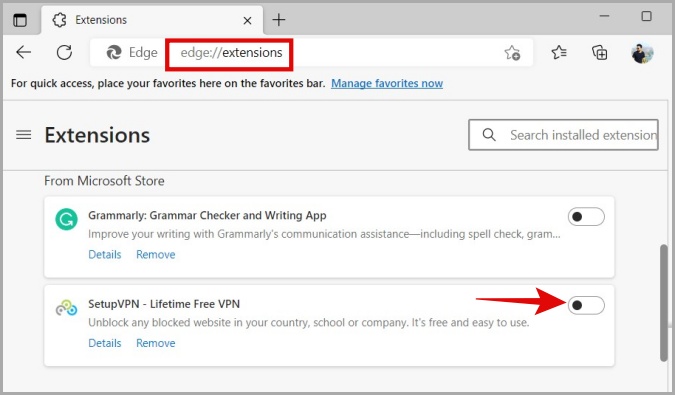
To disable extensions in Edge, type edge://extensions in the address bar and press Enter. Use the toggles to turn off all extensions.
If this fixes your problem, you can enable your extensions one at a time to find the one causing the issue.
3. Disable Content on the Home Tab
The default home tab layout in Microsoft Edge displays a variety of content to provide an informative browsing experience. Nonetheless, these elements could sometimes impact the browser’s performance and cause screen flashing, especially on low-powered computers. Hence, it’s best to disable such content if it is not useful to you.
1. In Microsoft Edge, open a new tab.
2. Click the settings icon in the top right corner and then click the Layout dropdown menu to select Custom.

3. Turn off the toggles next to Show greeting and New tab tips. Then, click the Content dropdown menu and select Content off from the list.

4. Configure the Angle Graphics Flag
Several Reddit users reported fixing the Microsoft Edge flickering problem in Windows by configuring the Angle Graphics flag. You can also give this method a shot.
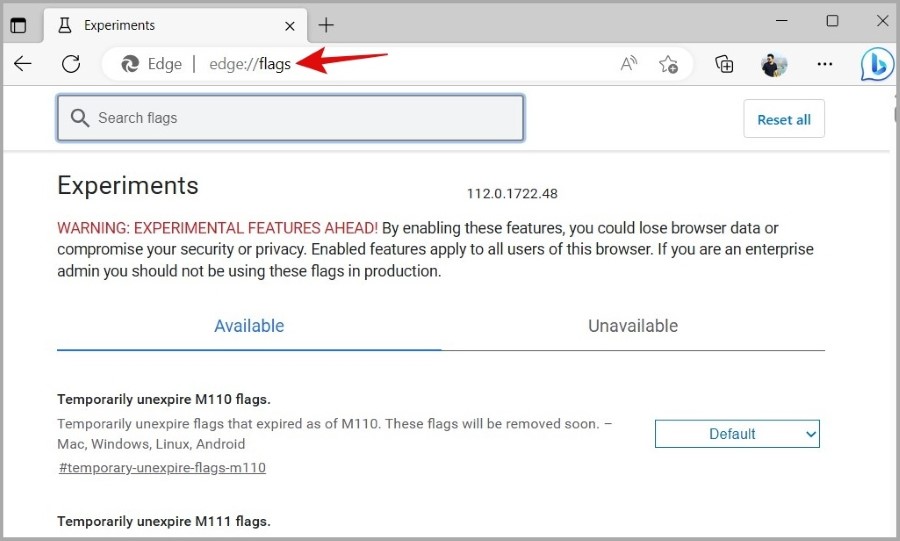
1. In Edge, type edge://flags in the address bar at the top and press Enter.
2. Type choose ANGLE graphics backend in the search box and press Enter. Use the drop-down menu to select D3D9.

Restart Edge after this and check if the issue is still there.
5. Reset Edge Flags
If configuring the Angle Graphics flag does not help, you can try resetting all the Edge flags to their default settings by following the steps below.
1. In Edge, type edge://flags in the address bar at the top and press Enter.
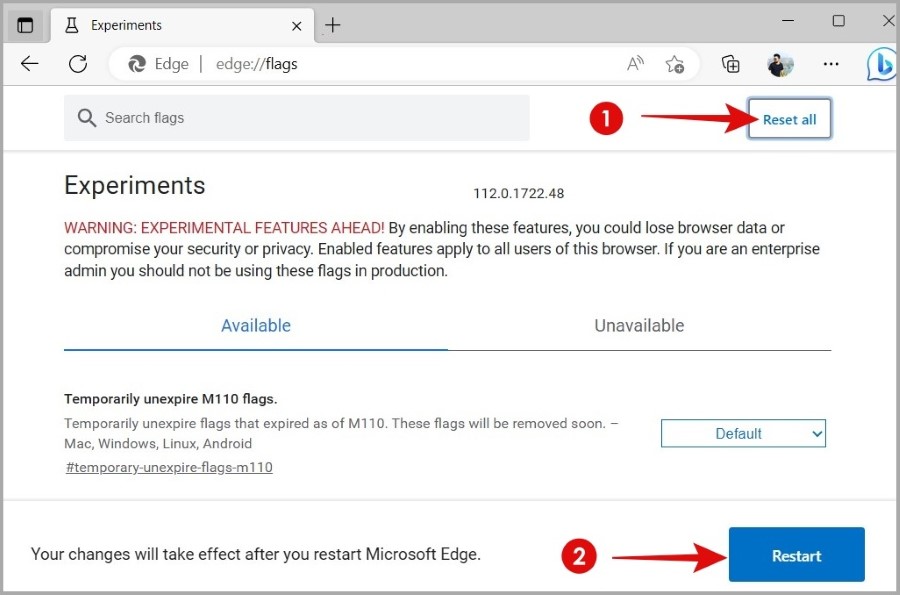
2. Click the Reset all button in the top right corner and then click the Restart button to apply the changes.
6. Change Graphics Preference for Edge
Configuring Microsoft Edge to use the dedicated GPU can help the browser operate smoothly and fix the screen flickering issues in Windows. Here are the steps for the same.
1. Press the Windows key + I to open the Settings app. In the System tab, click on Display.

2. Scroll down and click on Graphics.

3. Click on Microsoft Edge and select Options.

4. In the Graphics preference dialog, select the High performance option and hit Save.

7. Update or Reinstall Display and Graphics Drivers
Such Windows flickering issues can also be attributed to outdated or faulty display drivers on your PC. Hence, it’s a good idea to update the display drivers on your PC if the above fixes don’t help.
1. Press the Windows key + X to open the WinX menu and select Device Manager from the list.

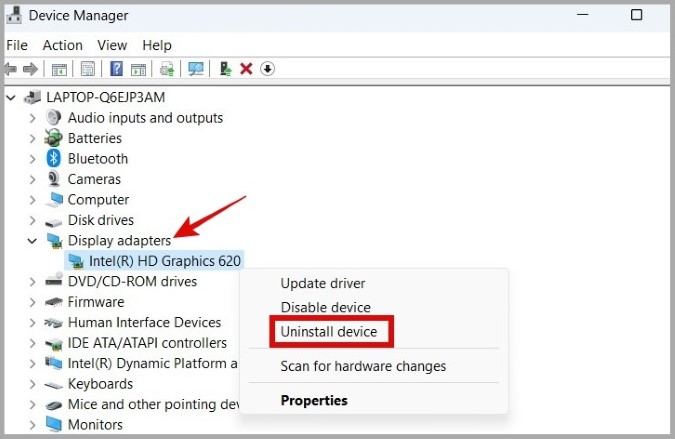
2. Double-click on Display adapters to expand it. Then, right-click on your display driver and select Update driver.

From there, follow the on-screen instructions to finish updating the driver. If your PC has a dedicated graphics card, you’ll also need to update the GPU driver from the same menu.
If the issue persists even after updating drivers, you can try uninstalling the display and graphics drivers using Device Manager. Once removed, restart your PC and Windows will automatically install the missing drivers at boot.
8. Repair Microsoft Edge
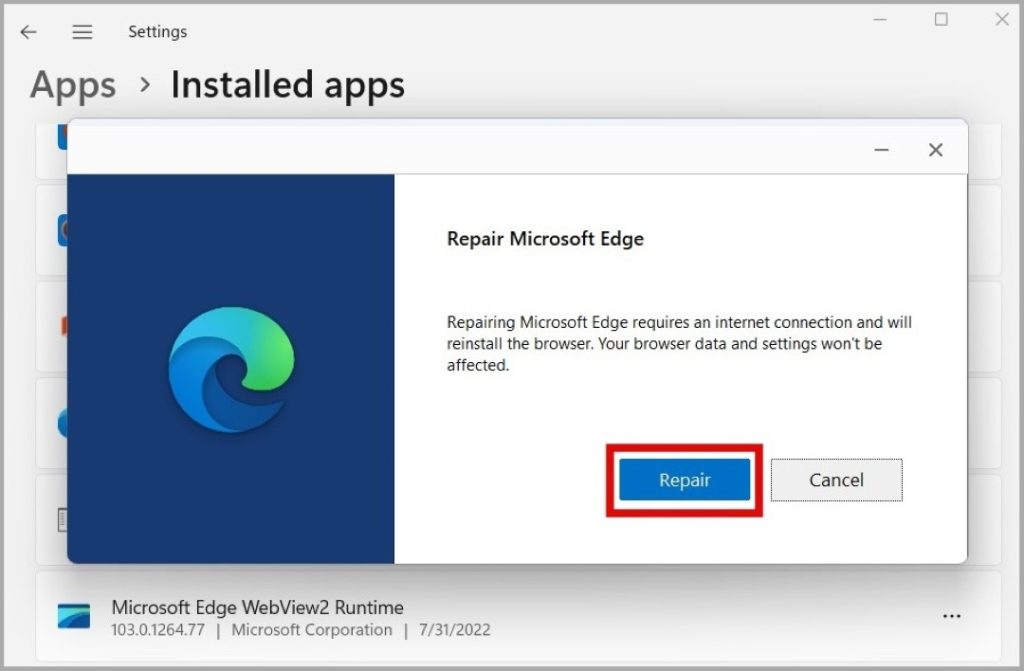
Microsoft Edge includes a repair tool that can help you with most browser-related issues, including flickering. Running this tool will allow Windows to reinstall the browser on your PC and resolve any issues.
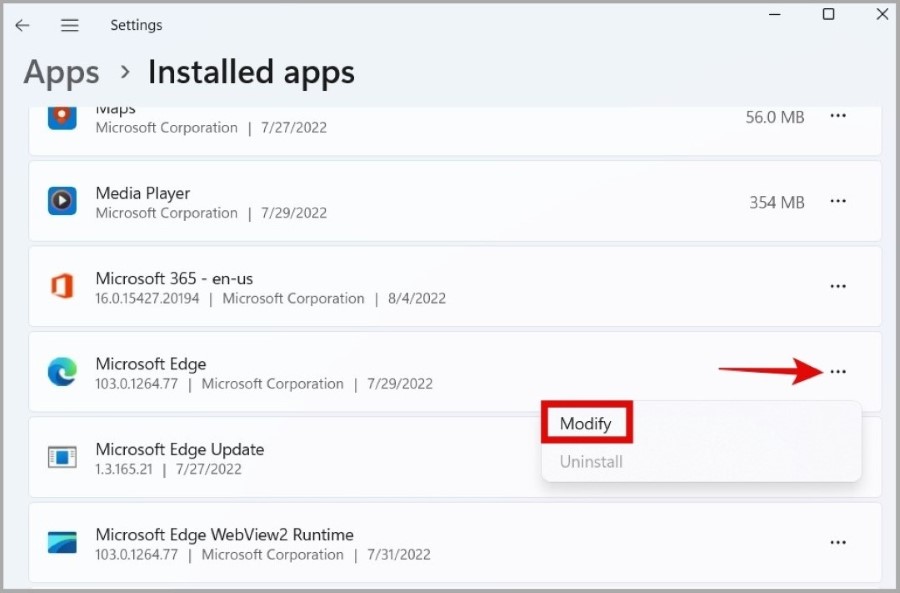
1. Press the Windows key + X to open the Power User menu and select Installed apps from the list.

2. Locate Microsoft Edge on the list. Click the meatballs menu (three-dot icon) next to it and select Modify.
3. Click on Repair to start the process.
9. Install Windows Updates
It is possible that a buggy Windows update is causing the Edge flickering issue. If that’s the case, it shouldn’t take long for Microsoft to release a fix. You can see if there are any updates available for Windows and install them right away.
Press the Windows key + I to open the Settings app and navigate to the Windows Update tab. Click the Check for updates button to find and install pending updates.

Get Your Edge Back
Occasionally, Microsoft Edge may run into problems that make the browser unusable. However, that’s no reason to switch to an alternative. Applying the aforementioned tips should fix the Microsoft Edge flickering problem in Windows and get the browser to work as before.