Instant push notification is essential in real-time team communication software like Microsoft Teams and Slack. You might miss important details, upcoming meetings, or other critical messages when notifications stop working on Teams. Before reinstalling Teams, try the tricks below to fix Microsoft Teams notifications not working in Windows 11.
Troubleshoot Teams Notifications Not Working in Windows 11
You can always open Teams to check new messages, but it’s time-consuming and not the most convenient method to solve the issue.
1. Check Teams Notification Settings
Before you make any changes to the Teams app, let’s first check notification settings for Microsoft Teams.
1. Open Windows 11 Settings menu (use Windows + I keys).
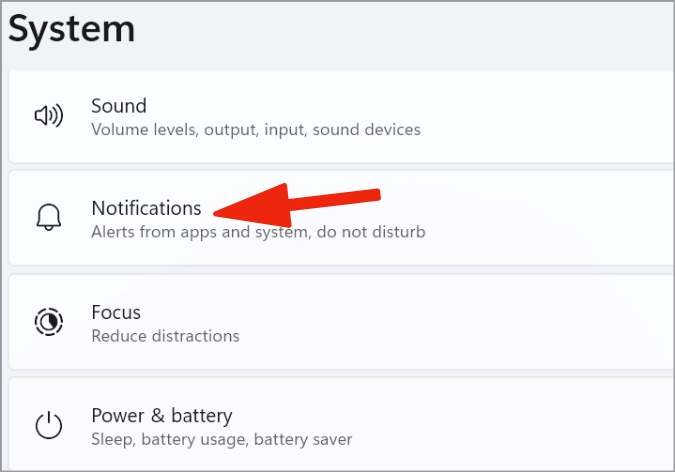
2. Select System from the left sidebar and open the Notifications menu.
3. Scroll down to Microsoft Teams and open it.
4. Enable notification toggle and banner, and turn on the permission to show Teams notifications in the notification center.
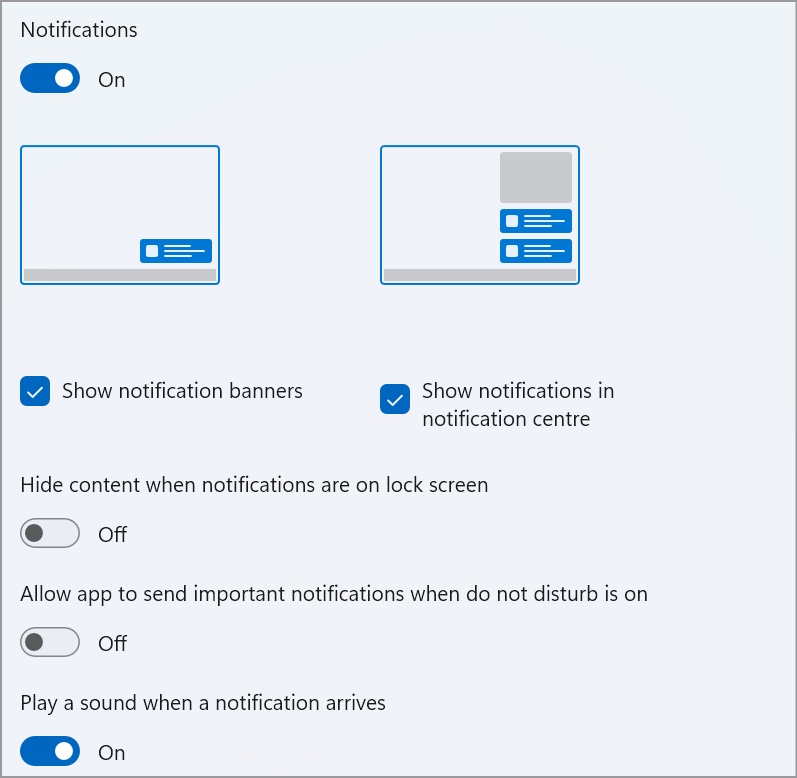
If Teams alerts are important for your workflow, you can select Top to show a notification at the top of the action center.
2. Open Teams at Startup
If you open Microsoft Teams first thing in the morning, you can launch the app on system startup. You don’t need to remember about opening Teams to check new updates.
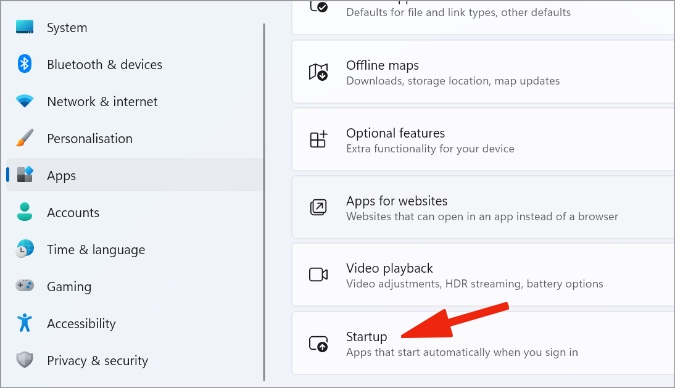
1. Open the Windows Settings menu and select Apps from the left sidebar.
2. Select Startup.
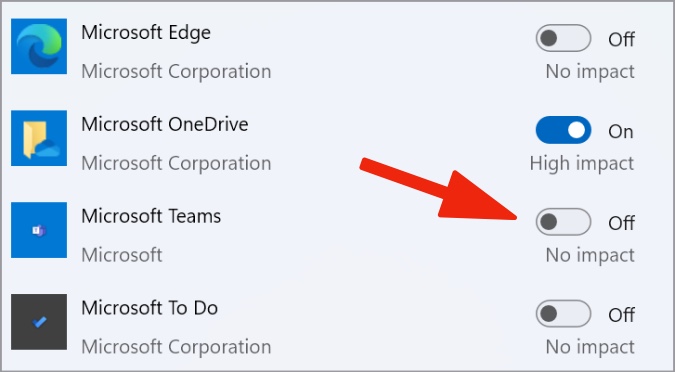
3. Enable Teams to launch at startup.
3. Disable Focus Assist
Focus assist is Microsoft’s take on DND (Do Not Disturb) on Windows 11. When you enable Focus assist on Windows 11, the system won’t disturb you with unnecessary daily alerts. You can either turn off Focus assist or add Teams as an exception.
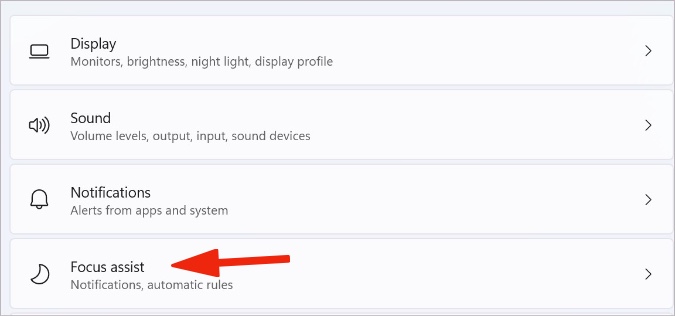
1. Launch Windows 11 Settings menu and select Apps.
2. Select Focus assist.
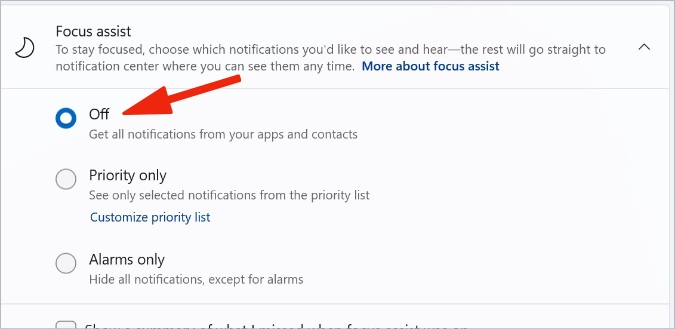
3. Select the radio button beside Off and get all notifications from your apps and contacts.
You can also add an exception for Teams during Focus assist.
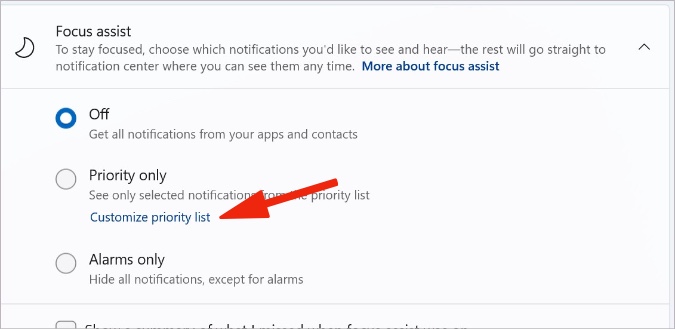
1. Select Priority only from the same Focus assist menu.
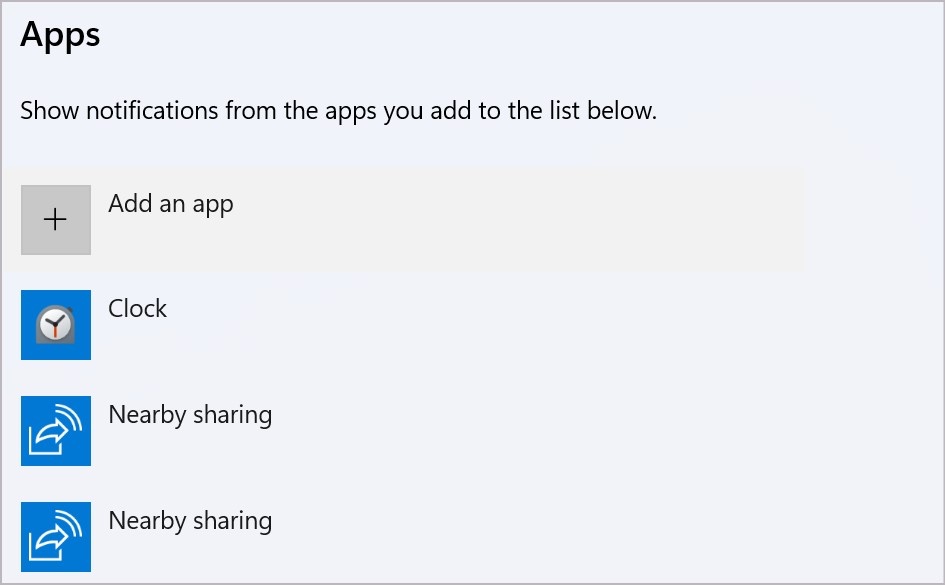
2. Click Customize priority list and scroll to Apps.
3. Select + icon and click Microsoft Teams from the drop-down menu.
You will continue to receive Teams alerts when Focus assist is on.
4. Check Your Teams Status
You can set Away, Do not disturb, Busy, Be right back, Appear away, and Appear offline status in Teams. When you set Busy or Do not disturb, Teams will disable all notifications for your account. You must revert your status to Available in the app.
1. Open the Microsoft Teams app.
2. Select your profile picture in the top right corner.
3. Expand the status menu and select Available from the list.

5. Customize Teams Notifications for a Channel
Do you face notification issues with a specific channel in Teams? You might have turned off alerts for a channel and forgotten about it. Here’s how you can enable notifications for a particular channel in Teams.
1. Open Teams on your PC.
2. Select the down arrow beside a team and check all channels.
3. Right-click on a troubling channel.
4. Expand the Channel notifications menu and select All activity.

You can also select Custom and adjust notification preferences for the channel.
6. Logout and Login Again
Due to an account authentication error, you might stop receiving Teams notifications on Windows 11. You can log out from your account login again to fix the issue.
1. Launch Microsoft Teams on Windows 11.
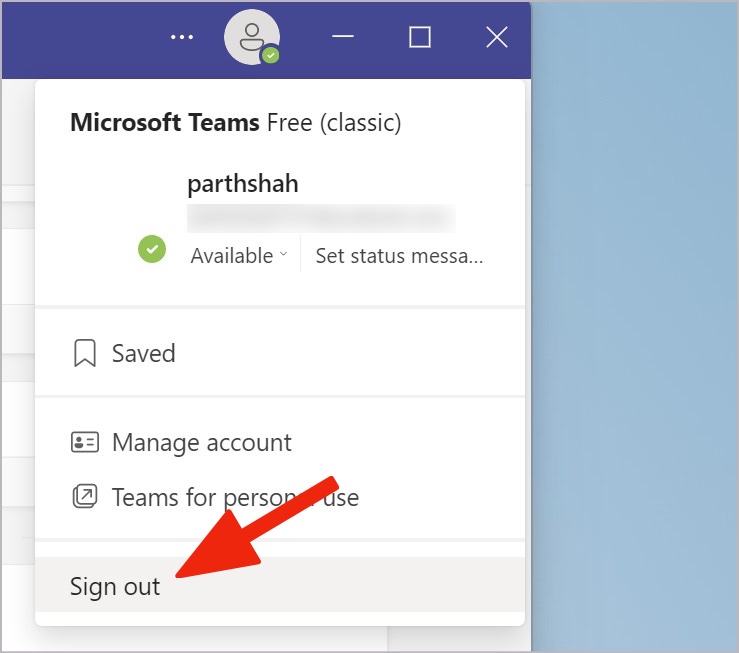
2. Select the account picture in the top right corner.
3. Click Sign out and confirm your decision.
Sign in again with exact Microsoft account details and receive push notifications as before.
7. Turn off Battery Saver
The default battery saver mode will extend your Windows laptop’s battery life by limiting some notifications and background activities. You must disable battery saver mode to receive real-time Teams notifications.
1. Open Windows 11 Settings menu and go to System > Power & battery menu.

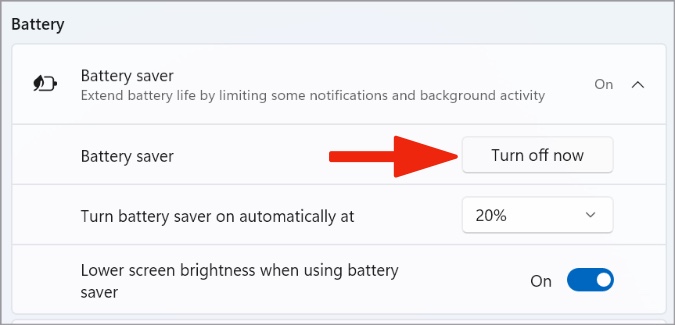
2. Scroll to the Battery menu and expand Battery saver.
3. Select the Turn off now button beside Battery saver, and you are good to go.
8. Update Microsoft Teams
Microsoft is on a roll with new Teams features. The company regularly releases updates with new features and bug fixes. If you are running an old Teams build, you might face notifications issue.
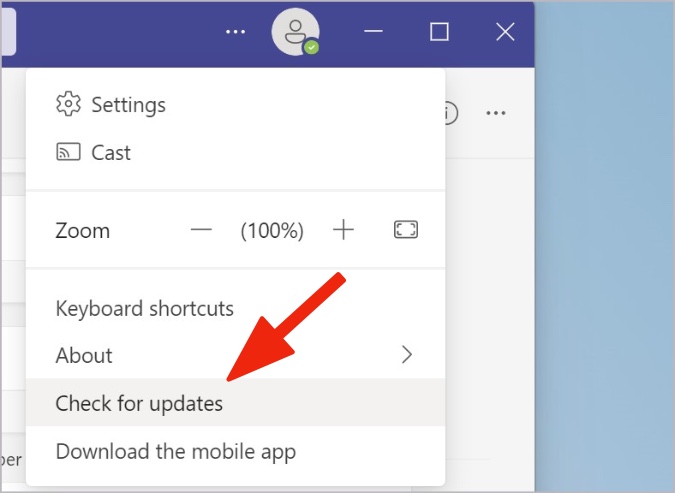
1. Launch Microsoft Teams and select the three-dot menu in the top right corner.
2. Select Check for updates and install pending Teams update.
9. Use Teams Web
Do you still face notification issues with Teams on Windows 11? It’s time to ditch the native app and move to Teams web. Open your preferred browser, visit Teams on the web, and give notification permission (when asked).
10. Check Teams Server Status
When Teams servers face an outage, you can’t send/receive messages, compose voice/video calls, or receive updates. You can visit Downdetector and search for Teams to confirm the issue. You must wait for Microsoft to resolve the issue.
Get Real-Time Teams Notifications
Issues with Teams notifications on Windows 11 may lead to mistakes and confusion. You may sometimes end up with a broken workflow by missing important messages from co-workers. Use the tricks above and fix the issue in no time on your Windows 11 computer.