In MS Word, two images will typically appear one above the other. You cannot easily move or keep two images side by side because working with pictures is quite tricky in MS Word. However, don’t worry. In this post, we will guide you on how to put two pictures side by side in MS Word in four ways.
Table of Contents
1. Using Drag and Drop
One of the easier ways to keep two pictures side by side in Word is by using the drag and drop functionality.
Drag and Drop on PC and Web
Note: The screenshots are taken on the PC version of Microsoft Word but they are the same on the web as well with a minor difference in the user interface.
1. Insert the first image in your Word document by going to Insert > Pictures.
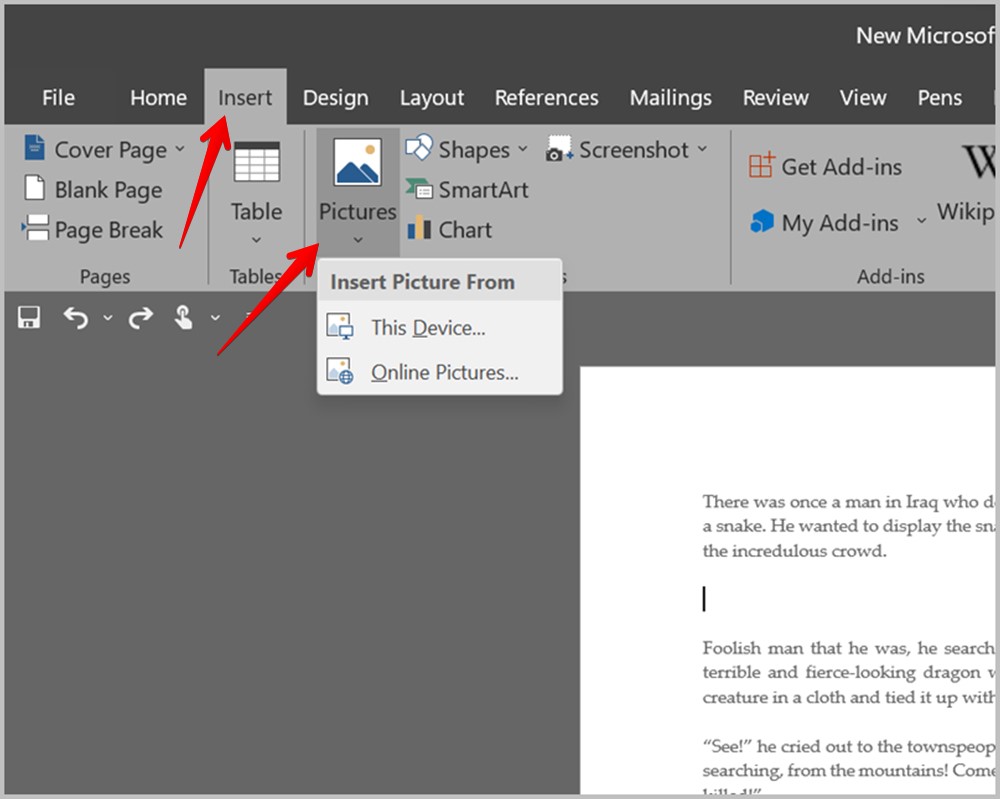
2. Now, keep the cursor at the bottom-right corner of the first picture and add the second picture from Insert > Pictures.
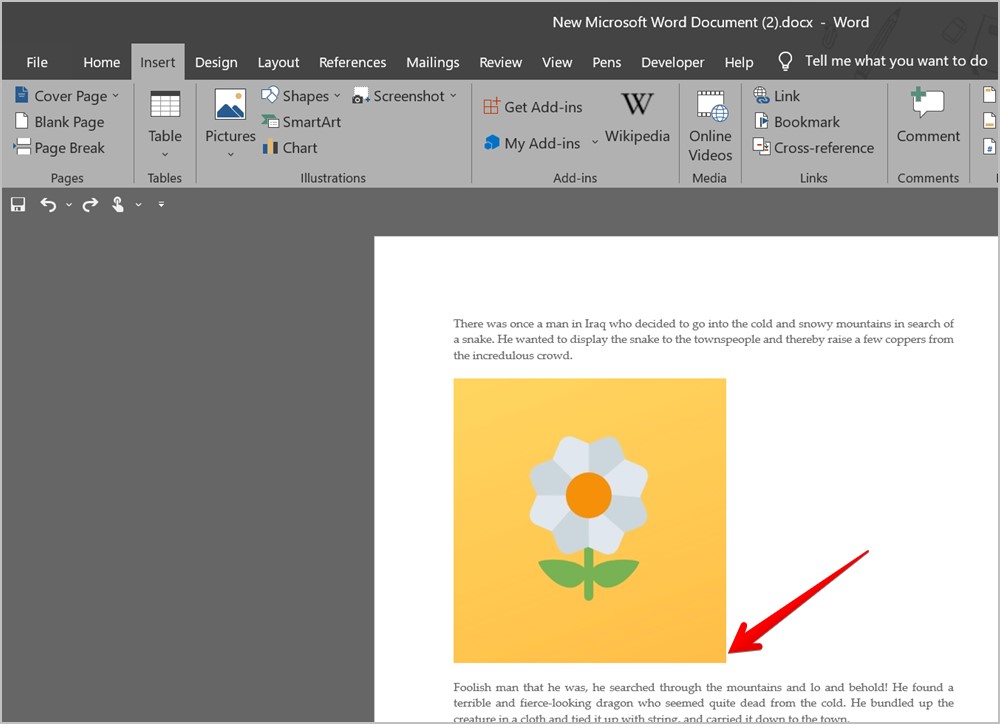
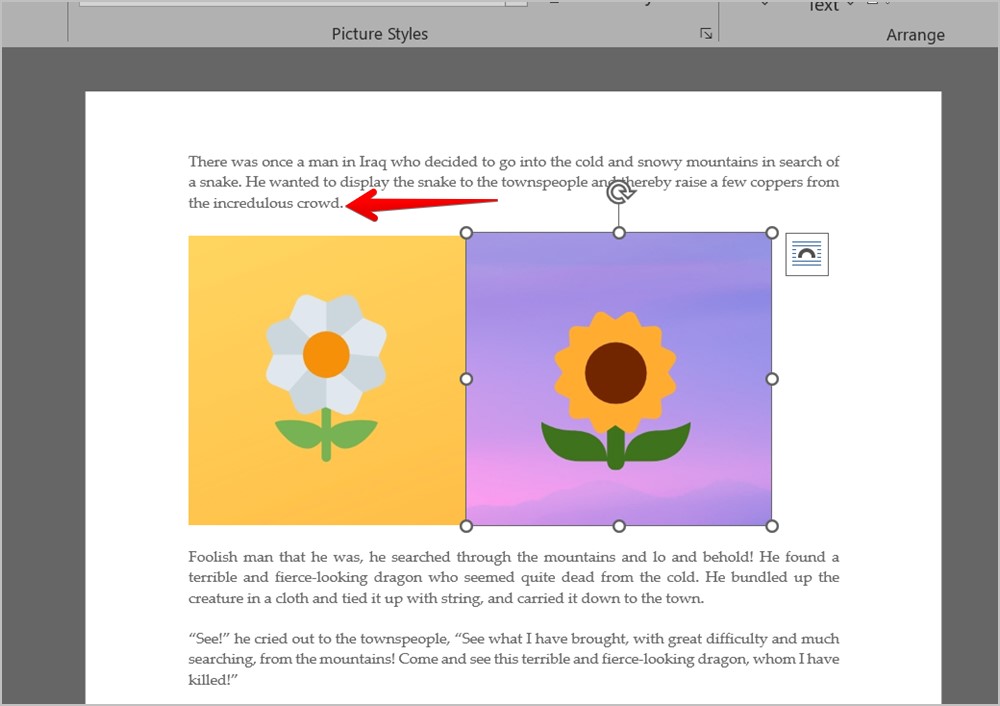
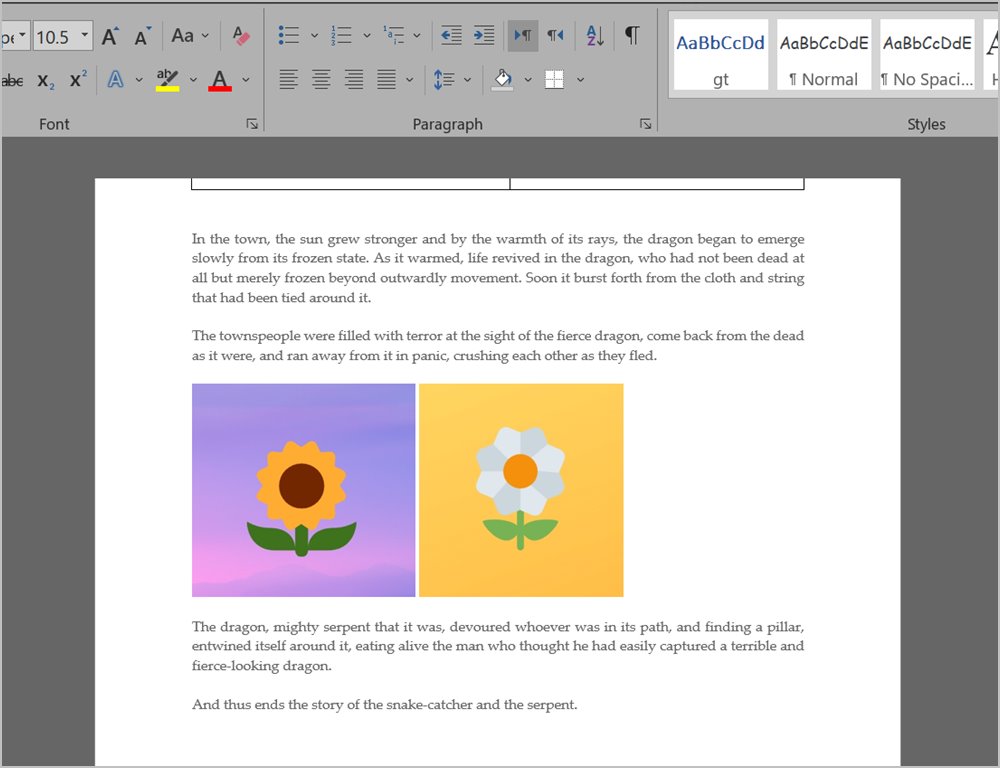
3. The two pictures will show up one above the other. Now, click on the second picture to select it. A four-sided arrow will show up on the image. Hold the mouse button and drag the second image to the right side of the first image.
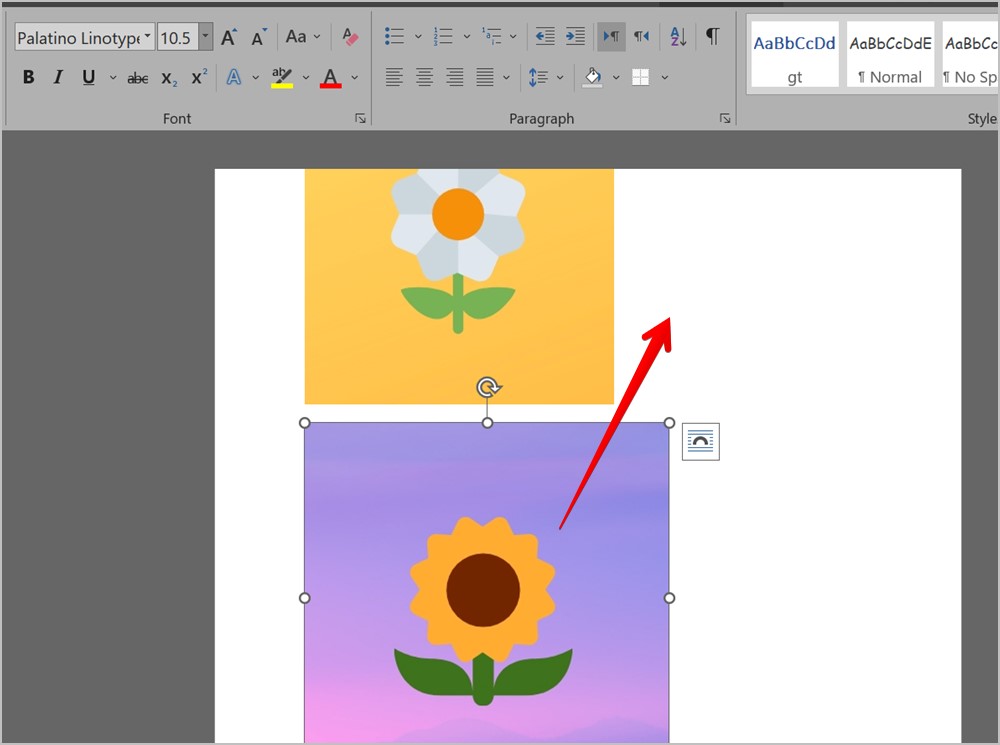
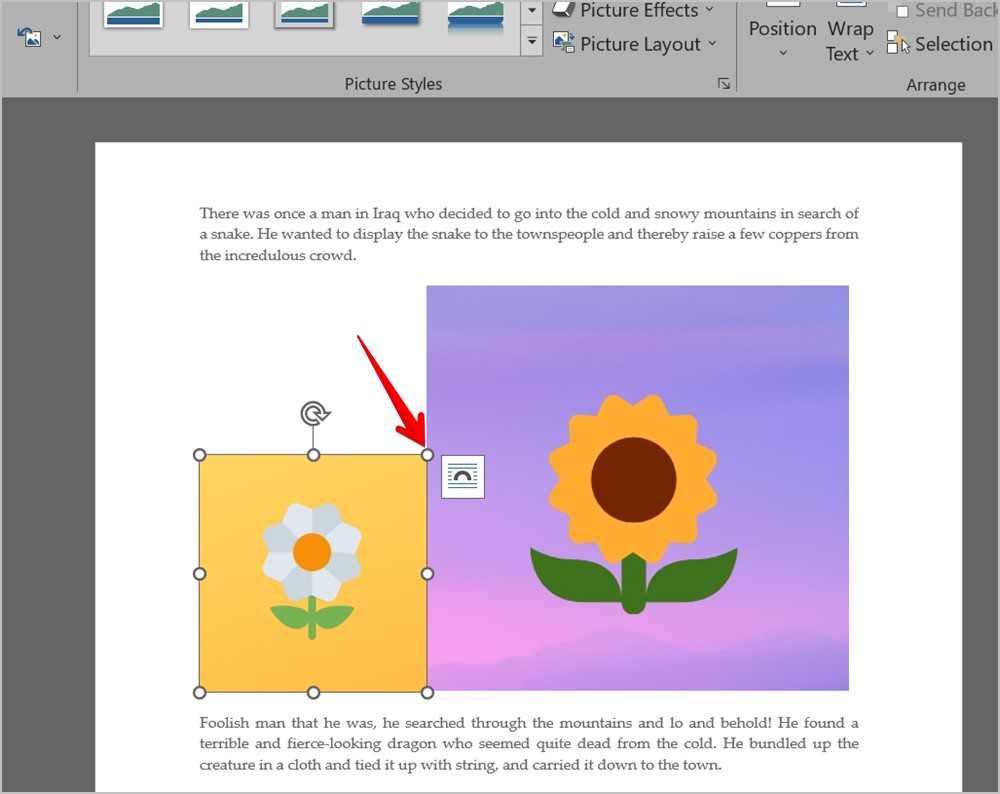
4. If nothing happens, click on the first image and make it smaller using the top-right corner edge until the second image automatically appears next to the first image.
Note: If the above step displaces your text, double-click on the first image to open the Picture Format tab. Then, click on Wrap text and select In line with text. Do the same for the second image as well.
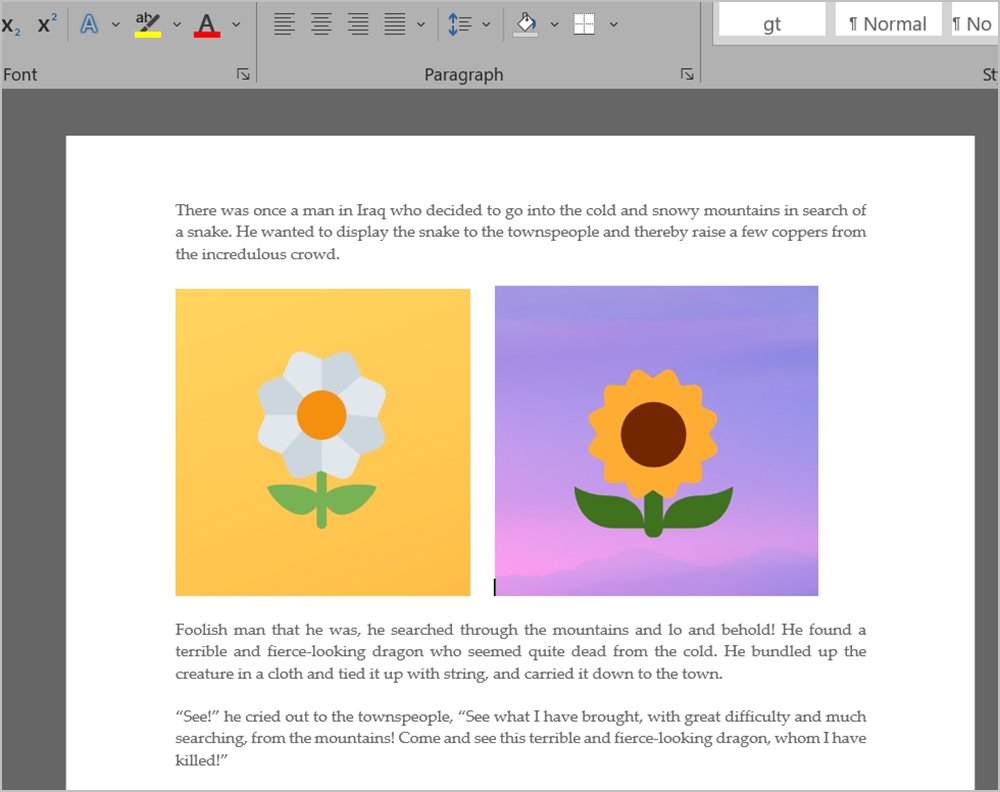
5. You might notice that the two images are not of the same size. Click on the second image and resize it until the two images are of the appropriate size. You can also resize the first image.
6. When the two images are of the desired size, place the cursor at the end of the line above the images.
7. Now, move the cursor twice using the right arrow button on your keyboard. The cursor should show up between the two images. Press the Spacebar key multiple times to add some space between the two images placed next to each other.
Drag and Drop on Android and iPhone
1. Open the Word document where you want to add the images.
2. Tap on the Edit icon at the top to start editing the document.
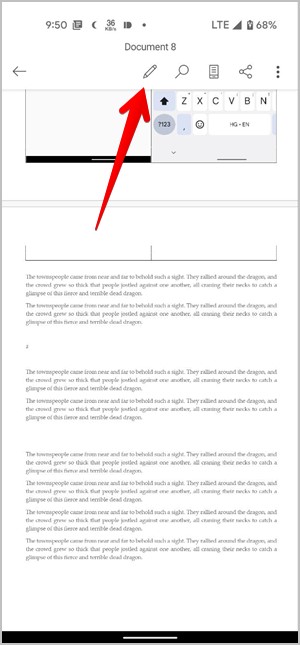
3. Place the cursor where you want to add the image.
4. Swipe left on the toolbar at the bottom until you see the Picture icon. Tap on it. Select the first image. Similarly, add the second image.

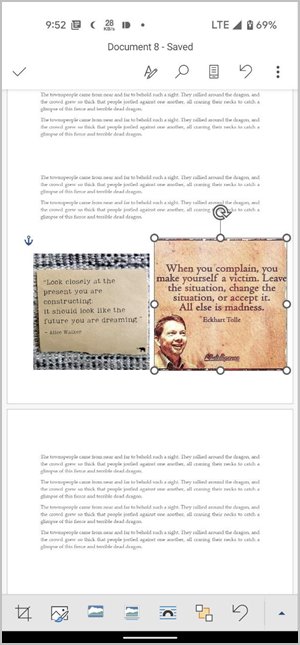
5. After adding both the images, tap on the first image to select it. Then, make it smaller using the corner edges.

6. Now, touch and hold the second image and drag it next to the first image. You might have to resize both images to align them neatly.
2. Using Table
If the above method doesn’t work or seems cumbersome, then you should try putting two pictures side by side using a table. Basically, you need to add a table with two columns and one row. Then, insert an image in each column and finally remove the table border.
Note: This method works on Word mobile apps as well. The steps are similar to that of a PC. All you need to do is select Table and Pictures from the toolbar at the bottom of the document.
Here is the step-by-step guide for the same:
1. Open the Word document on Windows, macOS, or the web version.
2. Keep your cursor in a new line and at the place where you want to add images.
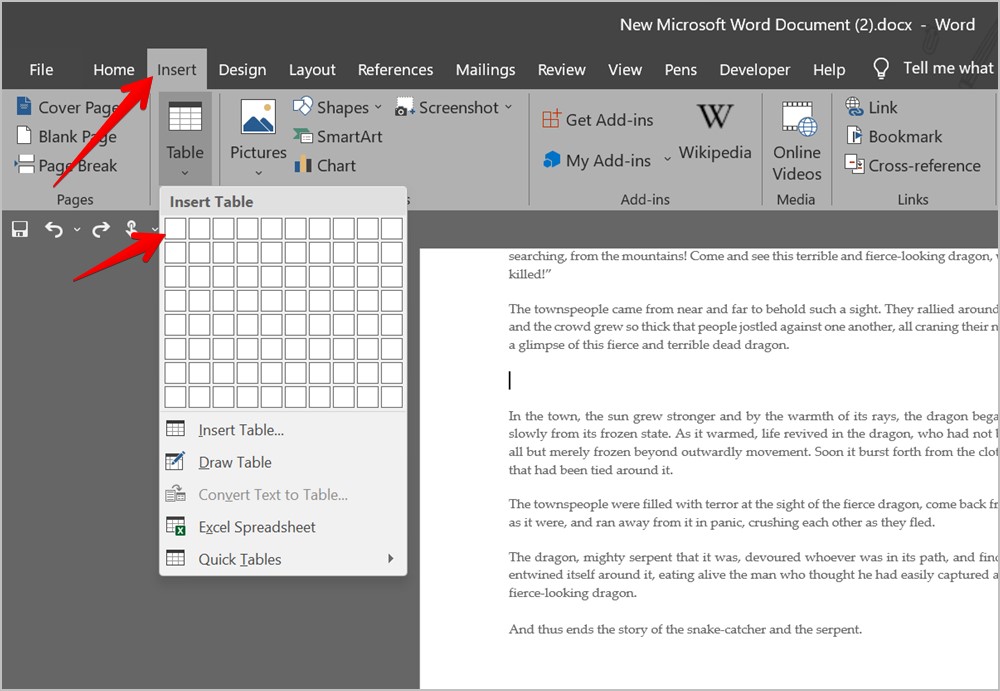
3. Click on Insert > Table. Select 2*1 table.
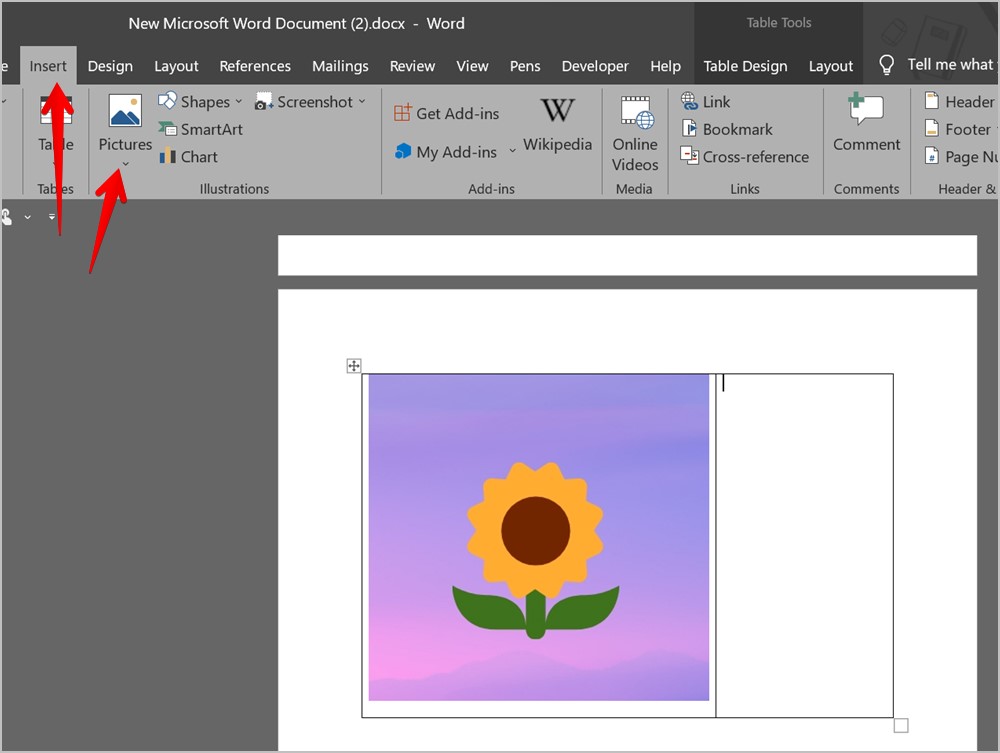
4. Place the cursor in the first column and add the first image by going to Insert > Pictures.

5. Then, place the cursor in the second column and insert the second image from Insert > Pictures.
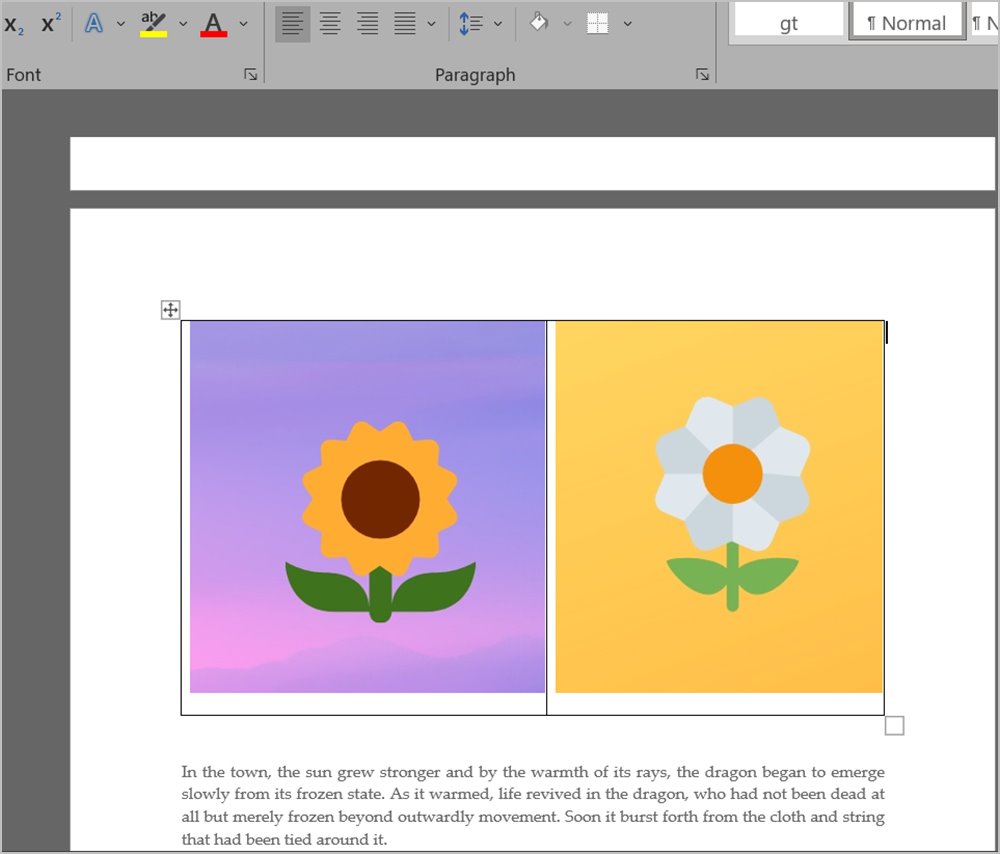
6. Resize both the images using respective corner edges to the desired size.
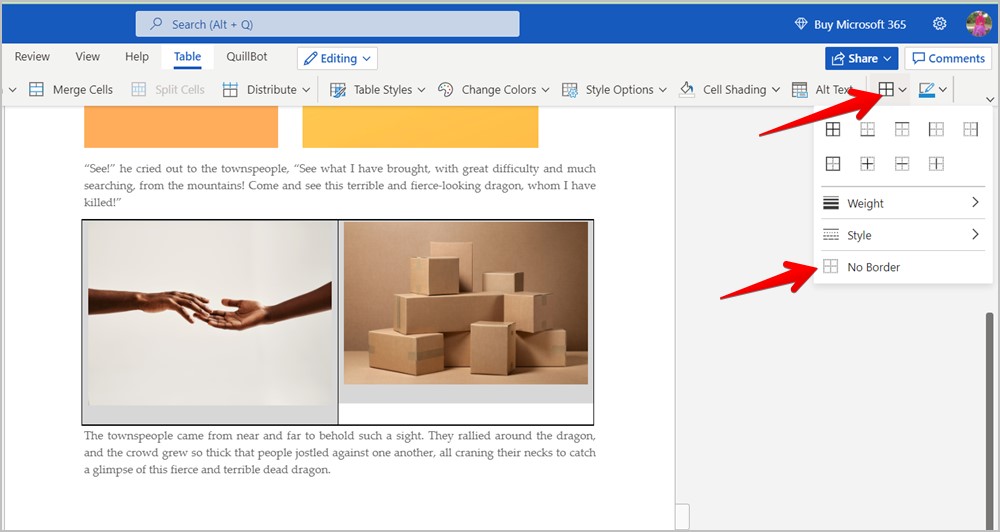
7. Now, you need to remove the table border. For that, hover your mouse over the table and click on the four-sided icon that appears at the top to select the table.
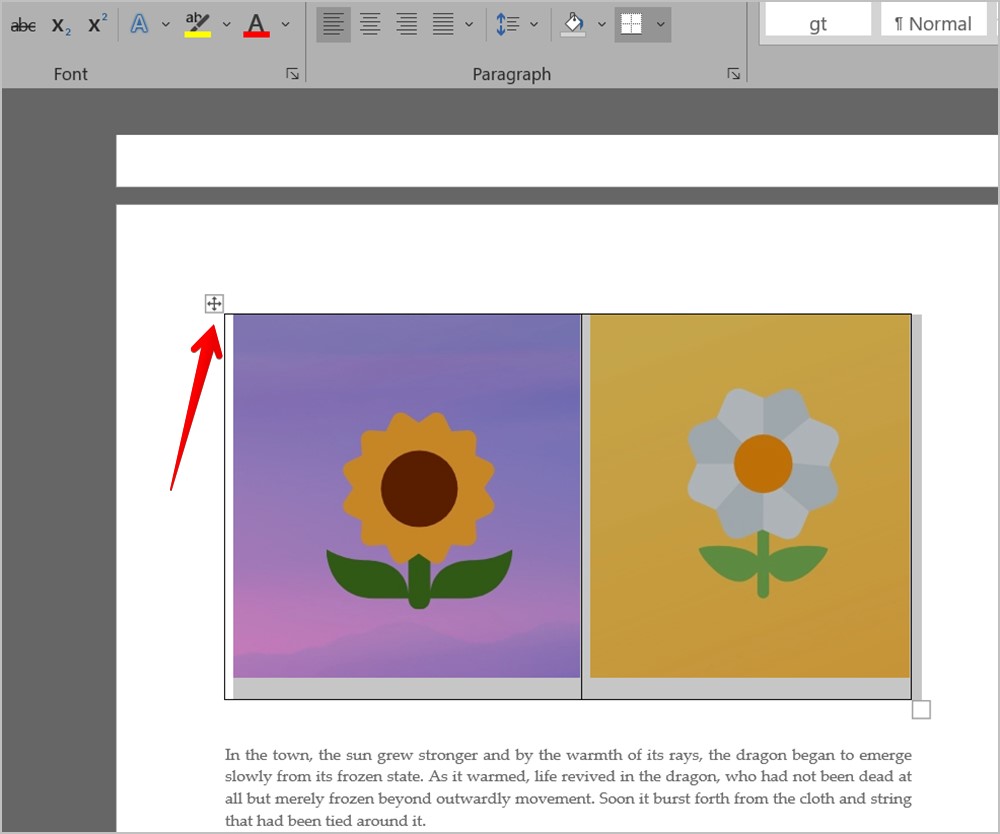
8. On PC, click on the Border style icon and choose No border from the list.

On the web version, click on the Border selection icon in the top bar and choose No border from the menu.
That’s it. Now, you have two images side by side in your Word document.
Pro Tip: Learn how to import tables from websites into Google Sheets.
3. Using Text Box (Windows, macOS)
Similar to adding a table to keep two images side by side, you can also add two text boxes and put images in them. Follow these steps for the same:
1. In the Word document, place the cursor where you want to add the images. Try to add it in a new line.
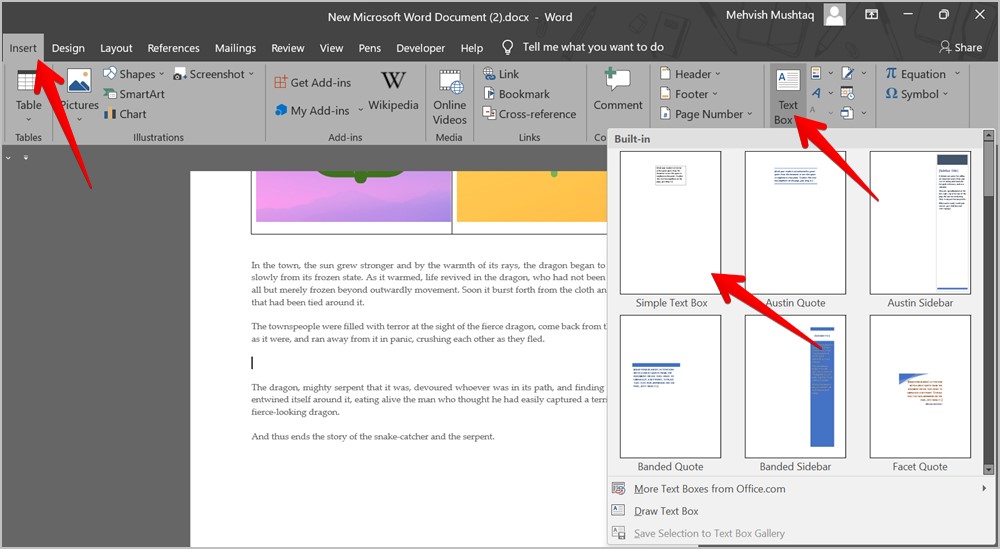
2. Click on the Insert tab in the menu bar. Go to Text box and select Simple text box.
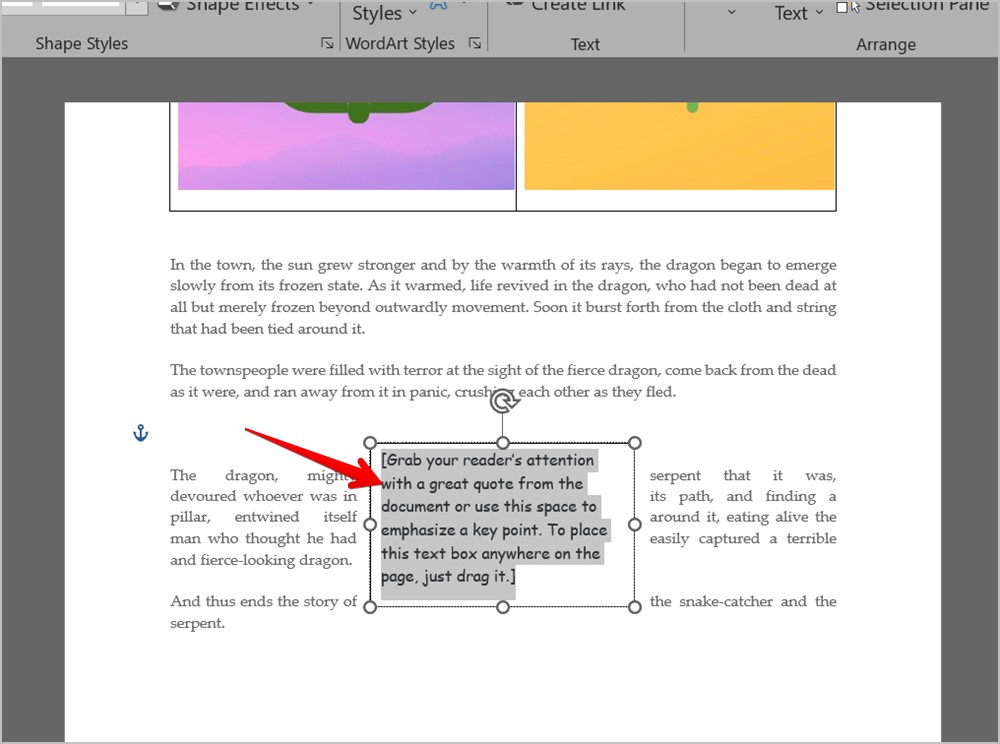
3. Delete the text from the text box using the Delete button.
4. Now, go to Insert > Pictures and add the desired image.
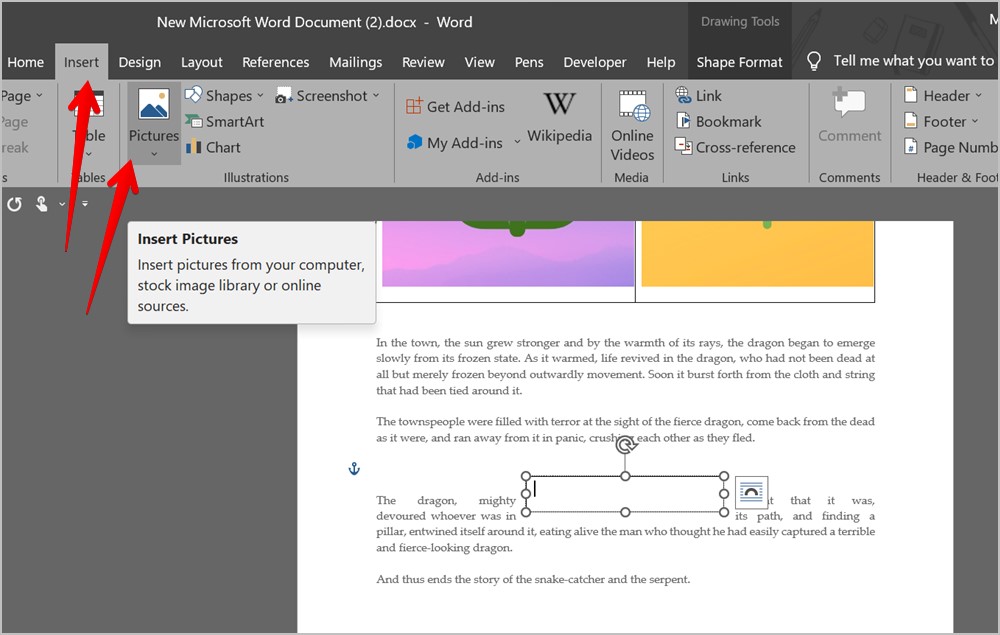
5. Drag the image to wherever you want to keep it on the page.
6. Now, repeat steps 2-5 to add the second image and keep it next to the first image. Resize the images to suit your needs.
Note: Delete any extra text box that might show up.
4. By Creating a Collage
If you don’t like any of the above methods, you can first create a collage using online tools or any software and place images next to each other. Then, insert the collage into your Word document just like you would add any regular image.
Some of the online collage makers that you can try are:
You can even create a collage on your Samsung Galaxy phone or put two pictures side by side on Android and transfer that photo to a computer.
Know MS Word
I hope you were able to put two pictures side by side using the above methods. There are other things that you can do in Word but they might appear tricky. For instance, learn how to add a signature and how to create watermark templates in MS Word