It’s important to plan and schedule your emails in advance. When you work with team members from different time zones, you should avoid sending important emails at odd hours. Mac users can schedule an email in the Mail app or use third-party apps like Outlook or Spark to get the job done. Here are the top four ways to schedule an email on Mac.
Table of Contents
Schedule an Email on Mac
Thanks to macOS Ventura, you can now schedule emails in the default Mail app. macOS Ventura is currently in the public beta. Apple is expected to drop the stable version this fall. Once you receive the macOS Ventura update, you can install it using the steps below.
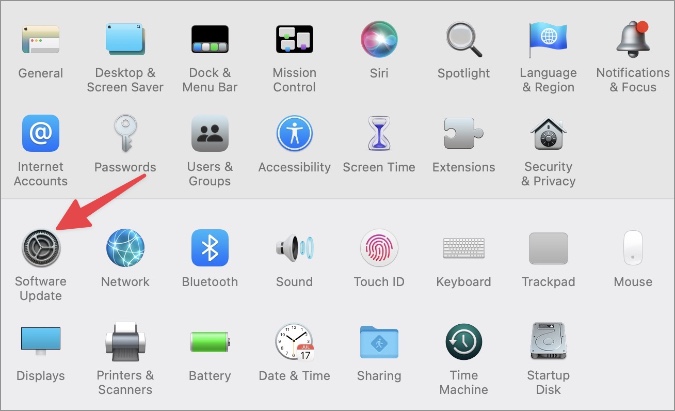
1. Select the Apple icon in the menu bar.
2. Open the System Preferences menu.

3. Open Software Update and download the latest macOS build.
1. Schedule an Email in the Mail App on Mac
Once you install macOS Ventura, follow the steps below and schedule an email in the Mail app.
1. Open the Mail app on Mac.
2. Click the compose new message button at the top.
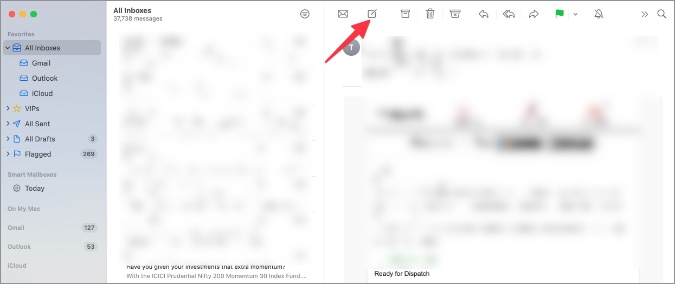
3. Type the recipient’s email address, subject, and message.
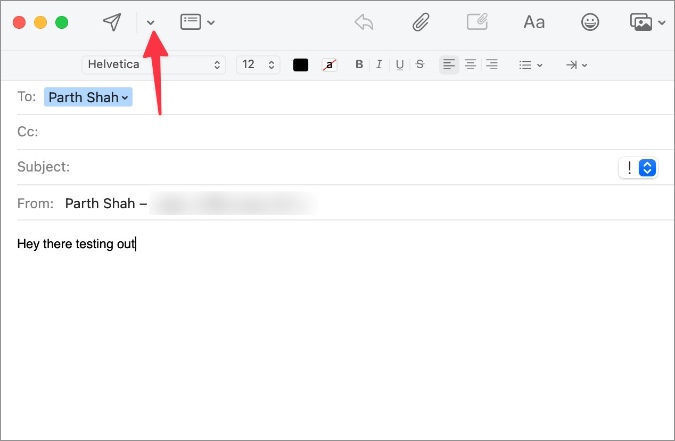
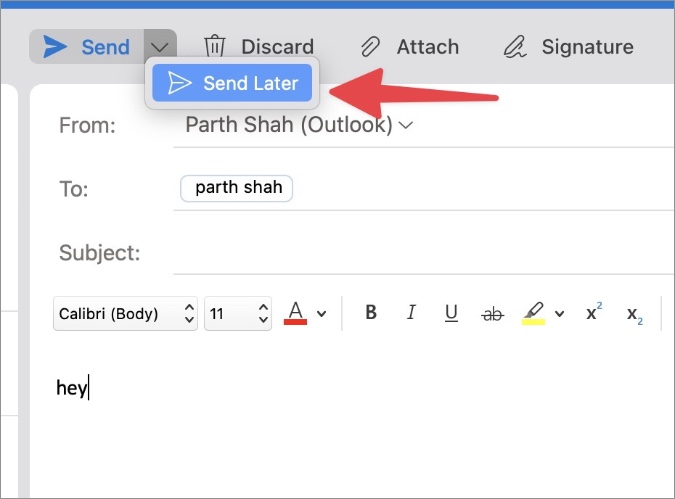
4. Select the little down arrow beside the send button and select Send Later.

5. Set time and date from the following menu and hit the Schedule button.

2. Use Outlook for Mac
Not everyone prefers the default Mail app on Mac. Besides, the ability to schedule an email in Mail is limited to macOS Ventura only. Outlook is one of the popular email clients on the Mac. Outlook users can go through the steps below to schedule an email.
1. Download and install Outlook from the Mac App Store.
Download – Outlook for Mac
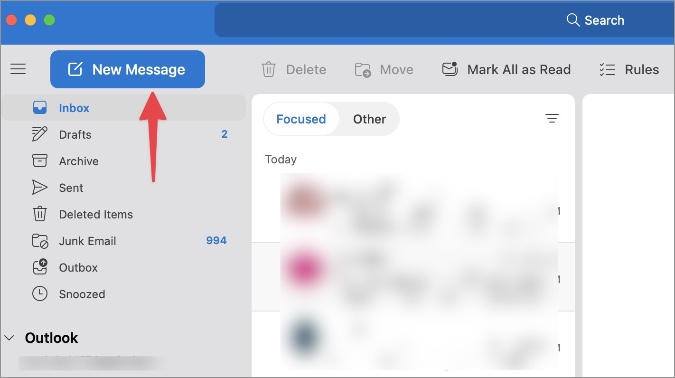
2. Launch Outlook and set up your preferred email accounts. Click the New Message button on the top left corner.
3. Enter relevant email details and select the down arrow beside the Send button.
4. Select Send Later.
5. Set a date and time and hit the OK button to schedule an email.

If you change your mind, go to Drafts from the left sidebar, select your email, and hit the Cancel Sending button.
3. Schedule Emails in Spark for Mac
Spark is yet another effective email app on Mac. Here’s how you can schedule emails in Spark for Mac.
1. Download Spark Email from the Mac App Store.
Download – Spark for Mac
2. Launch Spark and enter your email login details.
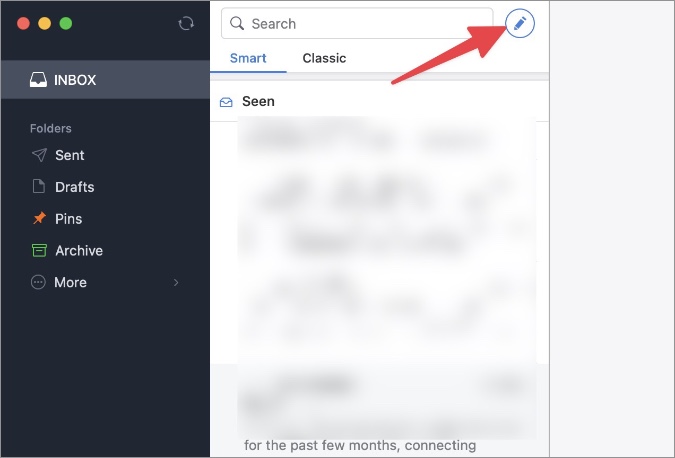
3. Hit the compose button and type the email message.
4. Select Send Later and set the time and date from the same menu.

5. Click the Schedule button and send your email at an appropriate time.

You can select Outbox from the left sidebar and check all your scheduled emails in Spark. You can also send the email instantly and not wait for the scheduled time.
4. Use Gmail Web
Gmail on the web recently received a nice makeover. If you prefer Gmail web over a native email solution, use the steps below to schedule an email.
1. Visit Gmail on the web and sign in with your account details.
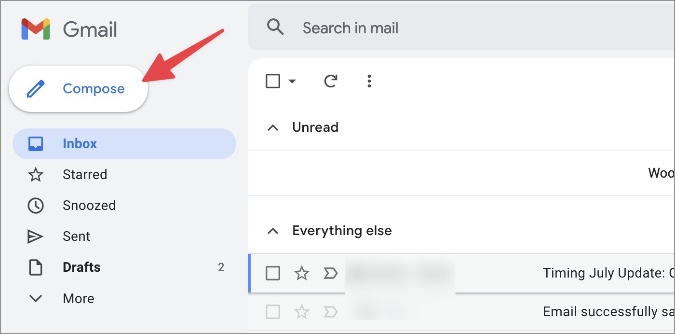
2. Select the Compose button in the top left corner.
3. Enter relevant email details and select the down arrow.
4. Click Schedule send and pick the date & time from the following menu.

5. Hit the schedule button, and you are good to go.

If you are confused with the new Gmail UI, read our post to learn what every symbol and icon means in Gmail.
Avoid Sending Emails at Inconvenient Hours
Your team members are bound to miss important emails when you send them at odd hours. Instead, you can use the default Mail app or third-party apps to schedule emails on the Mac.