Off late, I’ve observed the Windows Start Menu crashing or becoming unresponsive out of the blue. At times, resetting the preferences did the trick and at times, it’s due to Microsoft Bing or other 365 services. With that said, here’s a step-by-step guide to fix “Windows 10 Start Menu not working”.
How To Fix “Windows 10 Start Menu Not Working”
Step 1: Restart Windows Explorer Task
If the start menu is stuck, sometimes restarting the “Windows Explorer” service might do the trick. To do that, head over to the Task Manager by pressing “Ctrl+Shift+Esc”. On the “Processes” tab, search for Windows Explorer by pressing ‘W’ repeatedly.
Once you find the “Windows Explorer” process, right-click on it and select “Restart“.

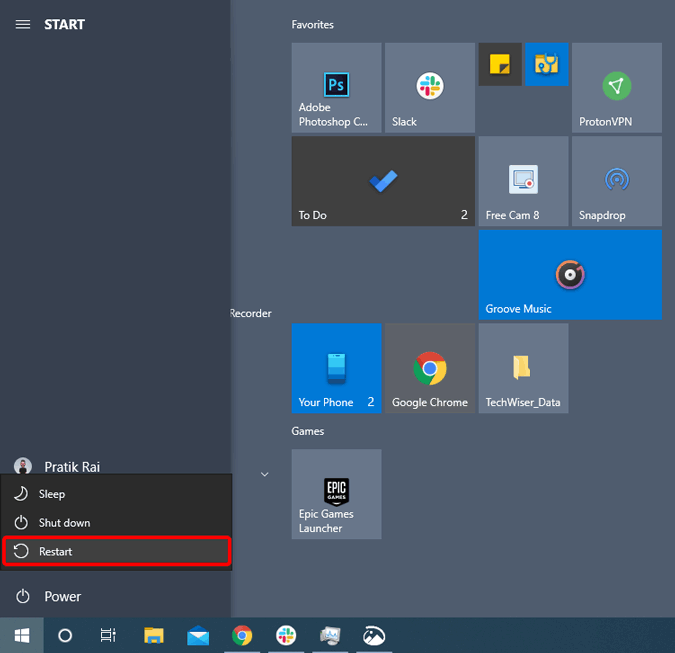
Step 2: Restart Your System
In case restarting the Windows Explorer process didn’t fix things, try a system restart. I know, it’s a very generic solution but it works in most of the cases. Restarting your Windows system will restart every Windows service and might fix the ongoing issue.
Step 3: Update your System
If a system restart didn’t fix the issue, chances are you might have a faulty upgrade. Microsoft, at times, is known to have a few bugs in Windows 10 updates. More often than not, updating the system fix the issue for me.
To check for updates, launch the Run menu by pressing Win+R. Type “ms-settings:windowsupdate” on the Run menu and hit Enter.
ms-settings:windowsupdate
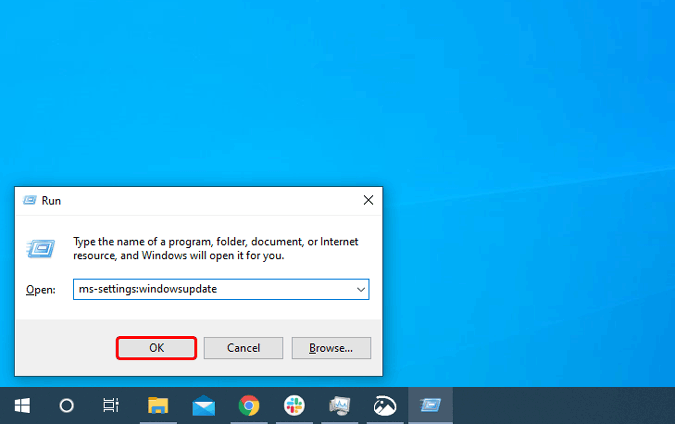
On the Windows Update menu, click on the “Check for updates” button.

In case you have an update, Windows 10 will download the update and let you know if a restart is necessary.

Step 4: Rebuild Index
In case the Windows update doesn’t fix things, we can move ahead to rebuild the Start Menu. Start Menu has a database of file names, applications, and locations. It might be possible that this file has gone corrupt. Hence, rebuilding it might cause the Start Menu to function properly.
Head over to the Run menu by pressing Win+R and type “control /name Microsoft.IndexingOptions“, hit Enter.
control /name Microsoft.IndexingOptions

On the Indexing Options menu, click on the “Advanced‘ button.

On the Advanced Options page, click on the “Rebuild” button within the Troubleshooting section.

Once you have clicked on the Rebuild button, wait for some time. Windows will re-index files and recreate the Index file. Once done, you will see a message stating “Indexing complete“. Next, restart your system and check on the Start menu.

Step 5: System File Checker Scan
In case rebuilding the index file didn’t solve the problem, we can try checking and rebuilding system files. The System File Checker Scan is a tool that checks for system files and recreates the missing or corrupt ones.
To do that, head over to the Run menu and type “cmd“. Next, press Ctrl+Shift+Enter to open it with Administrator privileges.
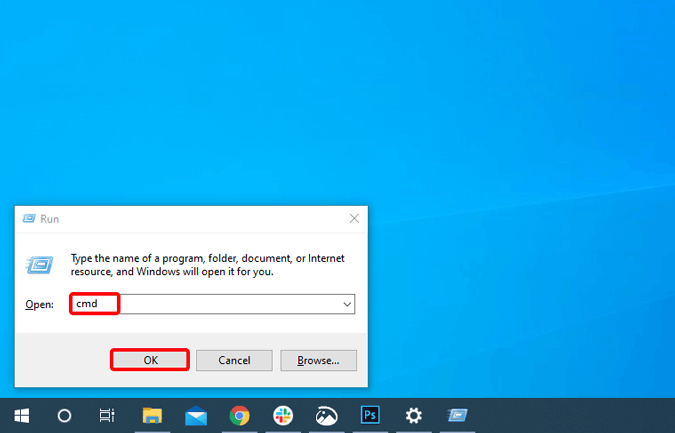
On the command prompt, run the following command.
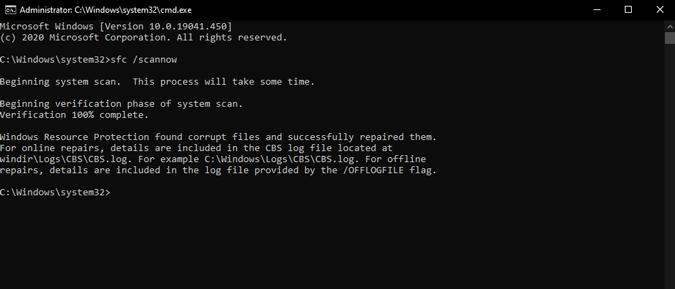
sfc /scannow 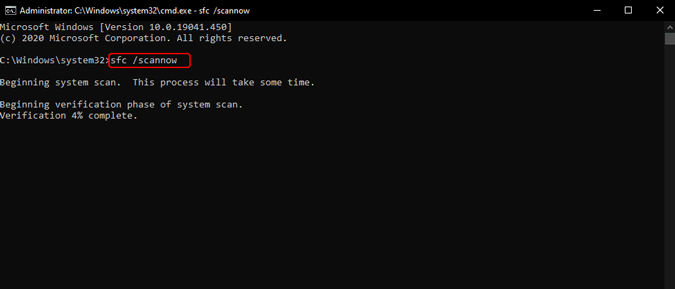
Once the command has completed execution, it’ll have the following messages. You can find the detailed report at “C:\Windows\Logs\CBS\CBS.log“.
Once done, restart your Windows 10 system and have a look at the Start menu.
Step 6: Disable Bing
In case a system file checker scan doesn’t fix the problem, there can possibly be issues with Bing. In case you don’t know, the Start menu has integrated Bing search. So, if you search for something as common as “best taco in town” that doesn’t exist on your machine, you will still get results in the Start menu fetched from the Bing search engine. At times, due to outage in Bing and other 365 apps, the Start menu is rendered useless.
We can disable Bing from the Start menu to make it a bit light and error-free. However, Microsoft doesn’t provide an easy way or a one-click toggle to remove Bing Search from the Start Menu. Hence, we would have to make changes to the Registry editor. Registry editor is a system configuration tool that helps to forcefully modify key system settings and menu.
To do that, head over to the Run menu by pressing Win+R, type “regedit” and hit Enter.

On the registry editor and head over to the following URL.
Computer\HKEY_CURRENT_USER\SOFTWARE\Policies\Microsoft\Windows
Next, right-click on Windows and select New>Key. Rename the folder as “Explorer“.

Read: How to Center Taskbar Icons in Windows 10
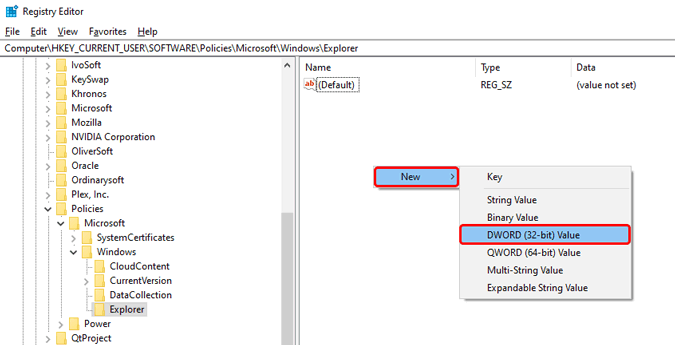
Within the Explorer folder, right-click on the empty space and select New>”DWORD (32-bit) value”.
Rename the key to “DisableSearchBoxSuggestions“. Double-click on it and change it’s value to 1.
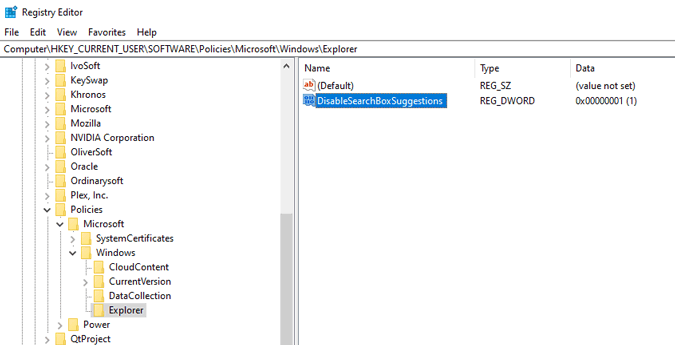
Restart your Windows 10 system for changes to take effect. In case you are guided through the Windows web setup after the restart, just select “Skip for now” and you should be good.
Step 7: Reset Start menu
In case the above steps don’t work for you, we would need to reset the Windows Start menu. Similar to disabling Bing, there’s no easy way to reset the Start menu. Hence again, we would have to take the help of the Registry Editor. These changes will not only reset the Start Menu but will also reset your favorite pinned apps and folders both on the Start menu and File Explorer. Hence, proceed with care.
Foremost, head over to the Run menu by pressing Win+R, type “regedit” and hit Enter.
On the registry editor, paste the following URL.
Computer\HKEY_CURRENT_USER\SOFTWARE\Microsoft\Windows\CurrentVersion\CloudStore\Store\Cache
Under the Cache folder, delete the “DefaultAccount” folder.

Once you have deleted the “DefaultAccount” folder, head over to the Task Manager and restart the Windows Explorer process.
Post the Restart, you should have a brand new Start menu much like a fresh Windows install.
Step 8: Reinstall all Windows apps
In case resetting the Start Menu doesn’t fix problems, another way out would be to restore corrupted Windows products. We would use Windows native Deployment Image Servicing and Management (DISM). DISM is a PowerShell tool designed for Windows administrators to recover corrupted Windows versions with the hidden Windows recovery version on your computer. However, DISM can be used by any user.
To use DISM, head over to the Run menu by pressing Win+R and type “powershell“. Next, hit Ctrl+Shift+Enter to launch it as an Administrator.

On the PowerShell window, paste the following command and hit Enter.
In the following command, /Online means that we are targeting the current live Windows 10 version that we are using. “/Cleanup-image /Restorehealth” basically means that we are cleaning up the corrupted files and restoring it back from the recovery image.
DISM.exe /Online /Cleanup-image /Restorehealth

The DISM command will take a while to complete. Once it’s done, you will have an output similar to the following screenshot.

Next, restart your Windows system and have a look at the Start menu.
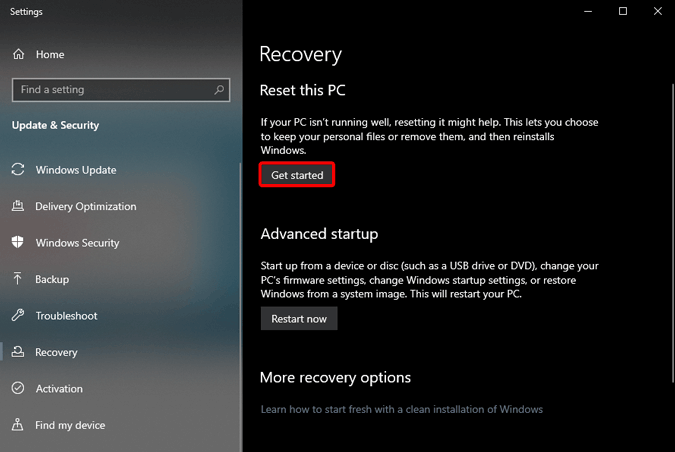
Step 9: Reset PC or live with it
Unfortunately, if none of the above methods worked, we have to go the hard way – Reset this PC. This will not delete your personal files but will uninstall all installed apps and system preferences
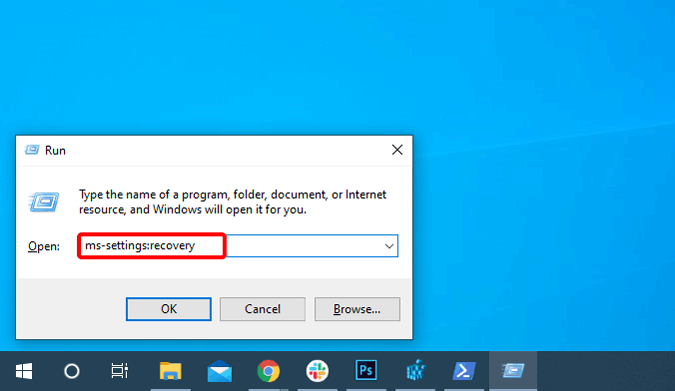
To do that, launch the Run menu by pressing Win+R. Type “ms-settings:recovery” on the Run menu and hit Enter.
ms-settings:recovery
On the Recovery menu, click on the “Get started” button under Reset this PC option.
Next, select “Keep my files” on the Reset this PC menu.

The Reset will take some time. Sit back, relax, and let Windows do its thing.
Closing Words
These were the fixes for the Windows 10 Start menu not working. In case the problem still persists, you can try a third-party launcher or a Start Menu alternative. For more issues or queries, let me know in the comments below.
Also Read: Best Windows Registry Hacks in 2020 To Make Windows Better