File Explorer is the default File Manager app in Windows OS and works great most of the time. However, many users face a predicament in the app where File Explorer doesn’t show files. Other issues include a forever-loading screen or missing icons. Misconfigured File Explorer settings, glitched system services, and corrupt system files are the main reasons behind this issue. Here’s how you can fix File Explorer not displaying files on Windows.
Table of Contents
1. Check File Explorer Properties
Firstly, check the File Explorer properties to check the View settings. Here’s how:
1. Press the Windows key + E to open the File Explorer.
2. Click on the three dots button.
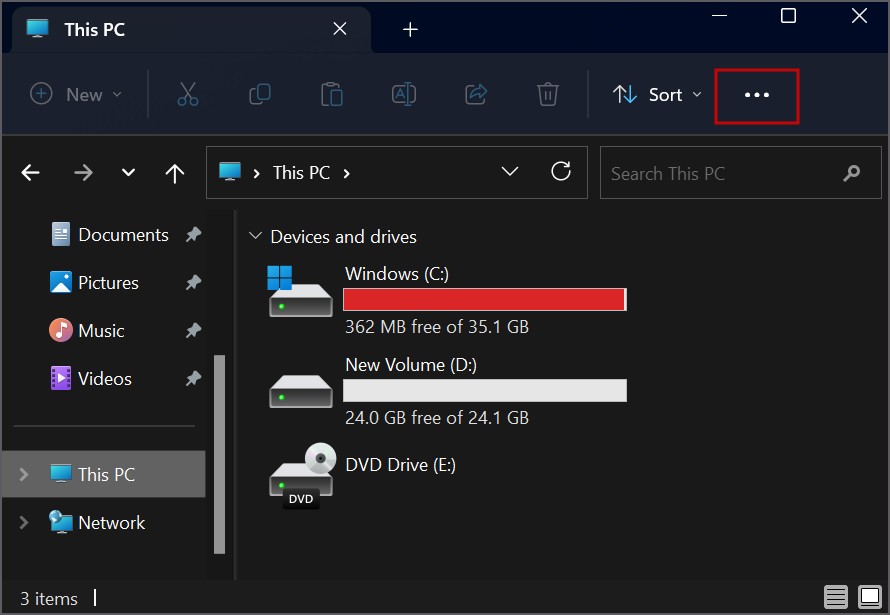
3. Click on Options.

4. Switch to the View tab. Select the Show hidden files, folders, and drives option.

5. Click on the Apply button and then click on the OK button.
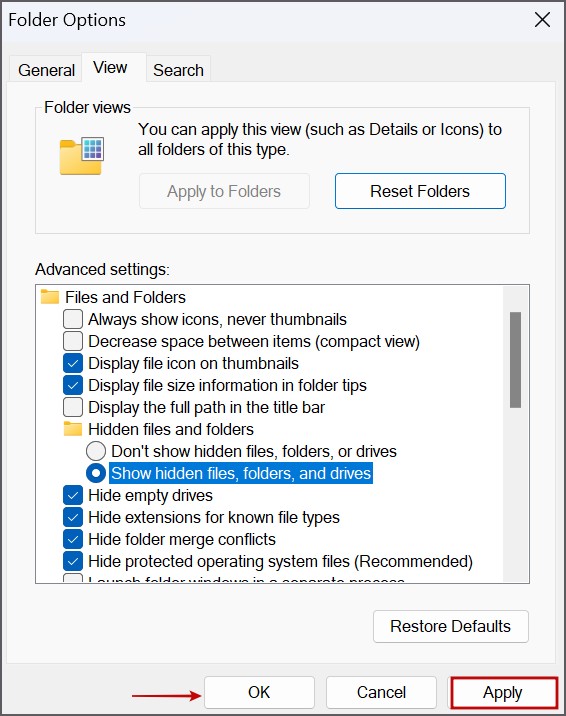
6. Close the Properties window.
2. Restart Windows Explorer
If the Windows Explorer process glitches, it can break many elements of the File Explorer and other dependent apps. So, you must restart the Windows Explorer process using Task Manager. Here’s how:
1. Press the Ctrl + Shift + Esc keys to open the Task Manager.
2. Right-click on the Windows Explorer process. Select the Restart option.

3. Close the Task Manager.
3. Tweak Windows Search Service
File Explorer uses the Windows Search service for content indexing and search functionality. If this service isn’t working properly, you will face issues with File Explorer. Here’s how to restart the service:
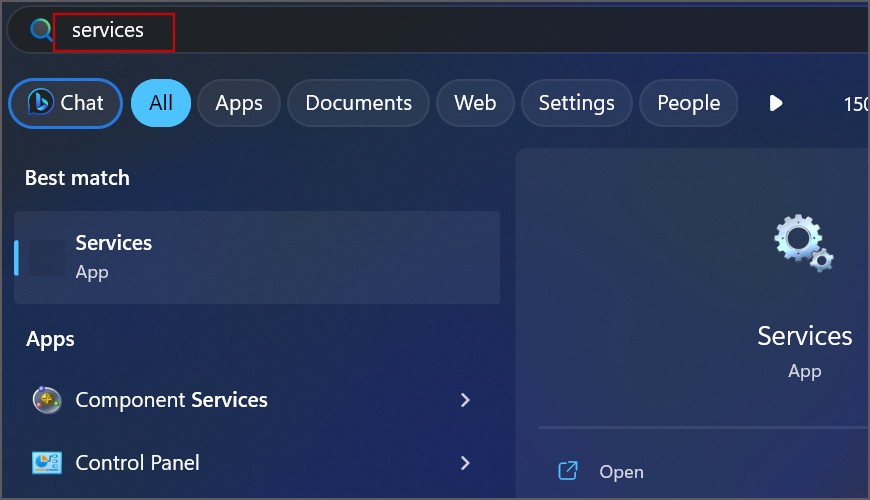
1. Press the Windows key, type services, and press Enter.
2. Locate the Windows Search service and right-click on it. Select the Restart option.

3. Close the Services window.
4. Clear Thumbnail Cache
An outdated or corrupt thumbnail cache can cause issues with File Explorer. You can easily purge this cache using the Disk Cleanup tool. Here’s how:
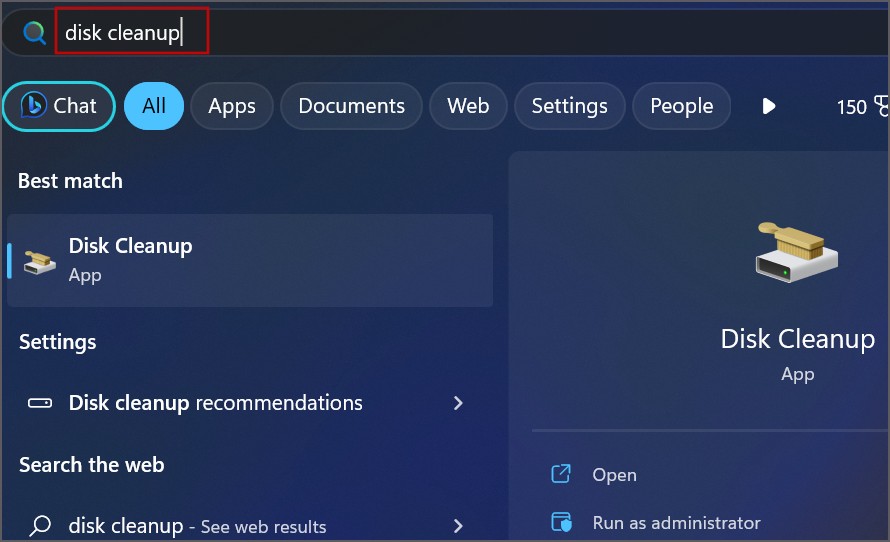
1. Press the Windows key, type cleanmgr, and click on the Run as administrator option.
2. Click on the OK button.

3. Select the Thumbnails checkbox and click on the OK button.

4. Click on the Delete Files button.

5. Clear File Explorer History
Try clearing the File Explorer History to delete the cached entries and force it to recreate everything. Here’s how:
1. Press the Windows key + E to open the File Explorer.
2. Click on the three dots button.
3. Click on Options.
4. Find the Clear File Explorer History option. Click on the Clear button.

6. Change Search Options
If File Explorer cannot find certain types of files on your PC, you can modify the search options in File Explorer. Here’s how:
1. Press the Windows key + E to open the File Explorer.
2. Click on the three dots button.
3. Click on Options.
4. Switch to the Folders tab.
5. Select the Always search file names and contents check box to select it. Then click on the Apply button and click on the OK button.

7. Rebuild the Search Index
Rebuilding the search index will force the PC to re-index all the files, thereby removing the corrupted entries from the database. Here’s how to do it:
1. Press the Windows key + R to open the Run dialog box. Type control /name Microsoft.IndexingOptions and press Enter.

2. Click on the Advanced button.

3. Now, click on the Rebuild button.

4. Click on the OK button.

It will take a while to rebuild the index.
8. Run the Search and Indexing Troubleshooter
You must run the Search and indexing troubleshooter to identify issues with file search and fix them automatically. Here’s how:
1. Press the Windows key + R to open the Run dialog box.
2. Type msdt -ep WindowsHelp id SearchDiagnostic in the text box. Then press the Ctrl + Shift +Enter keys at once.

3. Click on the Next button.

4. Wait for the troubleshooter to identify and fix issues. After that, close the troubleshooter window.
9. Update Windows
An outdated build of Windows OS can contain bugs that will be left unattended. So, you must regularly update your PC and install the latest available updates. Here’s how:
1. Press the Windows key, type Update windows, and press Enter.

2. The utility will automatically search for the latest available update. Click on the Download and install button.
3. Restart your PC to apply the update if prompted.
10. Reset All System Apps
You can try resetting all the system apps to fix this bothersome File Explorer issue. Here’s how to do it using PowerShell.
1. Open PowerShell with administrator privileges.
2. Type the following command and press Enter to execute it:
Get-AppXPackage -AllUsers |Where-Object {$_.InstallLocation -like "SystemApps"} | Foreach {Add-AppxPackage -DisableDevelopmentMode -Register "$($_.InstallLocation)\AppXManifest.xml"}
3. Close the PowerShell window.
11. Run an SFC and DISM Scan
You can use the inbuilt DISM and SFC tools to fix the component store of Windows image and identify and fix corrupt system files. Run both scans one after another:
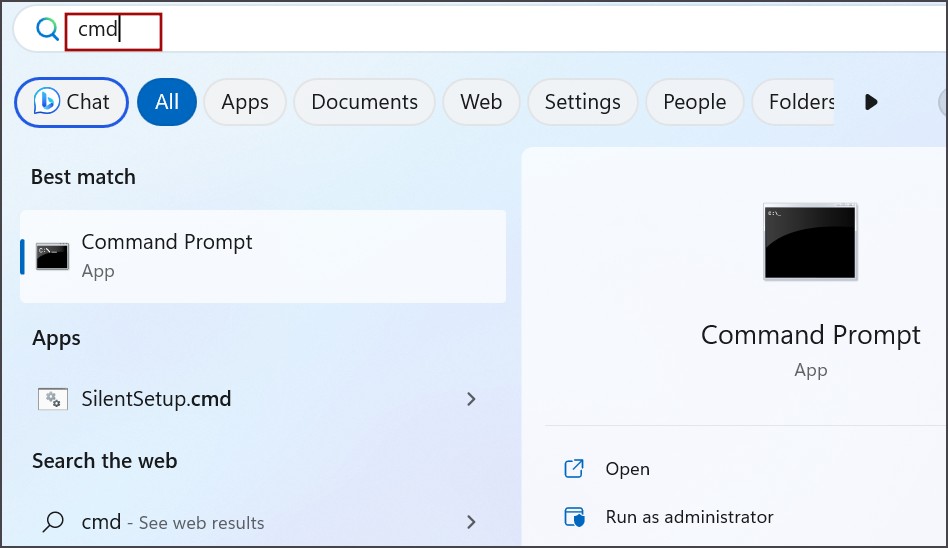
1. Press the Windows key, type cmd, and press Ctrl + Shift + Enter keys at once.
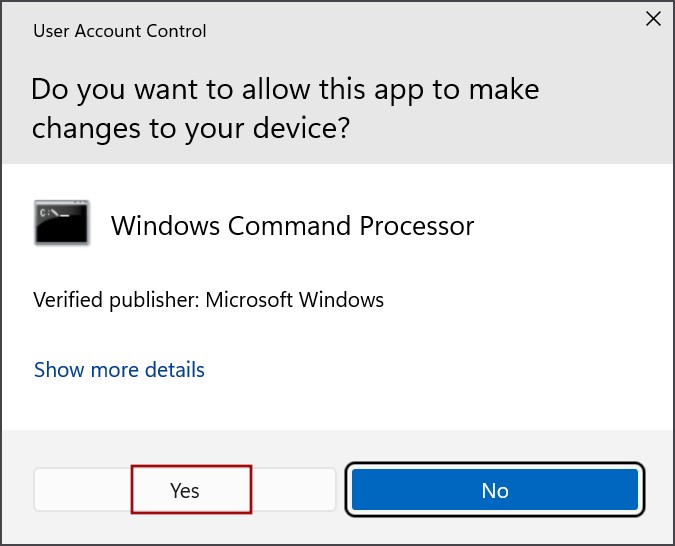
2. The User Account Control window will open. Click on the Yes button.
3. Type the following command and press Enter:
DISM.exe /Online /Cleanup-image /Restorehealth4. After that, execute the following command:
sfc /scannow5. Wait for the scans to complete and restart your PC.
12. Use System Restore
System Restore can work wonders when every other troubleshooting method fails. If one or more restore points exist, it can revert your PC to a point in time when everything worked as intended. Here’s how:
1. Press the Windows key, type rstrui, and press Enter.

2. Click on the Next button. Pick a restore point and apply it on your PC.

Your PC will restart during this process.
13. Perform an In-Place Upgrade
The last solution is an in-place upgrade which will help you reinstall Windows OS without losing your personal data and apps. It is much better than a system reset which doesn’t preserve your installed apps. Here’s how to do it:
1. Download the Windows ISO file.
2. Mount the downloaded ISO file by double-clicking on it. Open the mounted ISO file and click on the setup.exe file.

3. The User Account Control window will pop up. Click on the Yes button.

4. Click on the Next button.

5. Now, click on the Accept button to agree to the EULA.

6. Select the Keep personal files and apps option. Then, click on the Next button.

7. Follow the on-screen instructions and reinstall the Windows OS without losing your files.
Fix File Explorer Issues
These were the methods to resolve the File Explorer not showing files issue on Windows OS. Start by changing the File Explorer properties, restarting Windows Explorer, and clearing out the thumbnail cache. After that, change search options, rebuild the search index, and use the troubleshooter to fix the issue. Lastly, use an in-place upgrade to reinstall Windows without losing your files.