Recently, I updated my Ubuntu from 17.10 to 18.04 and after the reboot, the keyboard stopped working. It works on the lock screen but once I am logged in, it’s off duty. Turns out, this is a fairly common problem. The keyboard input driver breaks after every major update, which causes miscommunication between the Ubuntu OS and the input devices.
You can easily fix this by re-installing the input X Server’s driver again. But since the keyboard is not working in the first place, this gets a bit tricky. So, here is how you fix the keyboard not working after updating your Ubuntu.
Case 1: Keyboard and Mouse both working on Lock Screen
If you have the keyboard and trackpad both working on the lock screen, you can directly launch a terminal session by pressing Ctrl + Alt + F3 and skip to this step.
Case 2: Keyboard not working but Mouse working on Lock Screen
Step 1: In this case, log in to the system with the help of the screen keyboard. You can enable it by clicking on the Accessibility or Human icon on the top-right corner. Once you are logged in, we need to once again turn on the screen keyboard. For that, open the Settings menu by clicking on the arrow at the top-right corner. Next, click on the gear icon from the extending menu.

Step 2: In the Settings menu, click on “Universal Access” on the left-hand tab to go to the Hearing and Typing menu.
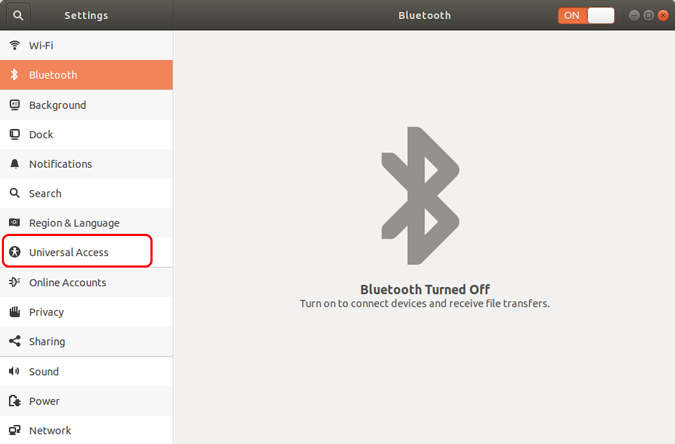
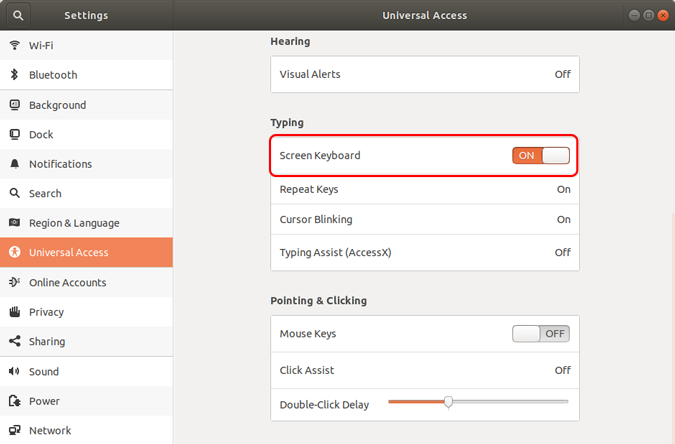
Step 3: On the Universal Access menu, navigate to the Typing menu. Click on the slider beside the “Screen Keyboard” text on the on-screen keyboard.
Step 4: Now that we have the on-screen keyboard, we need the terminal to run the command. To open the terminal, right-click on the Desktop and select Open Terminal.

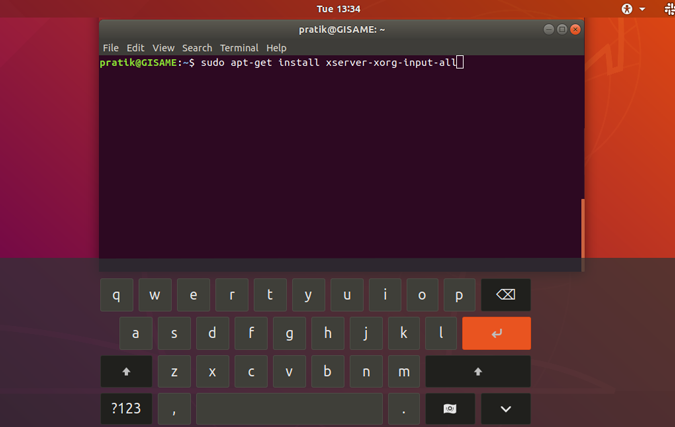
Step 5: Once you have the terminal launched, type the following command, and hit Enter.
At times Ubuntu might try to go fanatical and prompt you for the password even after entering sudo. Just use the on-screen keyboard to enter the password.
sudo apt-get install xserver-xorg-input-all
It should again prompt for input, press Y and hit Enter again.
Once we have the X Server keyboard input drivers installed, reboot your System. When the system is back up and running, you should be able to use your keyboard and mouse.
Case 3: Keyboard and Mouse both not working
In case, the keyboard, trackpad, and mouse all are not working for you even on the lock screen, we need to launch the terminal during boot itself. To do that force shutdown the system with the physical keys.
We would need an external keyboard to trigger a few keys during the boot process. While, the system is starting up, hold down the Shift key after the BIOS load and you will enter the GRUB menu. On the GRUB menu, press “e” to edit boot options. Search for the line which looks like the following.
linux /boot/vmlinuz-4.18.0-25-generic root=UUID=a98c605-2ac4-4ee3-8070-2560255293fe ro quiet splash $vt_handoff
Insert “/bin/bash” before $vt_handoff and press Ctrl + X or F10 to reboot. Once you in the command, run the following command and reboot back the system again.
sudo apt-get install xserver-xorg-input-all
Upon reboot, you should have the keyboard and mouse working for you.
Changing the GRUB file is a temporary change and not persistent. So if the boot crashes, just restart the system and it should be back to normal.
What if re-installing the drivers doesn’t work?
If none of the above methods work for you, then there are 2 minor tweaks you can do to try and fix the keyword and mouse.
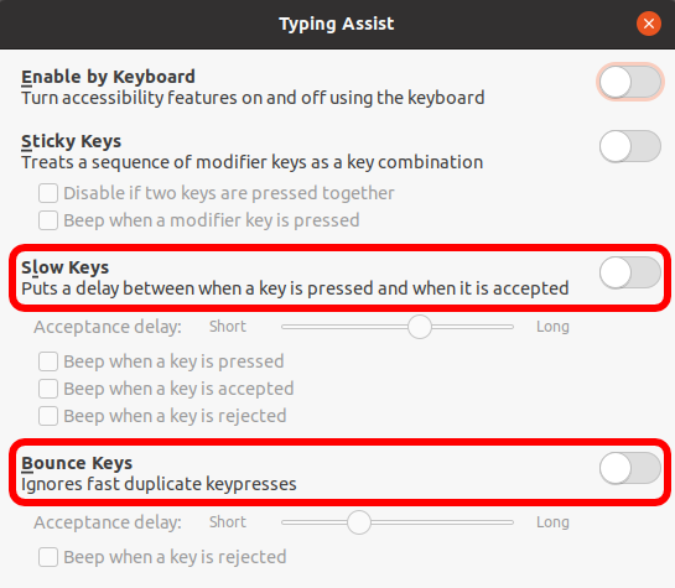
Turn off bounce keys and slow keys
Ubuntu provides certain accessibility settings like Bounce keys or Slow keys. In case you don’t know, Bounce keys ignores fast keypresses whereas Slow keys require you to press the keys for a certain amount of time. In case a third-party app or you have mistakenly turned on these settings, it’s may lead to faulty working of the keyword.
To turn off Bounce and Slow keys, head over to the Settings menu. You can access the Settings menu by clicking on the arrow at the top-right corner. Next, click on the gear icon from the extending menu.
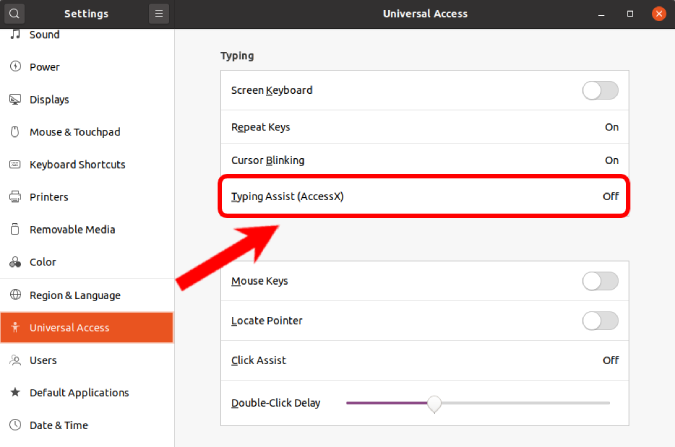
On the Settings menu, click on “Universal Access“.
 Under the Universal Access menu, scroll down and click on “Typing Assist (AccessX)“.
From the pop-up menu, make sure the toggle besides the “Bounce keys” and “Slow Keys” is turned off.
Update Ubuntu
Finally, if nothing works out, you can try and upgrade the Ubuntu packages. This might fix the broken driver and enable your keyboard and trackpad to function properly.
To upgrade your Ubuntu system, we would need to run a few commands on the terminal. To do that, right-click on the desktop and click on “Open Terminal“.
On the terminal type the following command to update the package list.
sudo apt update

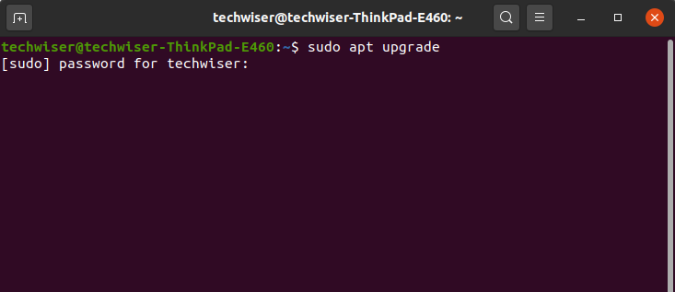
Once the package list has been upgraded successfully, we can upgrade all the packages with the following command. Do note that, this command will take a lot of time. So, sit aback and sip it!
sudo apt upgrade
Wrapping Up
In case none of the methods have worked, a clean Ubuntu installation is required. However, make sure you have backed up your data beforehand. You can also read our other articles on 15 must-have apps on Ubuntu right after a fresh install and how to run Linux on Windows with a virtual box.
Let me know in the comments below in case of any issues or queries.