You may have noticed how smartphones like Google Pixel and Samsung Galaxy S series can remove objects from photos using AI. Now, Windows users can remove objects from their photos using the native Photos app. Just keep in mind that for now, it is available to Windows Insiders but later, it will be released to all users. That said, here’s how to remove objects from a photo in Windows 10 and 11.
Erase Objects From Photos in Windows
Before we begin, ensure that you’re on the latest version of the Windows Insider Preview (Build 26058 or above) and have the updated version of the Photos app. If that part is covered, follow the steps below:
1. Open the image using the Photos app and click the Edit Image icon (Ctrl + E).
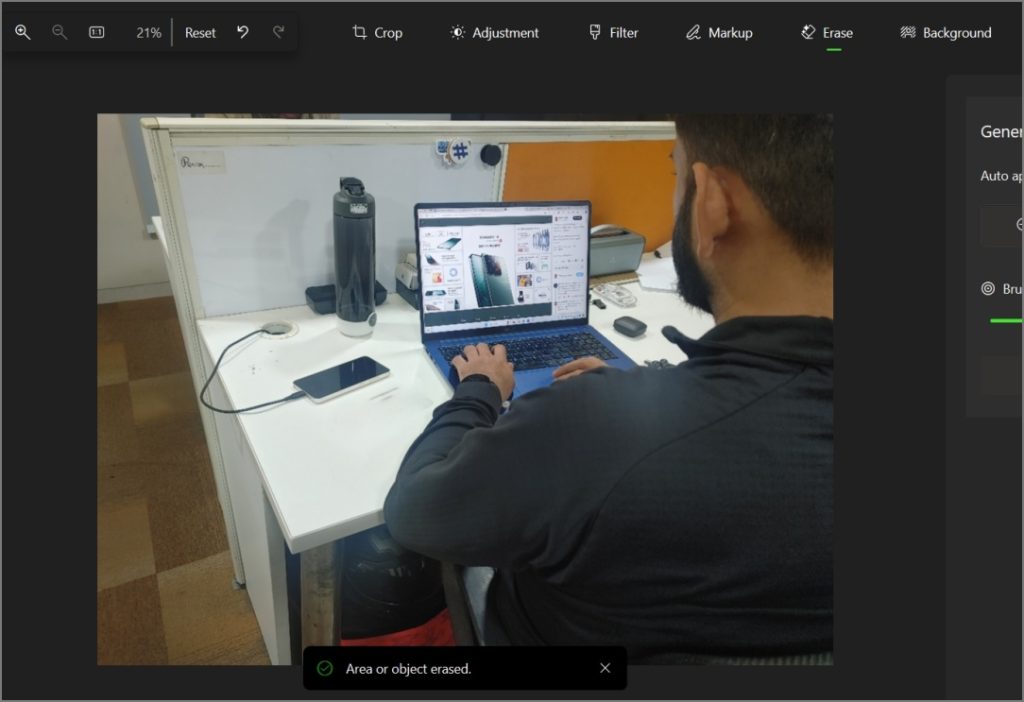
2. Next, click on the Erase tool. From there, you adjust the Brush size and then mask the object you want to remove from the picture.

As you can see, it removed the object (smartphone) from the image.
3. In case you want to remove multiple objects at once, you should turn off the Auto apply setting and select each object one by one. Once completed, hit the Erase button.
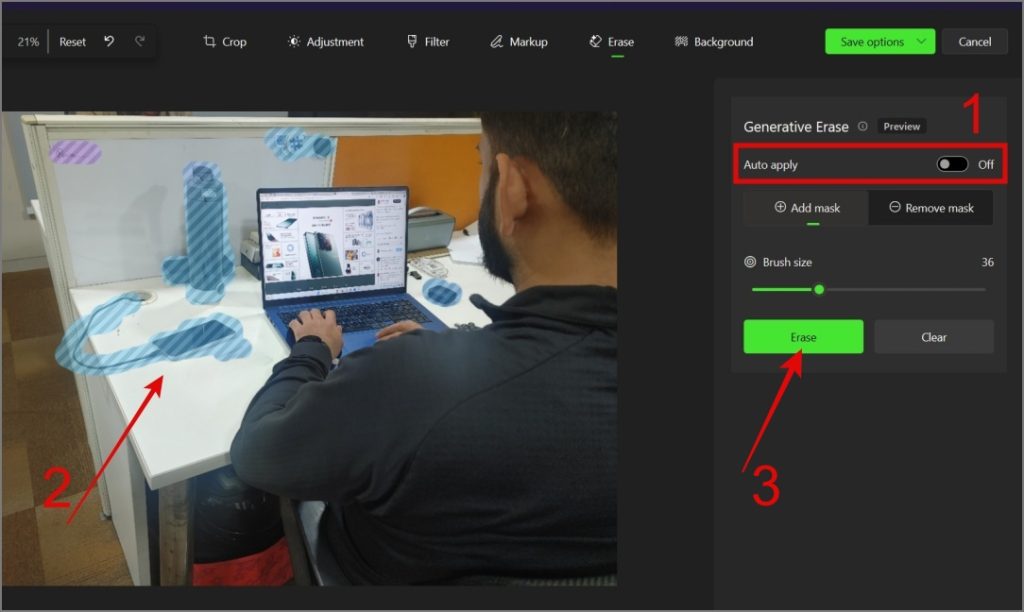
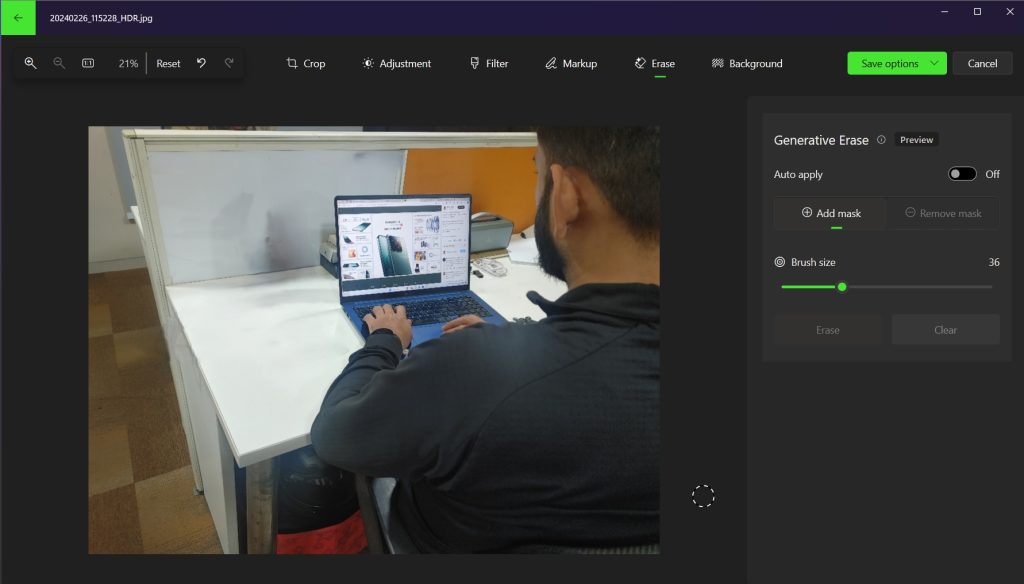
As shown in the image below, the objects have been removed from the image.
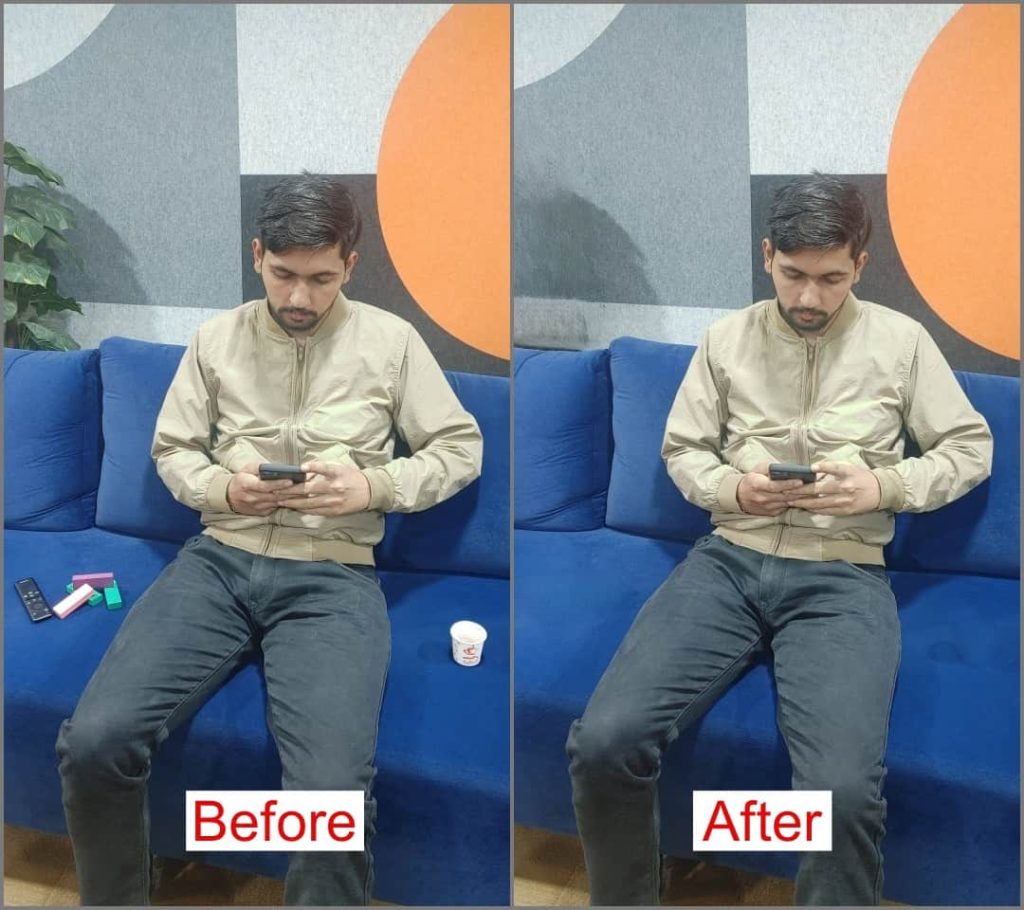
Note: keep in mind that the results may vary depending on the complexity of the image. Objects with a simpler background would be easier to remove. You can see the below result for a better understanding:
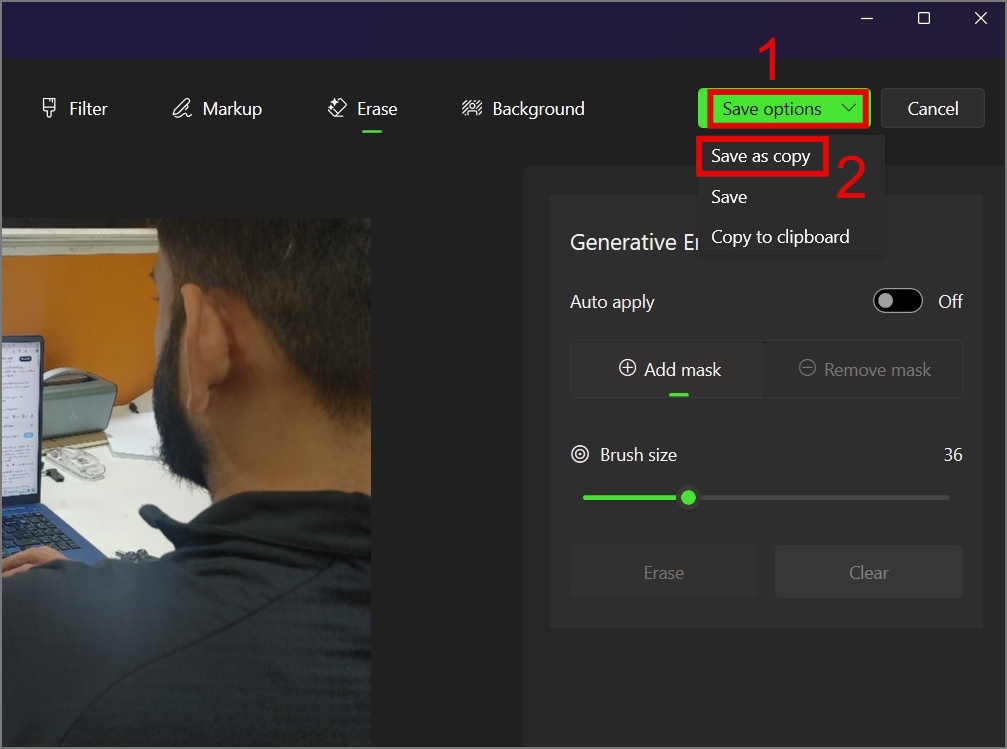
4. Now, to save the image, click on the Save button and select the Save as copy from the menu.
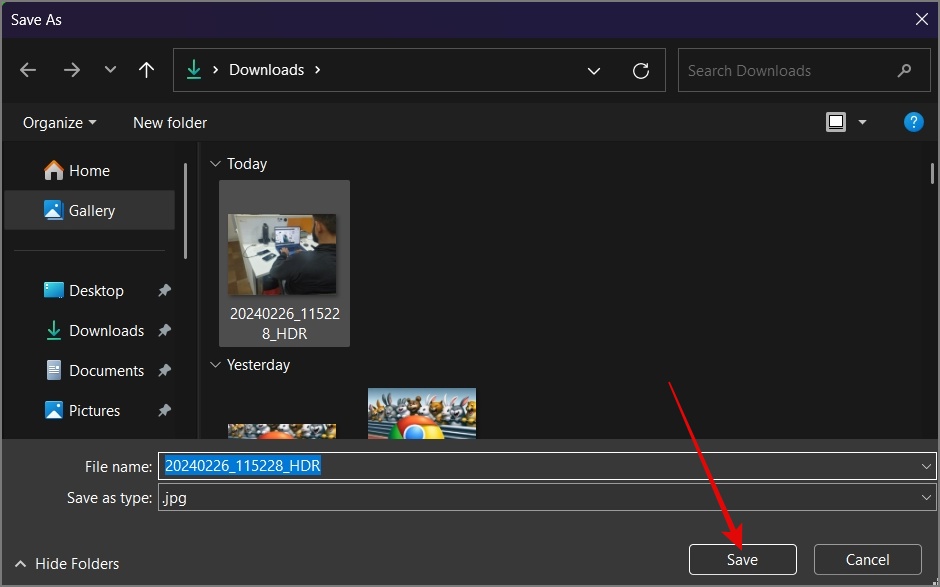
5. After that, choose the location where you want to save the image and then hit the Save button.
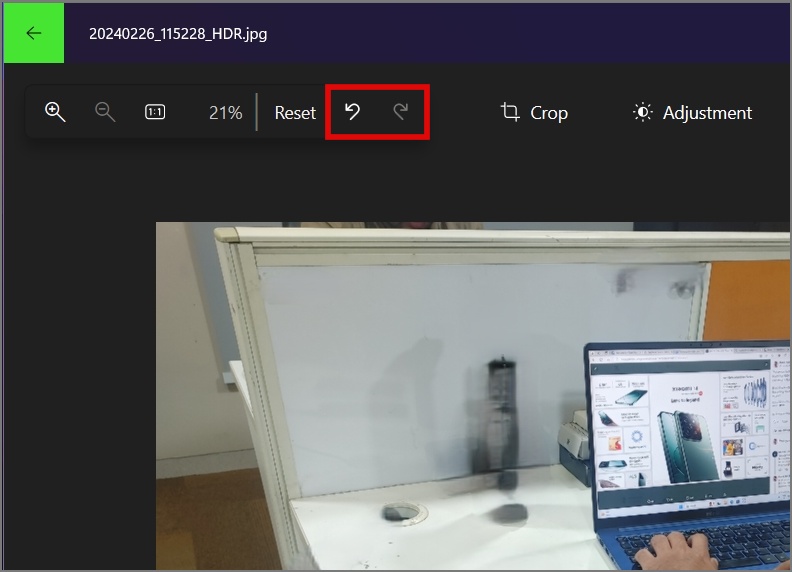
Tip: To undo or redo changes, use the back or right arrow button at the top left corner.
We also compared how well Windows, Samsung Galaxy, and Google Pixel can remove objects from an image. Here is a side-by-side comparison of the results.
On the Google Pixel, the bottle was successfully removed; on Windows, the table appeared much cleaner; and in the Samsung Galaxy, a balanced output was achieved.
Bye-Bye, Unwanted Objects!
Now, you no longer have to rely on 3rd-party online tools or apps to erase objects from photos. You’re just one click away from removing them on your Windows PC. We hope the guide above made it easy for you. To learn how to make the background transparent in the Windows Photos app, check out our in-depth guide.