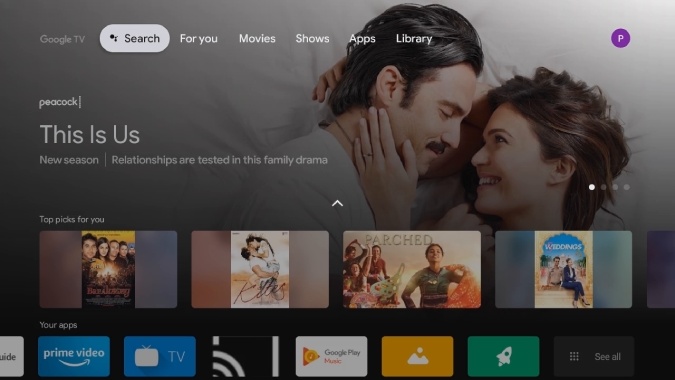
The new Chromecast device, popularly known as Google Sabrina, brought a new Google TV Interface. This new Google TV reinvents the way you discover content on your Android TV. Consider it similar to the FireTV launcher or Xiaomi PatchWall, which focuses more on content rather than apps.
The Google TV Interface will eventually launch for other Android TV devices and streaming boxes but, if you don’t want to wait for an OTA update, here’s how you can \easily install it on any Android TV device running Android 9.0 and above.
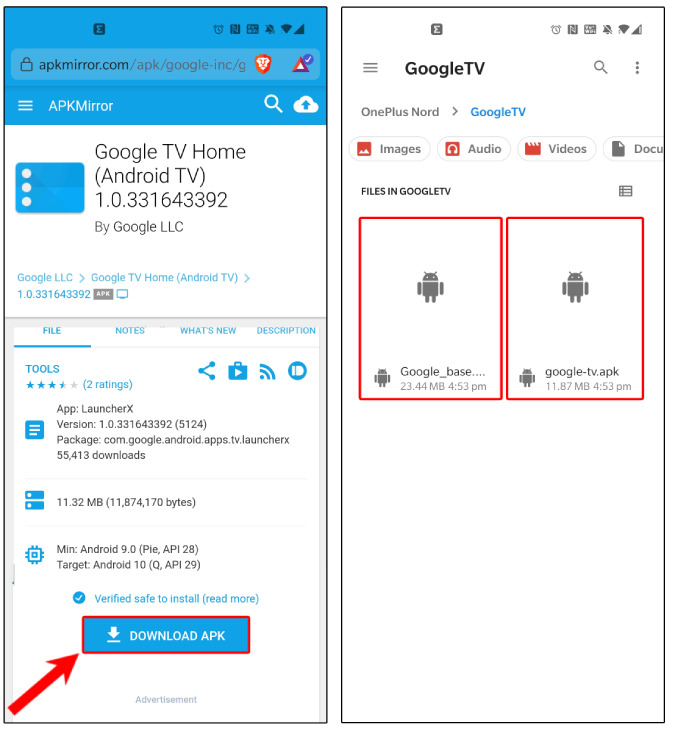
Step 1: Download the necessary Apk Files
First of all, we will have to sideload the Google TV Android app. In order to get the new Google TV app working, we need to install 2 separate files. The first file is the new Google app that handles the search function and movie suggestions. The second file is the Google TV app itself known as LauncherX.
Step 2: Send the Apk Files To Android TV
Once you have the files downloaded on your smartphone or PC, we need to send it through to our Android TV. In my case, I have the apk files on my Android device and I have to send it to the Android TV. To do that, I’ll be using an app called “Send files to TV“. We need to install this app both on our Android TV and our Android smartphone or PC.
Android TV:
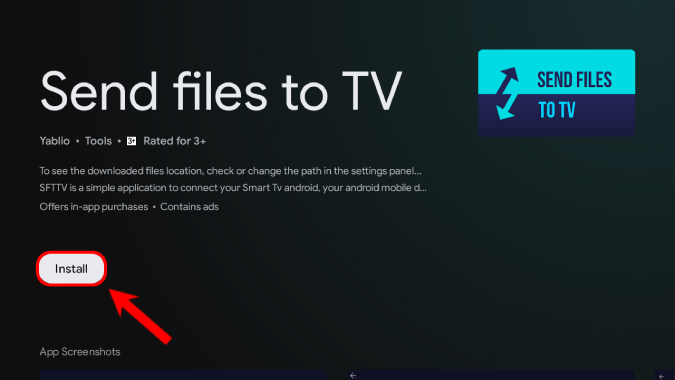
Once you have installed the “Send Files to TV” app, click on the “Receive” option on your Android TV to accept files.

Next, on your Android smartphone, install the “Send files to TV” app.
Android Smartphone:
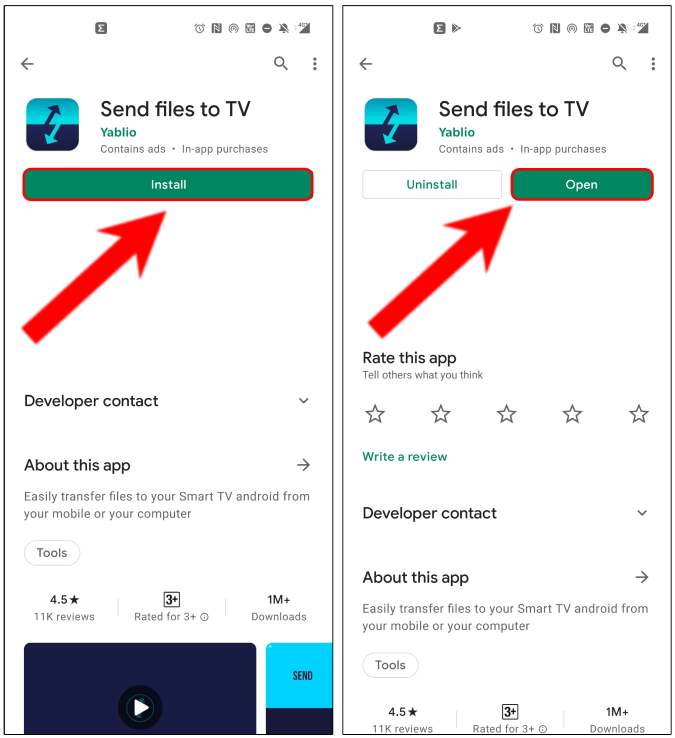
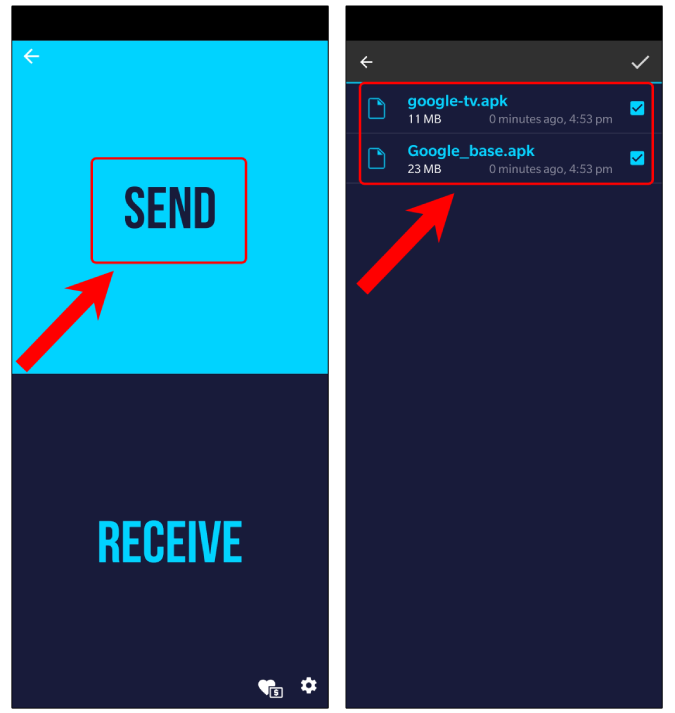
Within the “Send files to TV” app, tap on the “Send” button. Navigate to the folder you have downloaded the files and long-press on them to select the files. Next, tap on the check icon at the top to send the files to the TV.
Step 3: Install the Sideloaded Apk On Your Android TV
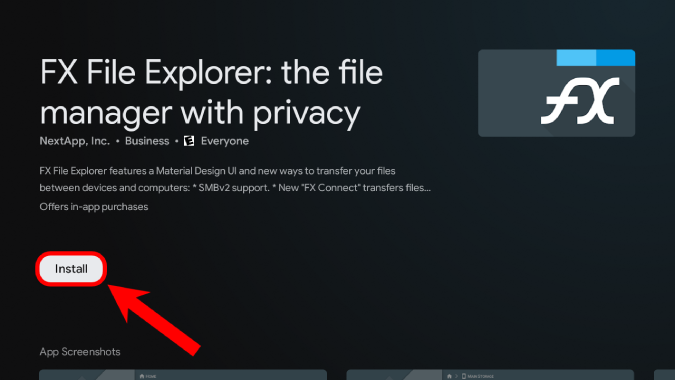
Now, that we have sent both the files on the Android TV. We would require a file manager to install the apps. There are numerous file managers for Android TV, the one I recommend is the FX File Explorer due to its simplicity.
Within the File Manager, locate the apk files under the Download folder.
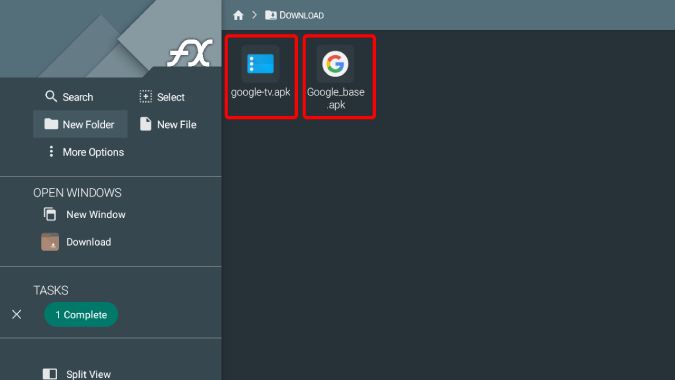
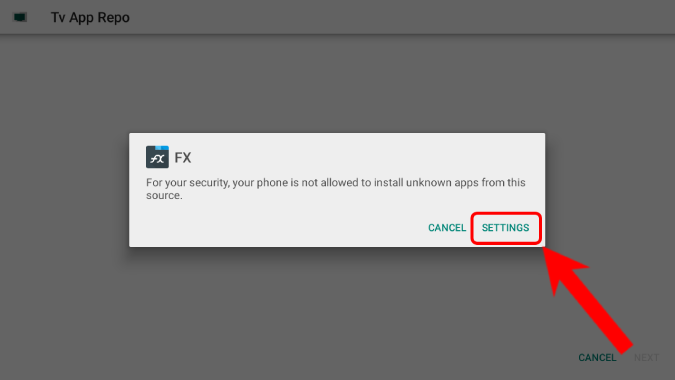
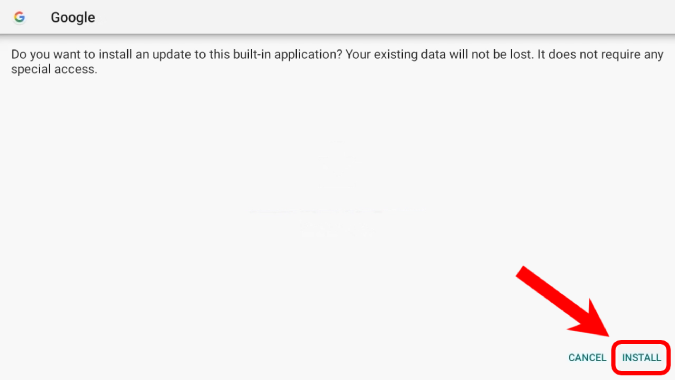
From the sideloaded files, install the Google Base app first. When you click on install, Android TV will provide ask you to provide install permissions to your file manager, click on “Settings“.
Within the “Install unknown apps” page, tun on “FX” to provide it install permissions.
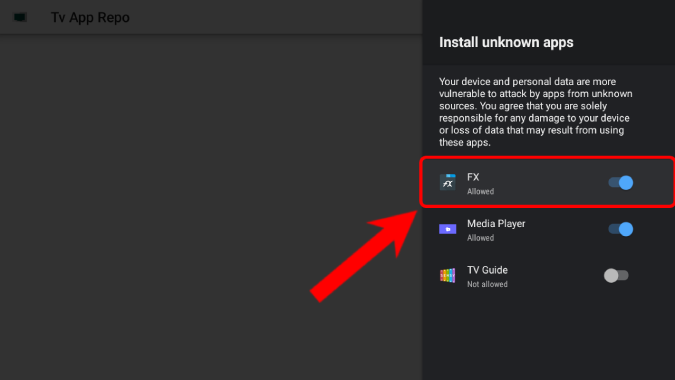
Next, head back to the Google Base apk and click on it to install it.
Once you have installed the Google apk file, repeat the same process, and install the Google TV Home app in the same way.
Step 4: Launch the new Google TV Interface
Now that you have installed Google TV Interface, you won’t be able to access the launcher. In order to access the launcher, we would need a third-party app called “Home Screen Launcher for Android TV“.
Download Home Screen Launcher for Android TV
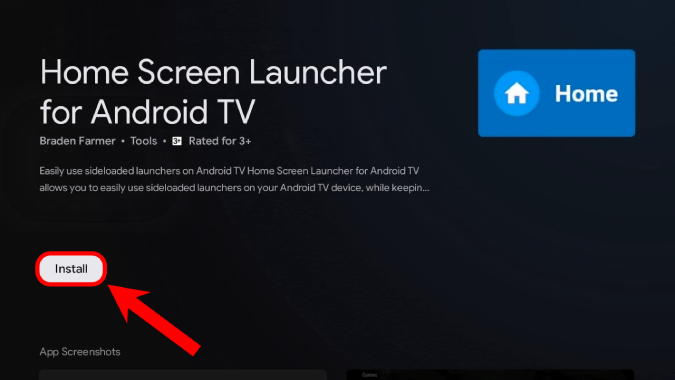
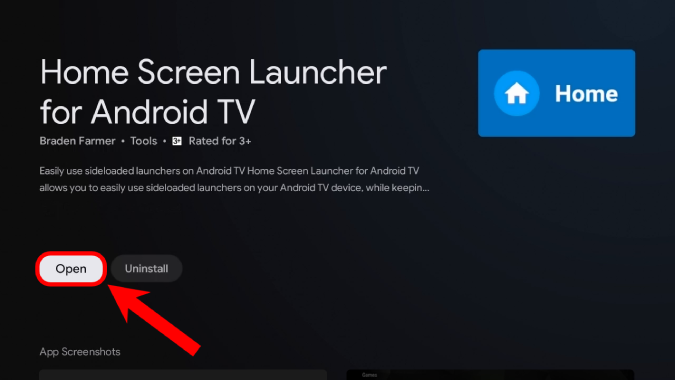
Once you have installed the Home Screen Launcher open it.
As soon as you open the Home Screen Launcher, it’ll ask you to select a launcher from the list. Click on the “LauncherX” option. This is our new Google TV Interface launcher name.
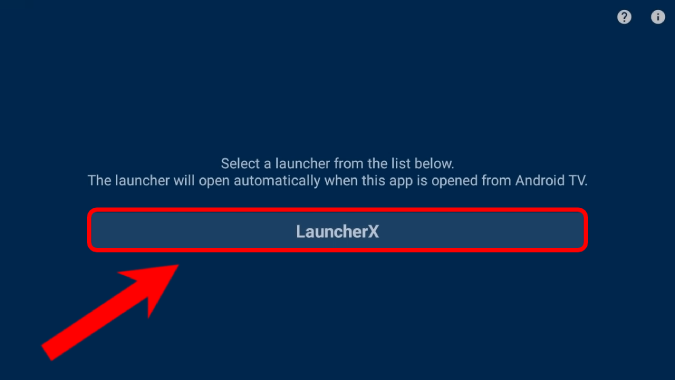
Next, it’ll open the new Google TV Interface for you.
There are a couple of things to note about the new Google TV Interface. It works only in the US. So, if you set up the launcher outside the US, the recommendation page won’t load for you. You’ll only see the app list after a couple of seconds. Second, there are a few bugs within Google TV Interface which can lead to a few crashes.
Step 5: Set new Google TV Interface as the default launcher
Now, if you want to use the new Google TV Interface instead of the old Leanback launcher, well there’s a way. We would have to disable the old Leanback launcher and the new Google launcher will replace it. To disable the launcher, we would need to run an ADB command. For that, we would need to turn on USB debugging and Developer options for Android TV.
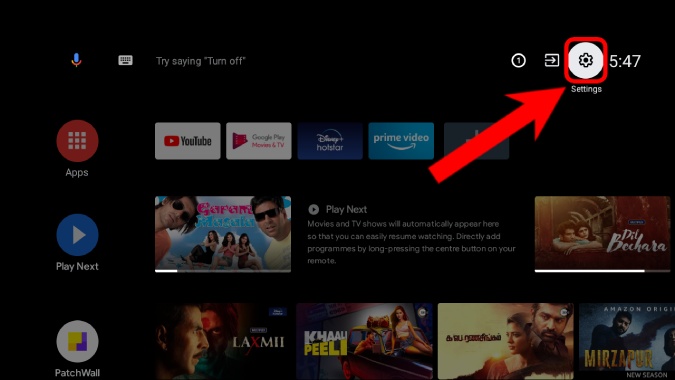
To do that, head over to the Settings menu by clicking on the gear icon at the top-right corner.
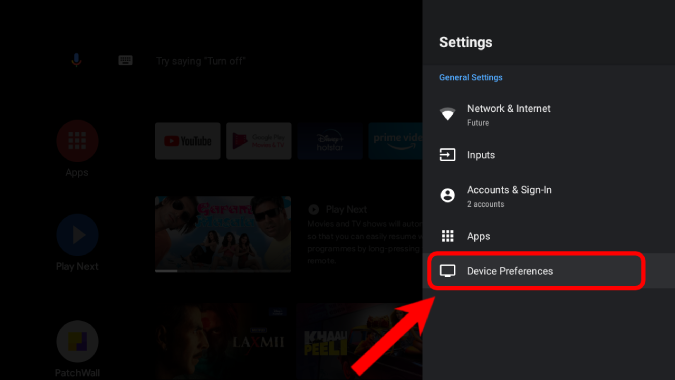
On the Settings menu, click on the Device Preferences option
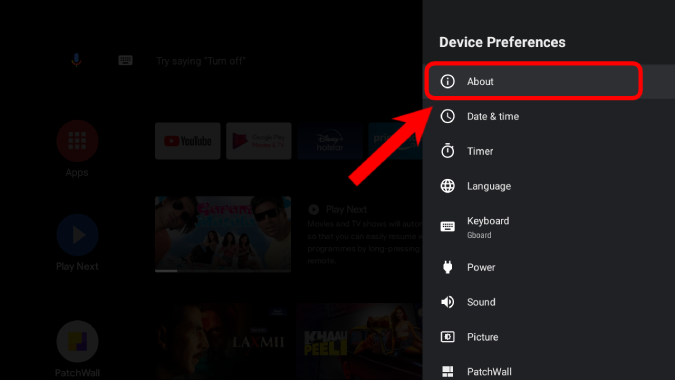
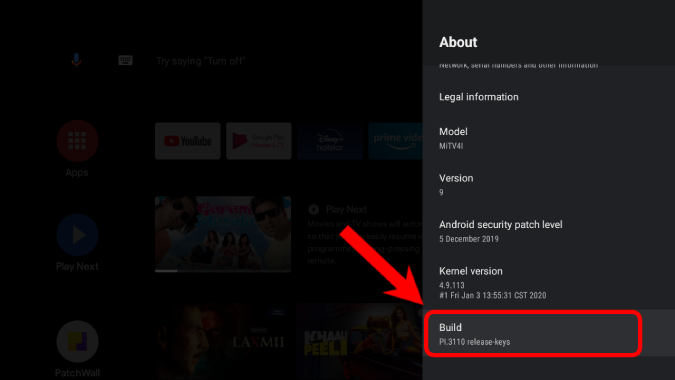
Under Device Preferences, click on the “About” option.
Under About, navigate to the bottom and click on the “Build” option 5 times. This will unlock the Developer options.
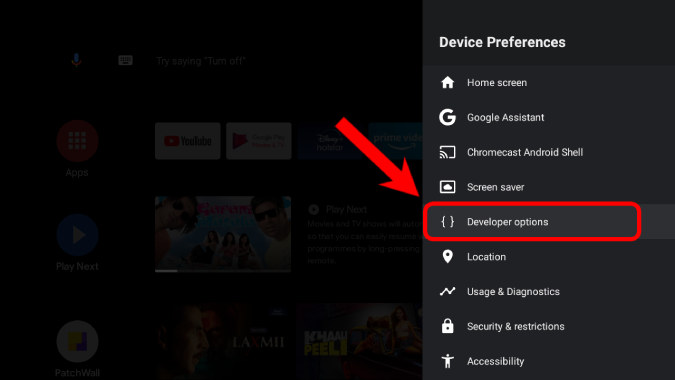
Once you have unlocked the Developer options, you will find it under the “Device Preferences” menu.
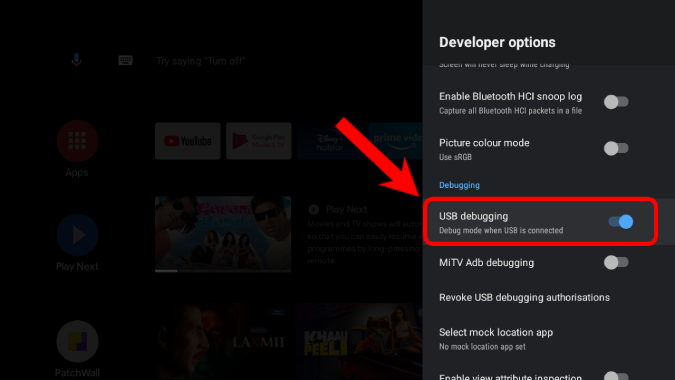
Under the Developer options, navigate to the Debugging section. Turn on the toggle beside the “USB debugging” option.
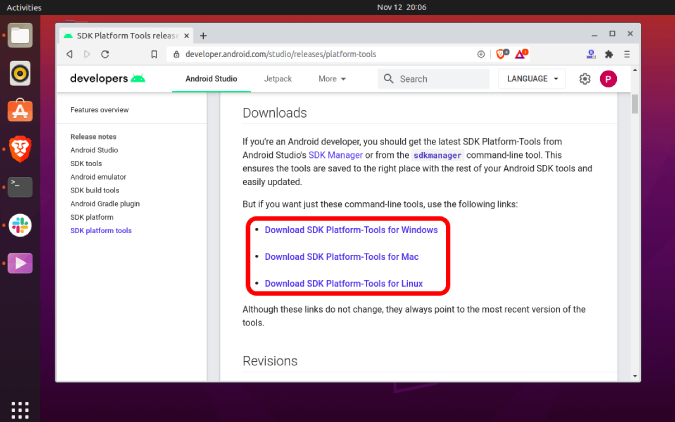
Now, that we have USB debugging turned on the Android TV, head over to your PC or Laptop. We would need to download ADB platform tools to run ADB commands. You can download ADB platform-tools from the link below depending on your Operating system. In my case, I am using Ubuntu, so I’ll download SDK Platform-Tools for Linux. But, the steps are exactly similar on Windows and macOS as well.
Download ADB Platform Tools
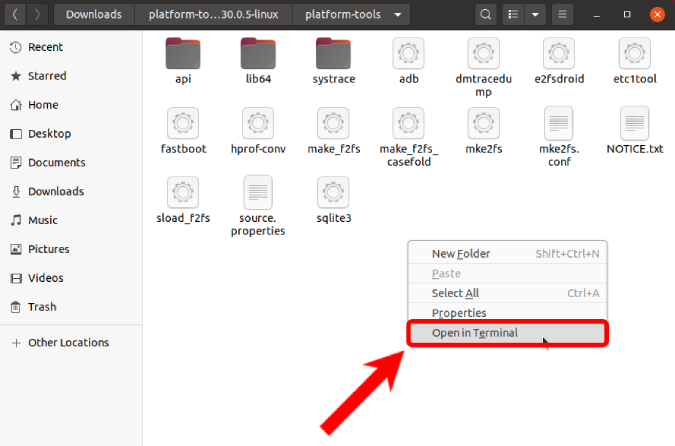
Once you have downloaded the ADB Platform Tools, extract the zip file and open a Terminal from within the ADB folder.
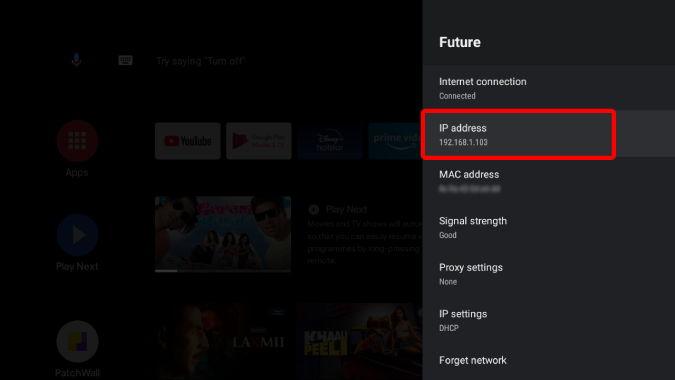
Now, in order to connect to Android TV, we need to be on the same Wi-Fi network. We would also need the IP Address of the Android TV. To fetch that, head over to the Settings menu> Network & Internet. Click on the connect WiFi and you’ll have your IP Address on the subsequent menu.
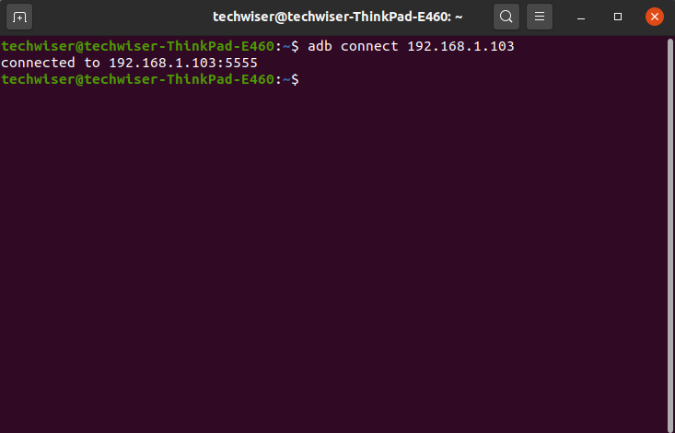
Once we have the IP Address of the Android TV, head back to the ADB terminal and execute the following command. You have to replace the IP Address with your Android TV IP Address.
adb connect 192.168.1.103
When you run the adb command, you will get a pop-up on the Android TV to accept the ADB request.

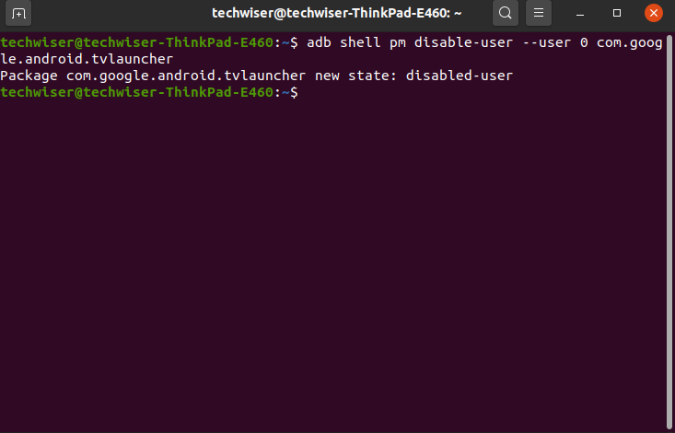
Once you have successfully connected to the Android TV, we can disable the default Android TV launcher. Now, you would see commands asking you to uninstall the launcher. But, this would lead to the loss of user settings or widgets you have created on the launcher. Hence, we would just disable the stock launcher.
adb shell pm disable-user --user 0 com.google.android.tvlauncher
As soon as you run the command, your Android TV will jump back to the previous open app. Now, when you hit the Home button on your remote, you’ll be guided to the new Google TV Interface. Henceforth, the Google TV Interface will be your default launcher
How to get back to the old launcher
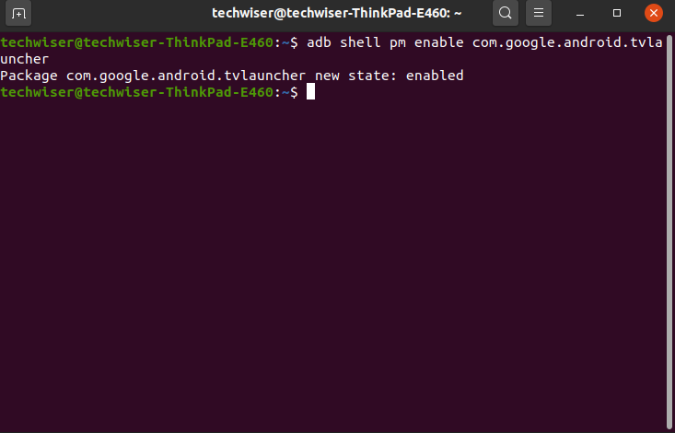
At any point in time, if you want to revert to the old default launcher, all you have to do is run the following command on ADB. This will enable the old leanback launcher and you would be good to go.
adb shell pm enable com.google.android.tvlauncher
Alternatively, you can also enable the old launcher from the Settings Menu under the Apps option.
Closing Words
I tried the same exact set up on a Nokia TV, Mi TV Stick, and Mi TV 4A Pro. It worked flawlessly on all these devices. In case the new Google TV Interface isn’t working for you, there may be primarily 2 reasons.
- The Google TV UI won’t load recommendations outside the USA
- If the Google Home or base apk isn’t installed properly, the recommendations and search on the Google TV Interface won’t work
For more issues or queries, let me know in the comments below.
Also Read: 19 Best Android TV Apps You Should Try in 2020