Web browsing is fairly simple ⏤ you enter the correct URL and the website loads in your browser. But many users face the ‘This Site Can’t Provide a Secure Connection’ error in Chrome instead and cannot access a specific website. The reasons for the secure connection error include incorrect date and time, corrupt SSL cache, and expired SSL certificates. Try out these fixes to resolve the issue.
Table of Contents
1. Clear Browsing Data
Deleting your browsing data can help in resolving connection errors with a particular site. Here’s how to delete the browsing data in Chrome:
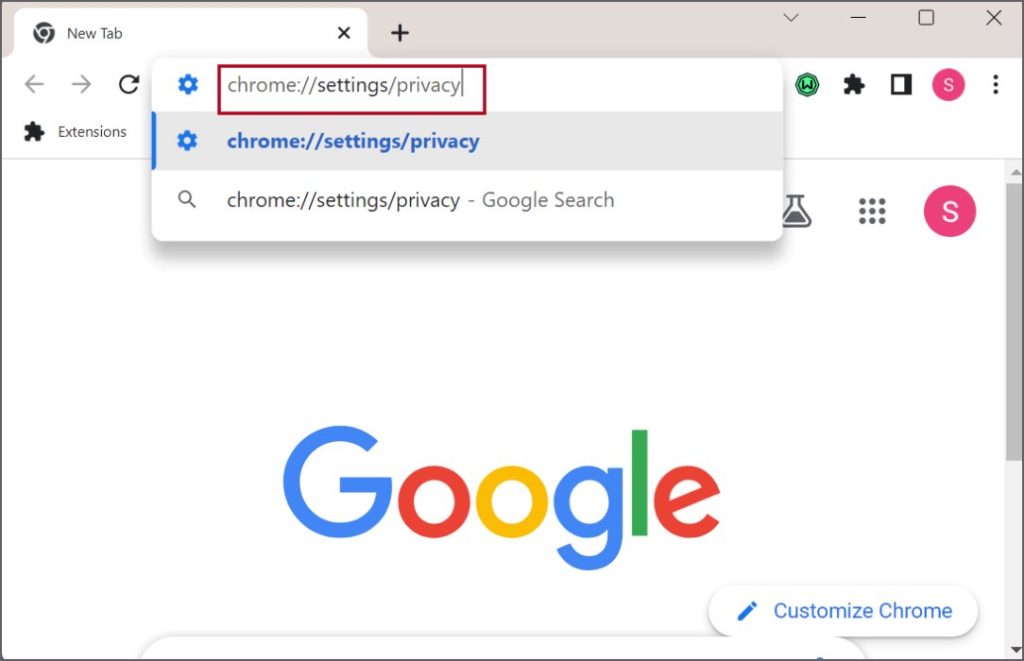
1. Press the Ctrl key + T to open a new tab in Chrome. Type chrome://settings/privacy in the address bar and press Enter.
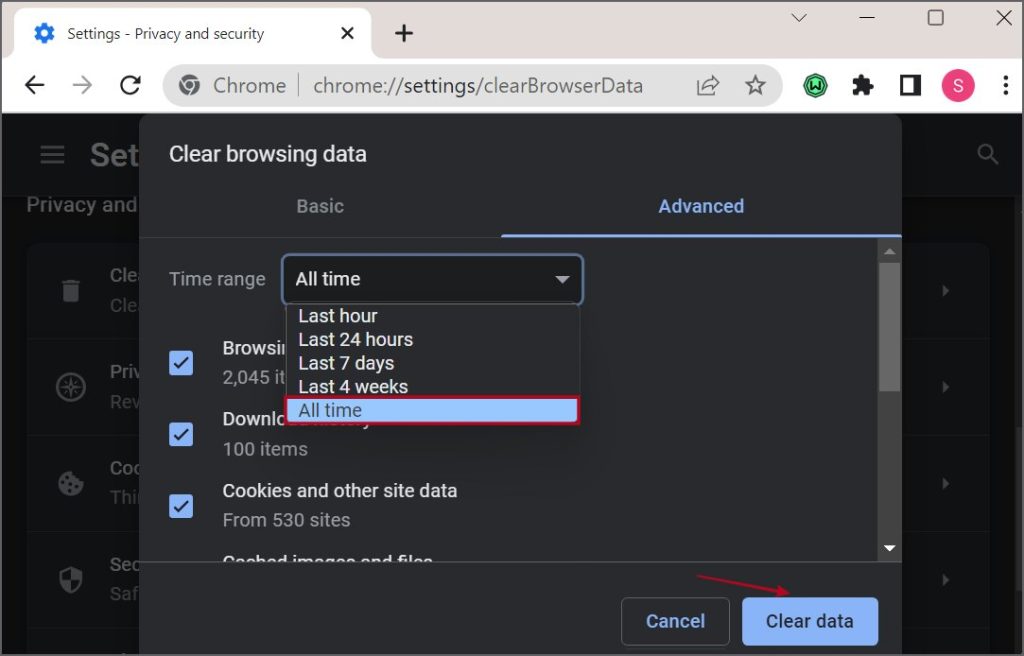
2. Click on the Clear browsing data option.

3. Set the Time Range to All time and click on the Clear data button.
4. Restart Chrome and try accessing the website again.
2. Disable Extensions
Meddlesome extensions can also block access to a website. So, you must disable all extensions in Chrome and try visiting the website. Here’s how to do it:
1. Press the Ctrl key + T to open a new tab in Chrome. Type chrome://extensions/ in the address bar and press Enter.

2. Chrome doesn’t support disabling all extensions at once. So, click on the toggle below an extension to disable it.

3. Repeat the same step to disable all the installed extensions.
4. Close and restart Chrome.
3. Clear SSL Cache
An outdated SSL cache in Windows can obstruct website access and produce the ‘This Site Can’t Provide a Secure Connection’ error in Chrome. So, you must clear the SSL cache on your Windows PC. Here’s how:
1. Press the Windows key, type Internet Options, and press Enter.

2. Switch to the Content tab. Click on the Clear SSL State button.
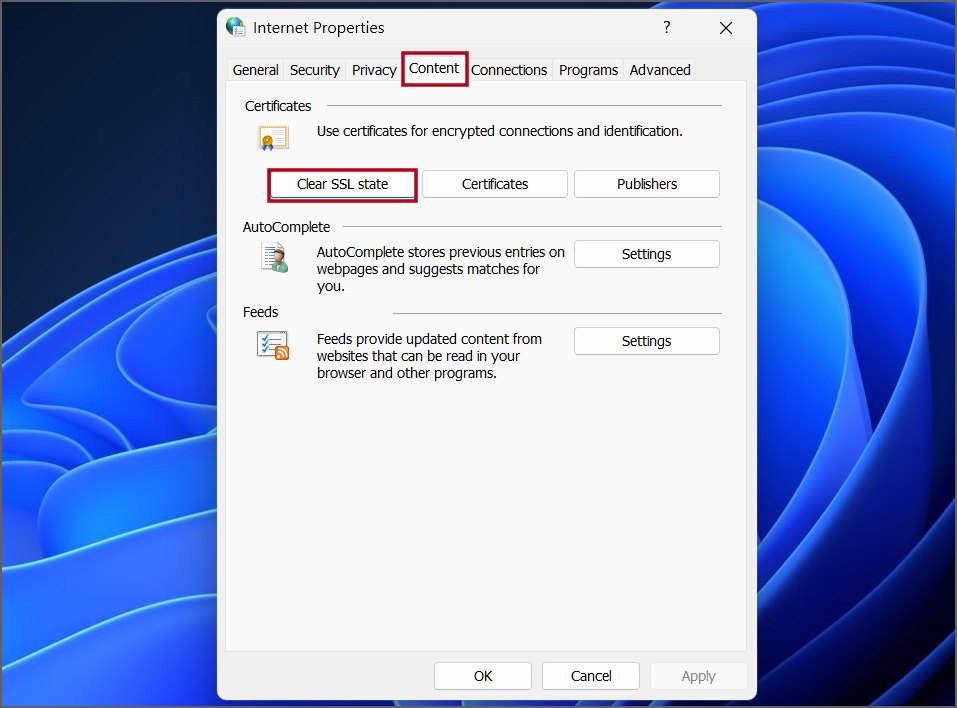
3. Close the Internet Options window.
4. Update Date and Time
Incorrect date and time settings of your Windows PC can conflict while establishing a secure connection to a website. So, update the date and time of your PC either automatically using Windows servers or set it manually. Follow the below-mentioned steps:
1. Press the Windows key, type Date, and press Enter.

2. Scroll down to the Additional settings section. Click on the Sync now button.
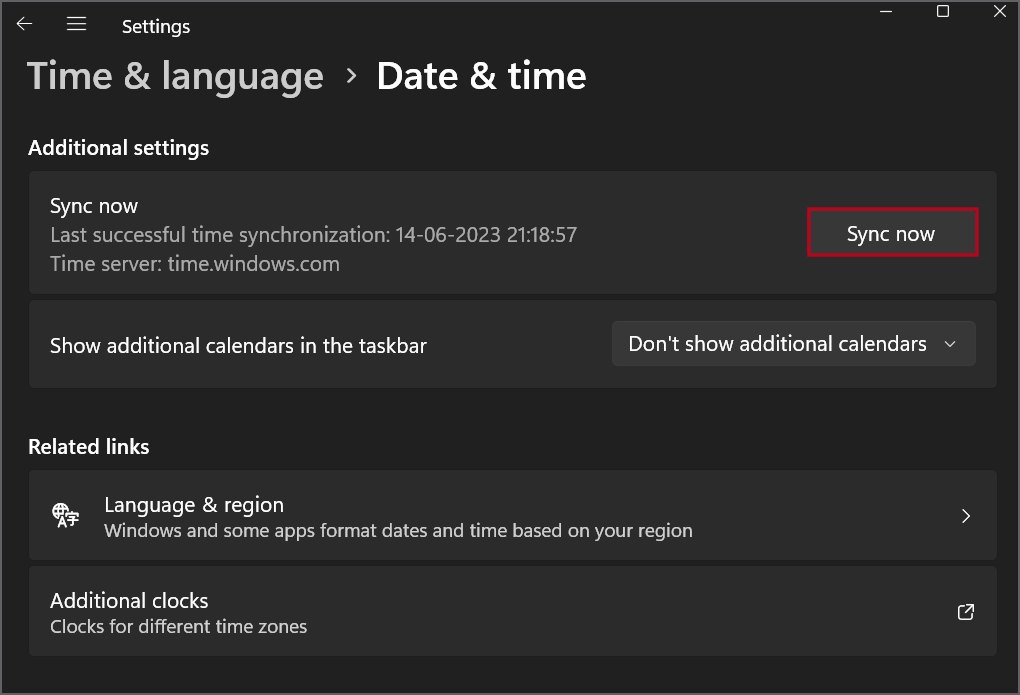
3. Close the Settings app.
5. Disable the QUIC Protocol
QUIC protocol can encounter conflicts with SSL connections in Chrome. So, you must disable this flag in the experimental section of Chrome, if you have accidentally enabled it. Here’s how:
1. Press the Ctrl key + T to open a new tab in Chrome. Go to the address bar, type chrome://flags/, and press Enter.

2. Click on the search bar and type QUIC.

3. Expand the drop-down list next to the Experimental QUIC protocol flag. Select the Disabled option.
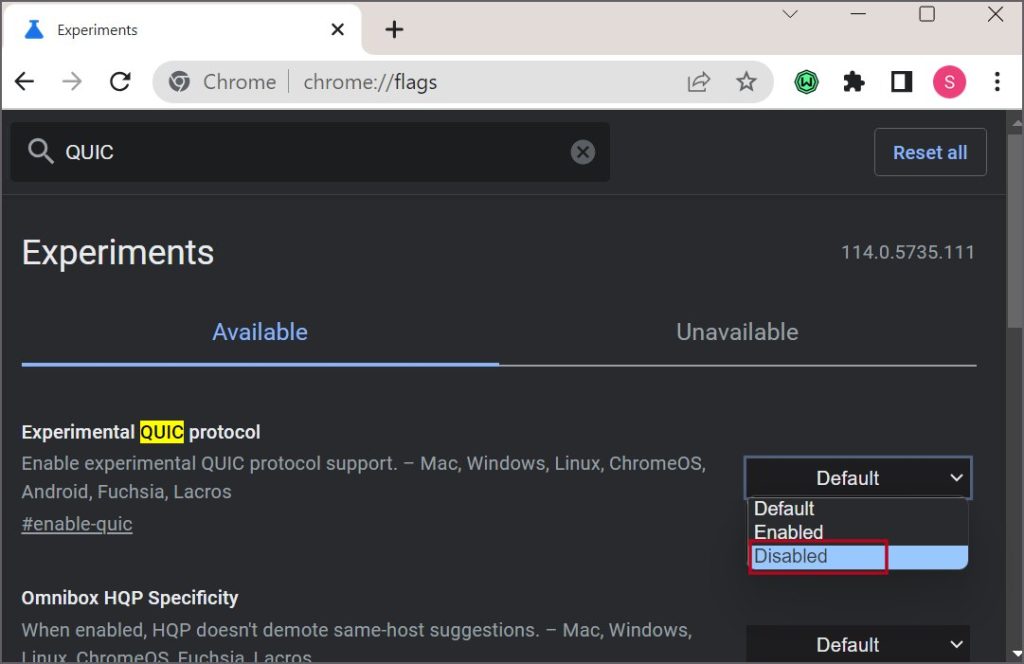
4. Click on the Relaunch button.

6. Enable TLS and SSL Protocols
Some websites may rely on old SSL protocols and you will have to enable the support for those in Windows Internet Options. Otherwise, you won’t be able to access the website. Repeat the following steps to enable these protocols:
1. Press the Windows key, type Internet Options, and press Enter.
2. In the Internet Options window, switch to the Advanced tab.

3. Scroll down and find the Use TLS 1.0, Use TLS 1.1, Use TLS 1.2, and SSL 3.0 options. Click on the checkboxes in front of these options.
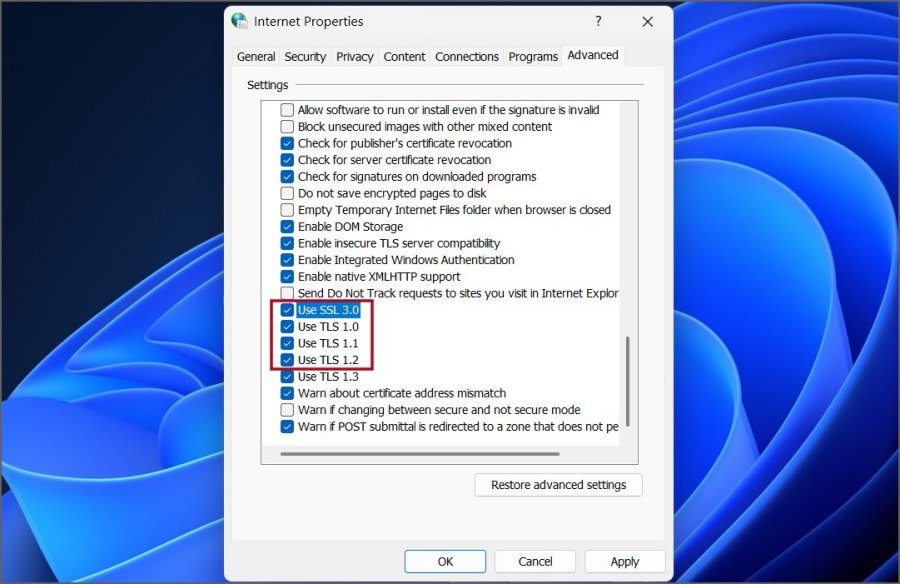
4. Now, click on the Apply button. Then, click on the OK button.

5. Lastly, close the Internet Options window.
Here is a useful list of network monitoring tools for you.
7. Run the Internet Troubleshooter
If you are still unable to access the website in Chrome, you can use the Internet Troubleshooter to diagnose and fix problems with your internet connection in Windows. Here’s how to do it:
1. Right-click on the Start button to open the Power User menu. Click on the Settings option.

2. Scroll down and click on the Troubleshoot option.

3. Click on the Other troubleshooters option.

4. Locate the Internet Connections troubleshooter and click on the Run button next to it.

5. Click on the Troubleshoot my connection to internet option.

6. Wait for the troubleshooter to find and identify problems with your connection. After that, close the troubleshooter window.

8. Reset Network Connection
The last resort is to reset the network adapter on your Windows PC. Usually, you would have to flush DNS and reset Winsock Catalog and TCP/IP stack using Command Prompt but now you do it using the Settings app too. Repeat the following steps.
1. Press the Windows key + I to open the Settings app.
2. Click on the Network & internet option. Then click on the Advanced network settings option.

3. Then, click on the Network reset option.

4. Lastly, click on the Reset now button. Click on the Yes button.

You will be automatically signed out of Windows and your PC will shut down in five minutes. Click on the close button. Save your work and close all the open apps.

Chrome Error Fixed
These were the eight methods to fix the ‘This Site Can’t Provide a Secure Connection’ error in Chrome. Start with a browser data wipe and disable all extensions. After that disable QUIC protocol and enable legacy TLS and SSL protocols on your Windows PC. Lastly, troubleshoot your network connections and reset the network adapter.