Carl bot is a multi-function Discord bot that comes with various features from moderation controls to permission management. One of the popular and robust features is Reaction roles. With the help of reaction roles, you can allow users to choose their own roles on the Discord server, instead of manually assigning the role to each user. Let’s understand how you can use Carl bot for managing roles on Discord.
Table of Contents
What Is Reaction Roles
By default, every user joins with the Everyone role assigned to them. This makes it hard to target a specific group of users when communicating. For example, I want to create a tech-related server where people like to talk about Android and iOS. So I can create two roles ⏤ Android and iOS. Now instead of assigning the role manually to each user, I can allow them to choose a role instead.
That way, I can create channels on the server which only users with Android roles assigned can access. I also can talk to all the iOS users without disturbing any Android users by using the @iOS tag. As you can see, the use cases are varied.
Here’s how you can do that.
How Do Reaction Roles Work?
To let users pick their own role, you need to create a reaction role message in the get-started channel. Under this reaction role message, users will find emojis just like shown in the image below.
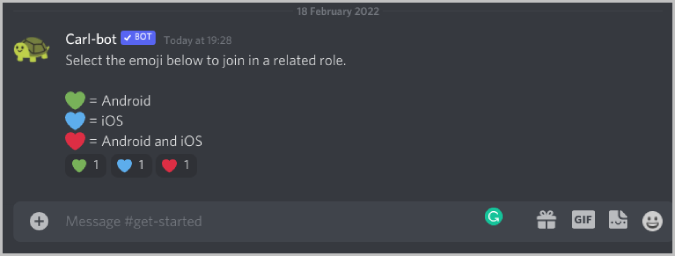
Each emoji represents a role that you can explain with a message. Users can simply click on the emoji to select that specific role. Also, they can click on multiple emojis to join with multiple roles if they like to.
Reaction Roles is all about creating a message that will assign different roles to users with the help of emojis. Here’s how you can create this message with Carl bot.
Using Carl Bot to Set-up Reaction Roles on Discord
There are 3 steps to set up reaction roles on your Discord server.
1. First, you need to create roles on your server that people can select.
2. Then you should add the Carl bot to your Discord server.
3. Finally, you need to create the Reaction roles message on the Carl bot.
Step 1: Creating Roles on Your Discord Server
To create roles:
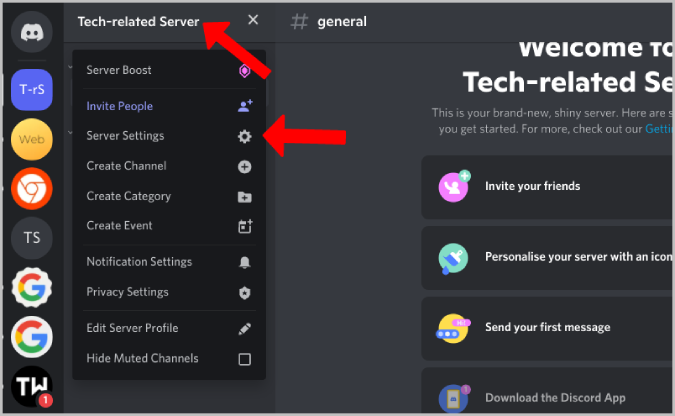
1. Open Discord and then your server. Click on the server name at the top right corner, then select the Server Settings option in the drop-down menu.
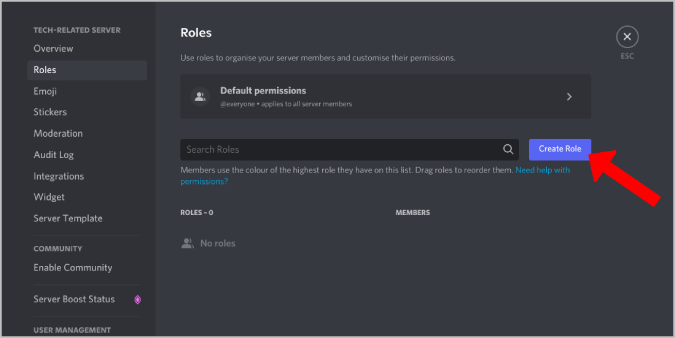
2. Now choose the Roles tab in the sidebar of your Discord server settings.
3. In the Roles section, click on Create Role button beside the search bar to create a new role.
4. Give the role a name and assign a color making it easy to identify. Once done, click on Save Changes. That’s it, you have successfully created a role on your Discord server.

5. Now repeat the process to create all the required roles you want the users to choose from.
Step 2: Adding Carl Bot to Your Discord Server
To add the Carl bot to your server:
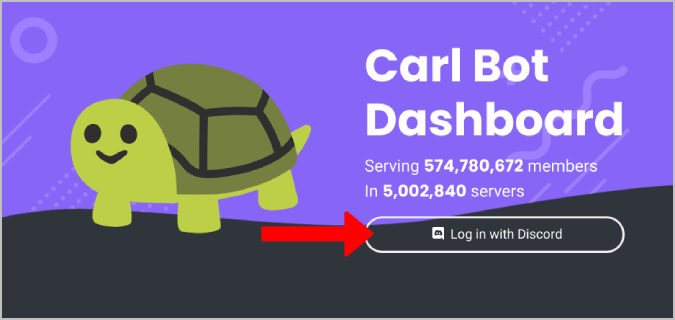
1. Open the Carl bot website and click on Log in with Discord option.
2. Now complete the authentication with your Discord account.
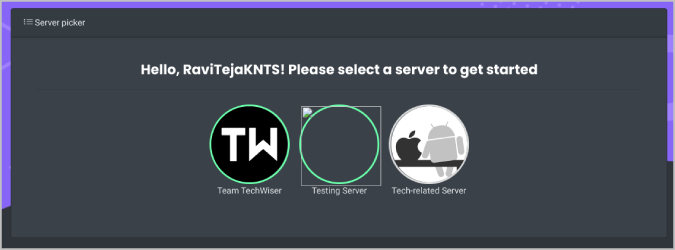
3. Then select the server that you want to add the bot to. You can only find the servers that you have permission to control and manage bots.
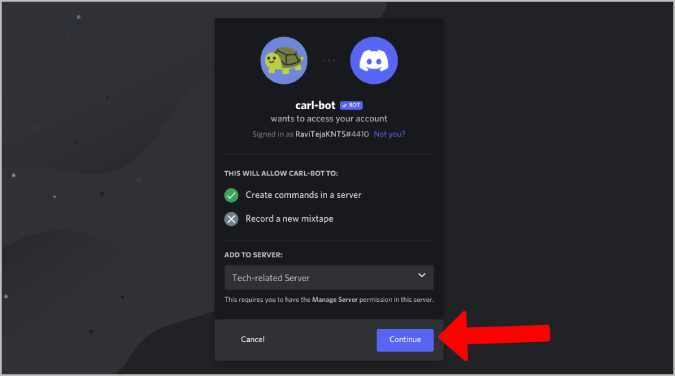
4. Then click on Continue on the next page to add Carl bot to the server and then click on Authorize to allow the bot to manage your server.
Once done, the bot will be installed on that server. Now open Discord, go to your server > Server Settings, and drag the Carl-bot role entry above other roles in order to control them. Then click on Save Changes.

Now you have to set up Reaction Roles on the Carl bot Dashboard.
Step 3: Setting up Reaction Roles on Carl Bot
To set reaction roles on Carl bot:
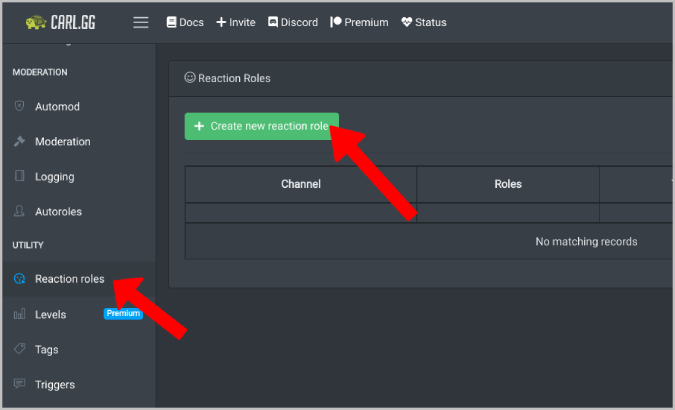
1. In the Carl bot dashboard, click on the Reaction roles option in the left sidebar.
2. On the Reaction roles page, click on the Create new reaction role button at the top.
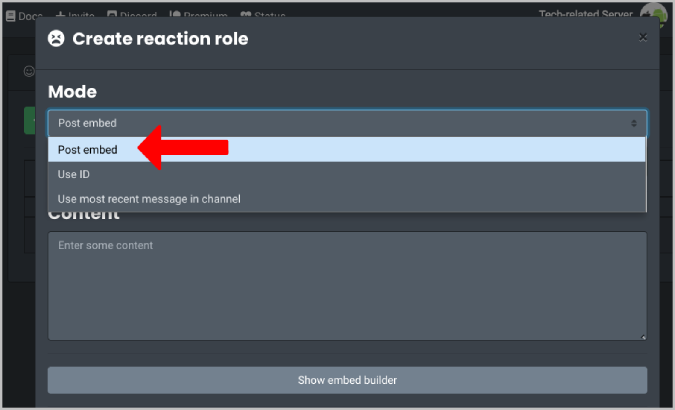
3. In the pop-up window, you get the option to select the mode. Mode is nothing but how do you like to create the message. There are 3 modes to choose from:
- Post embed mode will allow to write a message on Carl bot and embed it on your Discord channel.
- Use ID mode will turn existing message into a reaction role message. You just need to paste the message ID to specify the exact message.
- Use most recent message in channel mode will let you select a specific channel on your server. Then it will turn the last message on that channel into a reaction role message.
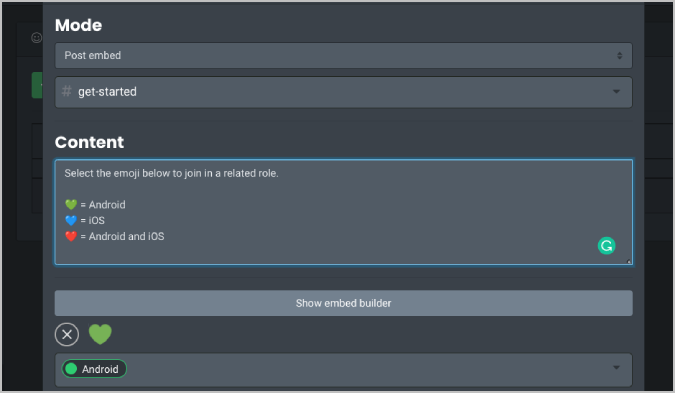
Here, I am selecting the Post embed mode to create a reaction role message directly on the Carl bot dashboard.
4. Then select the channel on which you want this message to appear. Here’s a pro tip. Use a channel like get-started and set it as the first channel user would see when they join the server. Also, do not allow users to chat on this channel so that new users can view the message immediately.

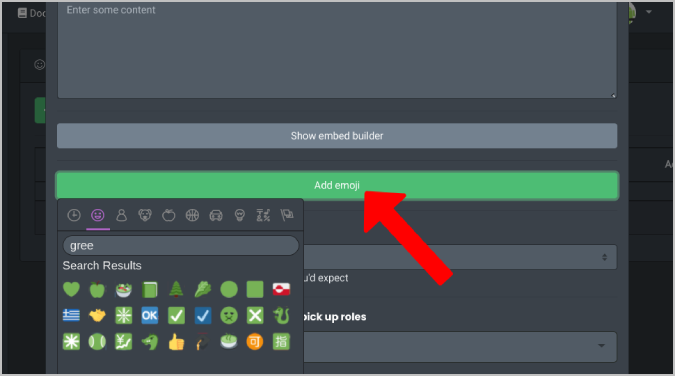
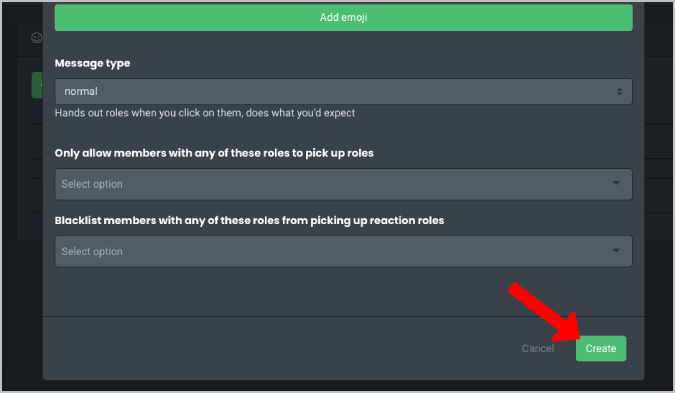
5. Then scroll down and click on Add emoji option and select any emoji that represents a role.
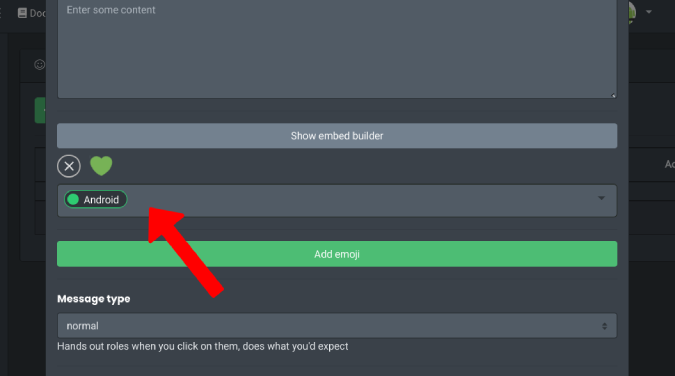
6. Now select the role that users will be assigned when they click on that emoji. You can add multiple roles if you want to, so users will be added to multiple roles at once when they click on that emoji.
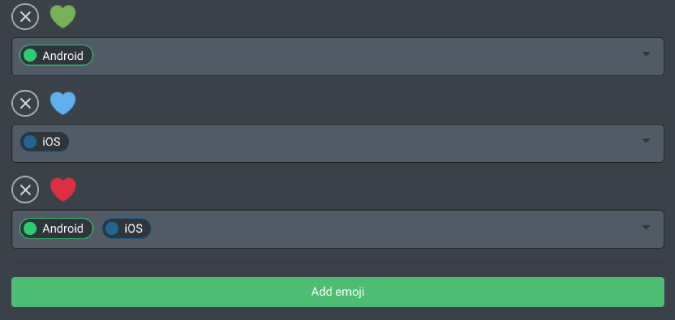
7. Continue adding more emojis and roles as per your needs so users have options.
8. Now in the content section, you need to create a message that will be displayed. First, let users know that clicking on the emojis below that message will assign an associated role.
9. Then show what each emojis means and what role they will be assigned so they can make an informed decision and choose an emoji accordingly.
10. Once done, click on Create Button at the bottom of the pop-up window.
That’s it.
It will add the message on the channel you have specified. Now users can simply select an emoji under that message to join in the respected role all by themself.

Reacting to Roles
Apart from reaction roles, Carl bot also has auto roles feature that will make all the users join in a different specified role instead of everyone role. Now, this functionality is also available in the official Discord app under the roles section in the server settings menu. You can also use MEE6 bot to let users self-assign their roles on Discord.