Windows 11 is a visual delight compared to the older versions. But when your display starts flickering, it becomes impossible to concentrate on the task at hand. The reasons for screen flickering on Windows 11 include loose or worn-out cables, problems with GPU or its drivers, or an incompatible app. But don’t fret! We have covered all possible ways to restore the display to its original state.
Table of Contents
1. Examine Your Cables and Reconnect Them
Before moving on to software fixes for the screen flickering on Windows, examine your cable connections. This is applicable for desktop users and laptop users with an external monitor who relies on HDMI or DisplayPort cables to connect their monitor to the PC. Disconnect the cables, check the pins, and reconnect them. Also, look for signs of damage, especially around the cable ends which tend to crack over time. You must replace the cables with a new one in such cases.
2. Remove and Reconnect Your GPU (PC Users)
A loose GPU connection can also cause the display to flicker. So, open your PC cabinet and carefully disconnect all the cables connected to the GPU. Unlatch the card from the PCIe slot. Clean any kind of dust and debris from the GPU and the motherboard with a brush and then reconnect it. If you still see the screen flickering, try connecting the GPU to another PCIe slot and power on the PC again.
3. Microsoft’s Screen Flickering Test
Microsoft has an official page dedicated to identifying and fixing issues with screen flickering on Windows. Firstly, you need to check if the issue is prevalent systemwide or not. Launch the Task Manager on your PC and check if the window flickers or not. If it does flicker, it points toward an underlying driver issue on your PC. If you don’t see any such behavior in the Task Manager window, then it is a sign of app incompatibility. Did you install an app recently? Try uninstalling it.
4. Switch to the Correct Refresh Rate
Every display supports a pre-defined refresh rate which is the number of images it can update in a second. Higher refresh rates bring more fluidity and give an overall better visual experience. But using an incorrect refresh rate can cause screen jitters and flickering on Windows monitors. Here’s how to adjust it:
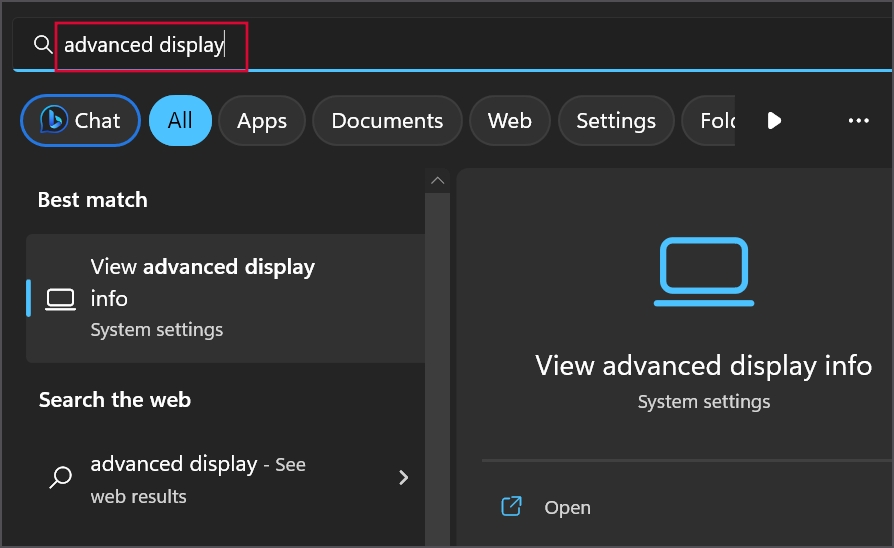
1. Press the Windows key, type advanced display, and press Enter.
2. Scroll down to Choose a refresh rate section and click on the arrow icon to expand the drop-down list. Select the correct refresh rate supported by your monitor.
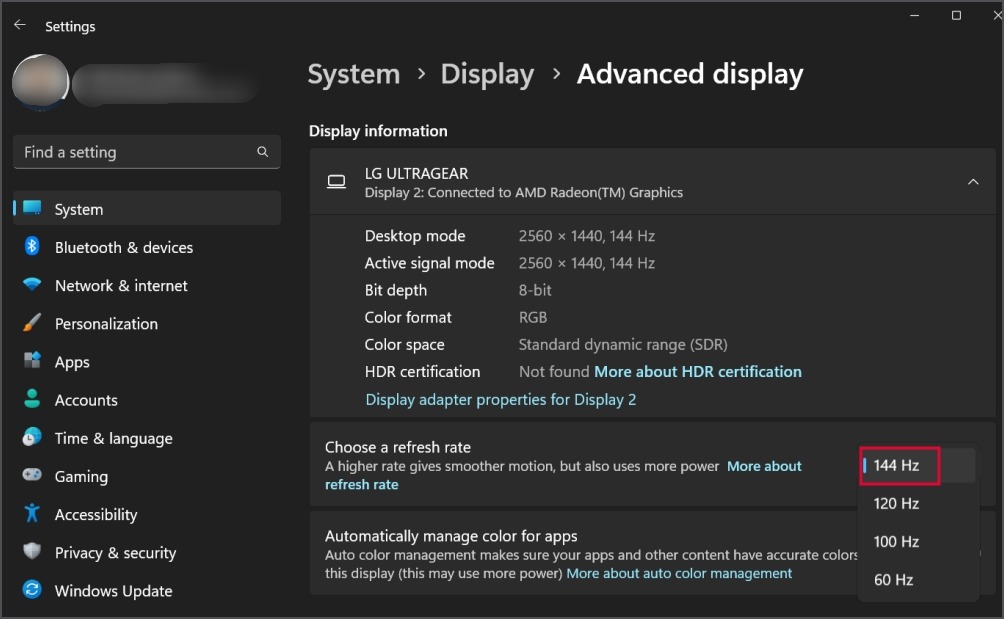
3. Close the Settings app.
5. Disable Hardware Acceleration
Hardware Acceleration offloads graphical tasks to the GPU. But in some cases, it can fail to render frames properly and cause flickering. Here’s how to disable it:
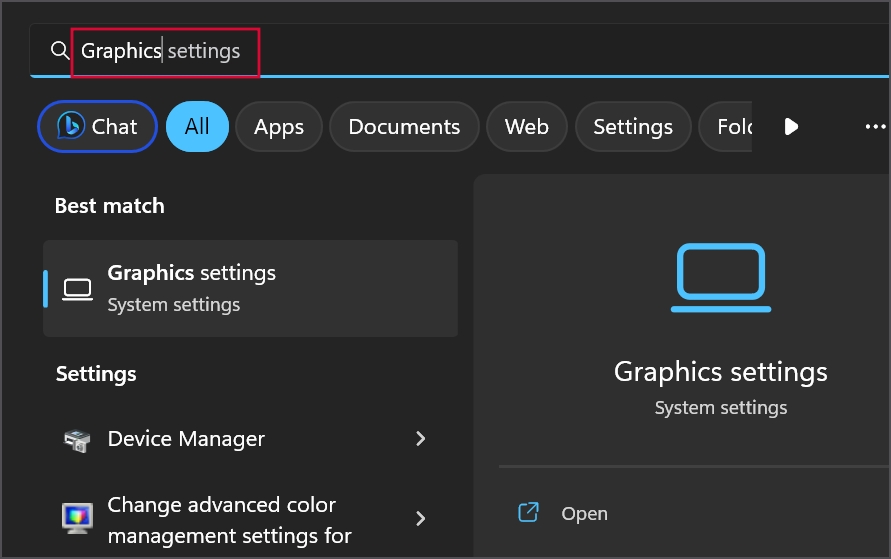
1. Press the Windows key, type Graphics, and press Enter.
2. Expand the Advanced graphics settings section. Click on the toggle next to the Hardware-accelerated GPU scheduling option to disable it.

3. Close the Settings app.
6. Fix Issues With Your Display Driver
Corrupt or outdated display drivers can result in display flickering. So, you must update the display driver to the latest available version and check if it helps. If it doesn’t, then you will have to reinstall it. Here’s how to do it:
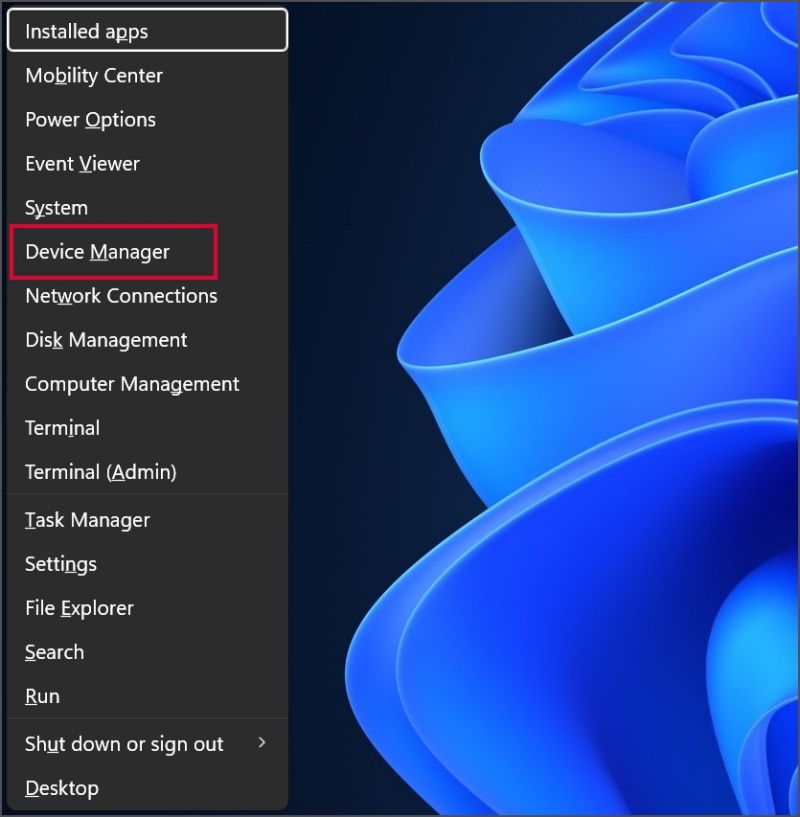
1. Right-click on the Start button to open the Power User menu. Select the Device Manager option.
2. Expand the Display adapters section. Right-click on the display driver and select the Update driver option.

3. Click on the Search automatically for drivers option. Wait for the tool to download and install the latest version. Close the Device Manager

4. Restart your PC.
If updating the driver doesn’t have any effect, you must remove it and reinstall it. Here’s how:
1. Right-click on the Start button to open the Power User menu. Select the Installed apps option.

2. Locate the display driver and click on the meatballs icon. Click on the Uninstall button.

3. Reconfirm your decision by clicking on the Uninstall button once again.
4. Now. visit the GPU manufacturer’s website (NVIDIA, AMD, or Intel) and download the latest available drivers for your GPU.
5. Open the installer file and follow the on-screen steps to install the driver on your PC. Restart your PC to apply the changes.
7. Remove Meddlesome Apps
A third-party app can conflict with Windows and produce screen flickering issues. There is no easy way to find it but you can narrow it down to recent installations. Firstly, you must update all the Microsoft Store apps and third-party apps on your computer. It will take a while to check and download updates for each third-party app via in-app settings. If that doesn’t help, you must uninstall the conflicting app. Here’s how to do it:
1. Right-click on the Start button to open the Power User menu. Select the Installed apps option.

2. Now, click on the Sort by drop-down list and select the Date installed option. It will sort the list in descending order of the installation date.

3. Click on the meatballs icon next to the app you installed most recently. Then select the Uninstall option.

4. Click on the Uninstall button once again and then follow the on-screen instructions to remove the app.
5. Now, visit the Microsoft Store or the manufacturer’s website and reinstall the app. Check if the flickering issue occurs again.
8. Switch to a New User Profile
A corrupt user profile could be the reason your display is acting up. Many users were able to resolve the issue by creating a new user profile. Here’s how to do it:
1. Press the Windows key, type cmd, and press Ctrl + Shift + Enter key simultaneously.

2. User Account Control will pop up. Click on the Yes button.
3. The command to create a new user account is:
net user username password /add4. You must replace the username and password string with the name and password of your choice. Our command looks like this:
net user test 12345 /add
5. Close the Command Prompt window. Open the Start menu and click on the profile icon. Switch to the newly created local account.

9. System Restore
The last resort is to restore your PC to a point in time where the flickering issue didn’t occur using System Restore. Here’s how:
1. Press the Windows key, type rstrui.exe, and press Enter.

2. Click on the Next button. Choose a restore point from the list based on the date when you think everything was fine with the PC.

3. Follow the on-screen instructions to revert to a restore point.
Stop Screen Flickering For Good
A jittery or flickering screen makes it impossible to do any work on the computer. Start with Microsoft’s recommended test and examine GPU and cable connections. Adjust the refresh rate and disable hardware acceleration on your PC. Lastly, reinstall the GPU drivers and problematic apps, and create a new user profile.