Android Debug Bridge or better known as ADB is a command line tool to access your Android Phone. It is a powerful and pretty versatile tool. You can do a range of things like pulling out logs, installing/uninstalling apps, transferring files, rooting and flashing custom ROMs, creating device backups, etc. Moreover, adb is a life-saver when your Android device gets bricked because the phone is unusable at that time.
Though the adb command shell looks intimidating and complex, it is fairly simple. So, here is a list of adb commands to get you started and do some useful things in the process.
Install ADB on Windows
Unlike in previous versions, you don’t have to install a complete Android SDK to install ADB. Simply download the standalone ADB zip file, extract it to a folder of your choice, and you are done.
To access adb, open the command prompt by searching it on the start menu. To run ADB commands, you need to navigate to the adb folder using the below command.
cd C:\ADBWhere in C:/ADB is the folder location of the extracted ADB file.
Tip: You can also open the Command Prompt from the same directory. Just type “cmd” on the address bar in the Windows File Explorer
Now, connect your Android device via USB and you can proceed to test the below commands. For further reference, you can check this guide on how to properly install and test adb on Windows.
Table of Contents
Connection Commands
1. Start or Stop ADB Server
Obviously, the first command you should know is how to start and stop the adb server. This enables you to interact with your connected Android device. To start the adb server, use the below command.
adb start-server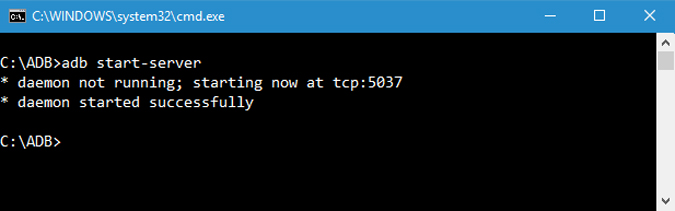
Once you are done with your work, you can use the command below to stop the adb server.
adb kill-server
2. Restart ADB in USB Mode
If the ADB server is already started and for some reason, the commands are still not working. You can try an ADB restart on the USB. There is no standalone ADB restart command. But the following command will reestablish the ADB connection via USB. This, in turn, will cause the ADB server to restart.
adb usb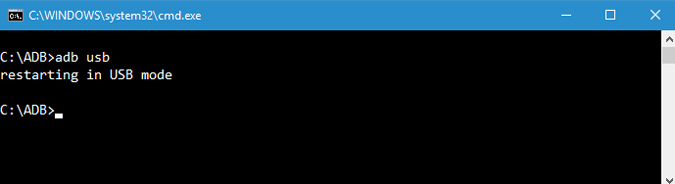
3. ADB Version
This is a very handy command because few commands work with the latest ADB versions. Like for example, the older versions of ADB don’t let you run flashall command. So, when you have a command in error, the first step is to check the adb version. You can then verify whether the command is supported in that version. Following is the command to check the adb version.
adb version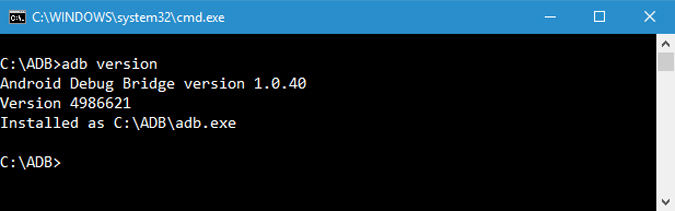
4. List Connected Android Devices
This is one of the most famous commands. When you connect your device to the computer via USB, use this command to verify if adb can find the connected device.
adb devicesIf your device is properly connected to your system, the above command will start the daemon service, scans the system and lists all the connected Android drives. The good thing about this command is that it lists both the state of the device and its serial number.

5. Status of Your Device
As you can tell from the name itself, this command can be used to know the device state. When the command is executed, it shows whether your device state is in offline, bootloader or in device mode. For a normal Android device, you will see your Android state as “device”, just like in the below image.
adb get-state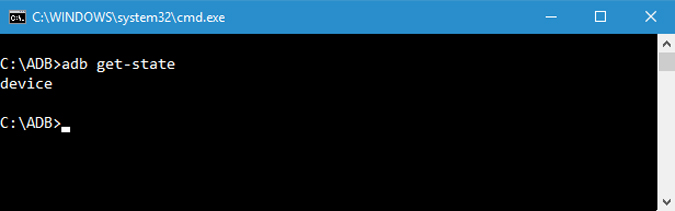
The connection state of the device can be one of the following:
- offline: The device is not connected to adb or is not responding.
- device: The device is now connected to the adb server.
- no device: There is no device connected.
6. Connect ADB over Wi-Fi
In the recent ADB versions, you can directly connect to any Android device over Wi-Fi. All you have to do is turn on USB debugging on the other device and run the following command.
adb connect ip-addressSo the command should be like:
adb connect 192.168.1.104
7. Get Device Serial Number
This command lets you know the device serial number of the connected device. On your phone or tablet, you can see the device serial number by navigating to “Settings > About Phone > Status”.
adb get-serialno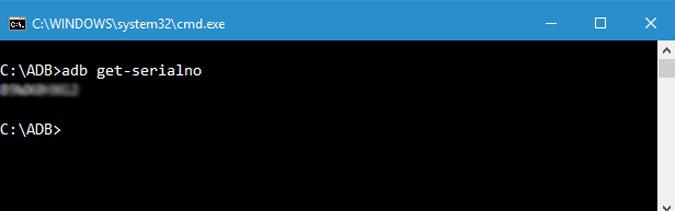
File Transfer Commands
8. List Files
In order to copy or send files, you need to know the exact location of the directory. Normally, the phone internal memory is named as sdcard. So, all the phone internal folders are under the /sdcard directory. Still, if you want to know the exact location or locate a particular file, you can use the “ls” command. ls command lists out the files under the directory.
adb shell ls "directory_name"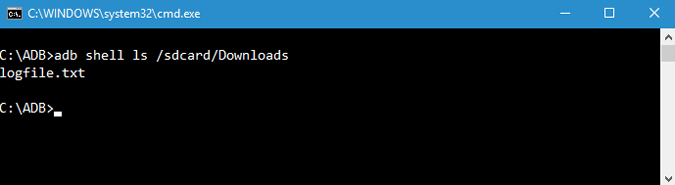
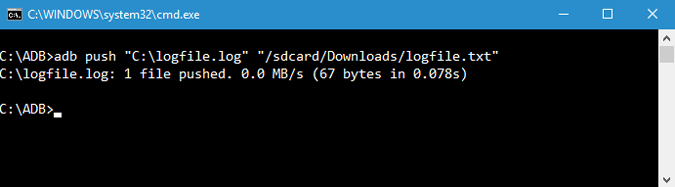
9. Copy Files from Computer to Phone
If you want to copy files from your computer to your phone using adb then you can use this command. Do forget to replace [source] and [destination] with actual file paths.
adb push [source] [destination]Once you replace the above command with actual file paths, this is how it looks like.
adb push “E:\Video Songs\sample-song.mp4” “/sdcard/Downloads/sample-song.mp4”
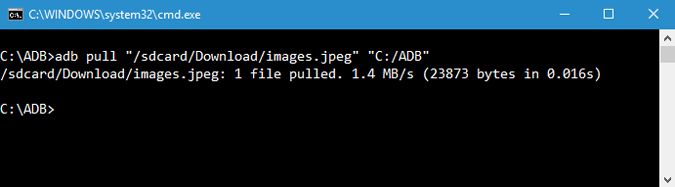
10. Copy Files from Phone to Computer
Just like you can copy files from your computer to Android device, you can copy files from your phone to computer. To do that simply use the below command. Replace [source] and [destination] with actual file paths.
adb pull [source] [destination]Once you replace the above command with actual file paths, this is how it looks like.
adb pull “/sdcard/Downloads/video.mp4” D:\Downloads
App Installation
11. Install/Uninstall Apps
Besides from moving files back and forth, you can actually install apk files with just a single command. To install an app you have to specify the full path of the apk file. So, replace “path/to/file.apk” with the actual apk file path.
adb install "path/to/file.apk"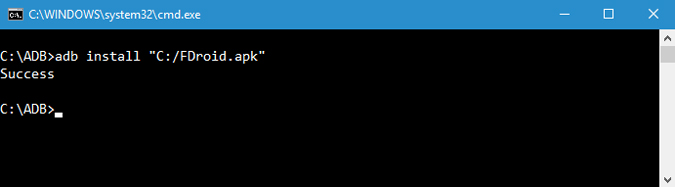
To uninstall an app, simply execute the below command. Replace <package-name> with the actual fully qualified package name of the app.
adb uninstall <package-name>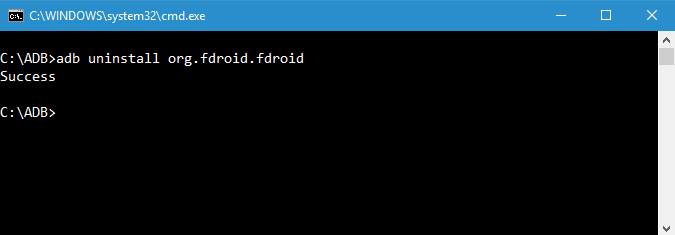
If you have multiple devices attached to your computer and only want to install the apk file on just one device then use the below command. Replace [serial-number] with the actual device serial number. You can get the device serial number using this command.
12. List all Installed Packages
Now, uninstalling packages would require you to get the exact package name. The package name is actually different from the installed app name. So, to find that below is the adb command.
adb shell pm list packages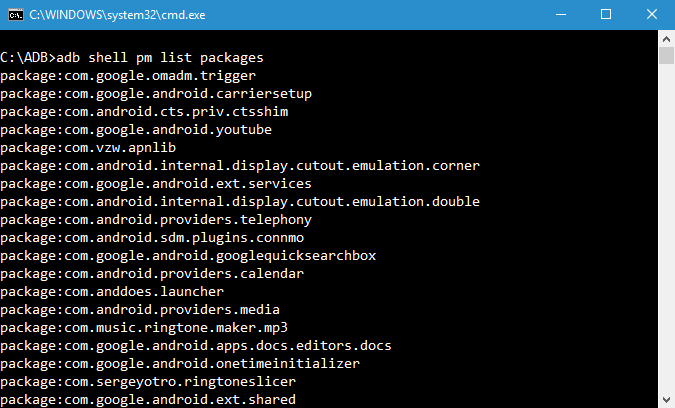
Now the resulting output is pretty vast. So if you want to list a particular apk, you can try filtering by the app name. For example, I want to search the package name for FDroid, so I will use the following command.
adb shell pm list packages | findstr "fdroid"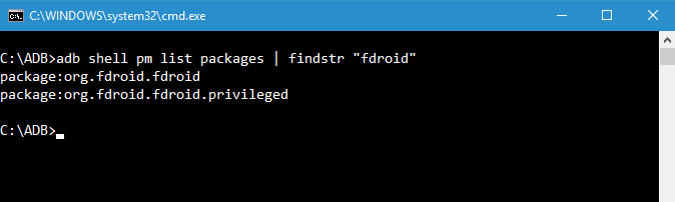
Backup & Recovery Commands
13. Backup Android Device
To backup all the device and app data you can use the below command. When executed, it will trigger the backup, asks you to accept the action on your Android device and then creates “backup.adb” file in the current directory.
adb backup -all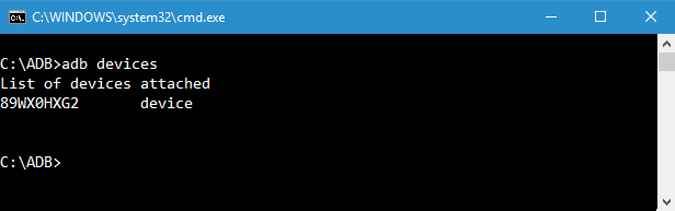
14. Restore Android Device
To restore a backup, use the below command. Don’t forget to replace “path/to/backup.adb” with the actual file path.
adb restore "path/to/backup.adb"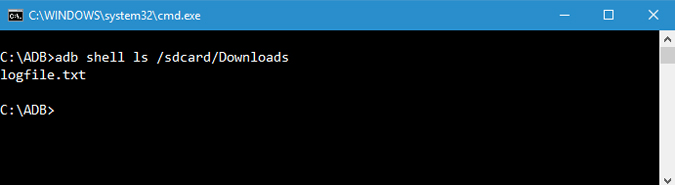
15. Reboot Android Device into Recovery Mode
The recovery mode helps you repair or recovery the Android device using the tools built into it. Generally, you can boot into recovery mode using the volume and power button combination. Alternatively, you can also connect your device to the system and use the below command to boot into recovery mode.
adb reboot-recovery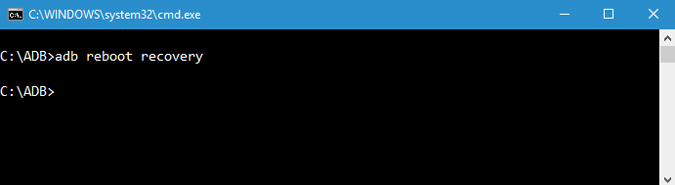
16. Reboot Android Device into Bootloader Mode
The below command lets you boot into bootloader mode. Generally, the bootloader mode is very similar to the fastboot mode.
adb reboot-bootloader
17. Reboot Android Device into Fastboot Mode
The fastboot mode is generally used to flash custom ROMs, bootloader, and even kernels. Use the below command to boot into fastboot mode.
adb reboot fastboot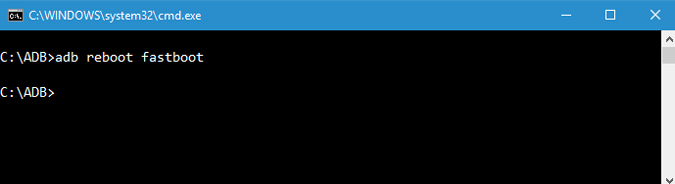
18. List Connected Fastboot Devices
This is one of the lesser known commands. When you boot the device in fastboot mode, in order to check if the device is connected you can use the following command.
fastboot devices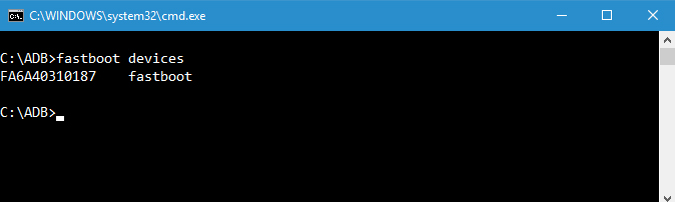
19. Start Remote Shell
This command starts the remote shell and lets you control and configure your device using the shell commands.
adb shell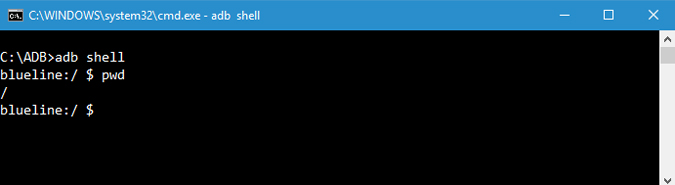
Utility Commands
20. Take Screenshots
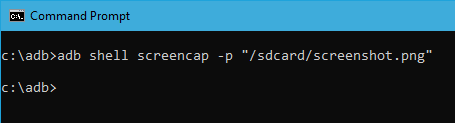
It is nothing hard to take a screenshot on and Android. All you have to do is press the Power button and Volume Down button at the same time. Alternatively, you can also use this command to take a quick screenshot. Replace “/path/to/screenshot.png” with the actual destination path. If you want to, you can customize the file name by changing “screenshot” with whatever name you want.
adb shell screencap -p "/path/to/screenshot.png"Once you replace the destination path, this is how the command looks like.
adb shell screencap -p “/sdcard/screenshot.png”
21. Record Android Screen
Apart from screenshots, you can record the Android device screen using the below command. Again, replace “/path/to/record.mp4” with the actual destination path. Of course, you can customize the file name by changing “record” with whatever name you want.
adb shell screenrecord "/path/to/record.mp4"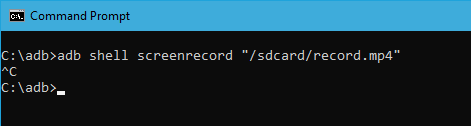
In case you want all the comments in a little cheat sheet for offline usage, here’s the link to the PDF.
Click here to download this article as Android Terminal Commands PDF
That’s all for now. Comment below sharing your thoughts and experiences about using the above adb commands on your Android device.
Also Read: 4 Ways to Turn Your Windows Computer into a WiFi Hotspot