Does your Windows 11 laptop quickly run out of battery juice when connected to a monitor but run longer otherwise? My friend experiences the same – choppy 4K videos and Photoshop turning sluggish while he edits pictures. On investigating, I discovered that he didn’t specify Windows 11 to pick integrated or dedicated graphics (GPU) for several relevant apps and games. If you struggle with similar issues, here’s how to set the default graphics on a Windows 11 PC.
Table of Contents
Why Make Windows 11 Choose Default Graphics for Apps and Games
All desktops and laptops with Windows 11 have an integrated graphic chip onto the motherboard to power a display and run all standard apps and games. You will find Radeon integrated graphic chips in AMD processor-based PCs and Intel HD graphic chips in those with Intel processors. These integrated GPU chips can handle up to 1080p resolution displays and lower frame rates. Because of that, integrated GPU chips often extend battery life in laptops.
Performance-promising laptops and desktops include a discrete graphics chip (laptop) or card (desktop) to handle graphics-demanding apps and games. Such GPU chips deliver more thrilling graphical performance (frame rate and resolution) with games like Fortnite or Battlefield 2042. But they also consume more power and battery juice, especially in laptops. That’s why gaming laptops with desktop-grade GPU chips have shorter battery life and make your lap hot.
Interestingly, Windows 11 can choose integrated or discrete graphics depending on the apps or games you use. You also get a setting to determine which graphics (GPU) an app or game can use by default. That’s how you can make a 4K video in the VLC player or graphics-demanding games run smoothly.
There are two ways to set default graphics in Windows 11, and we’ll look at the easier one first.
Set Default Graphics on Windows 11 From the Settings app
The Settings app lets you set the default graphics for photo viewers, image editors, video players, archiver (WinRAR) apps, and even games installed on your PC. Here’s how to make Windows choose relevant graphics to get the best performance on Windows 11.
1. Press the Windows + I keyboard shortcut to open the Settings app.
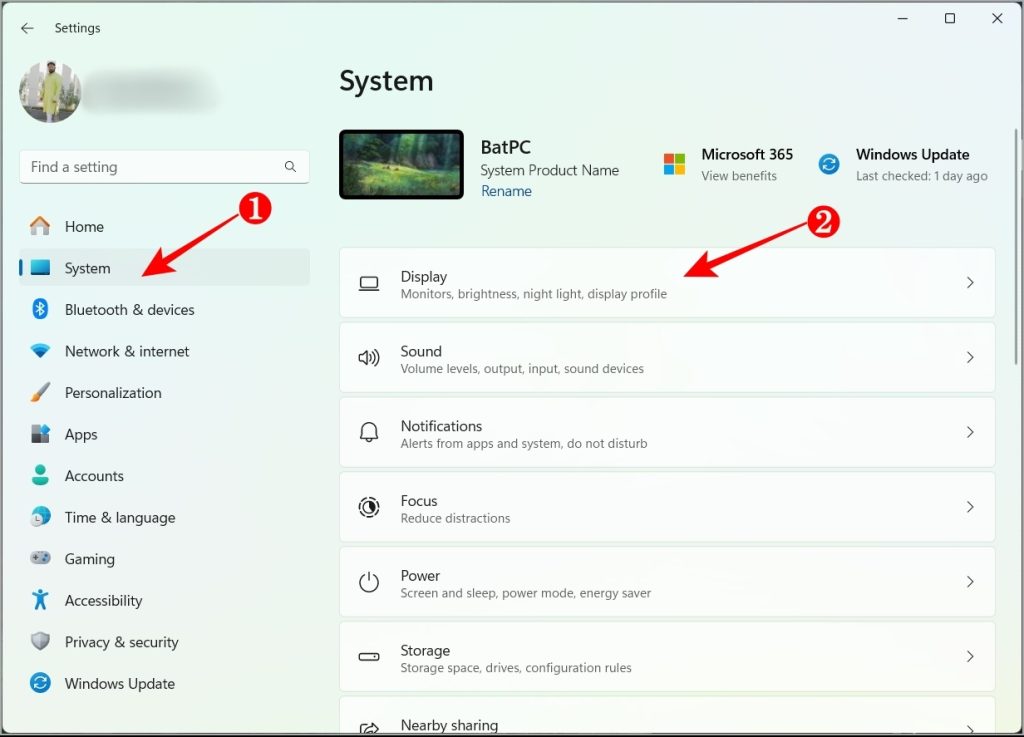
2. Select System in the left sidebar, and choose Display from the right window pane.
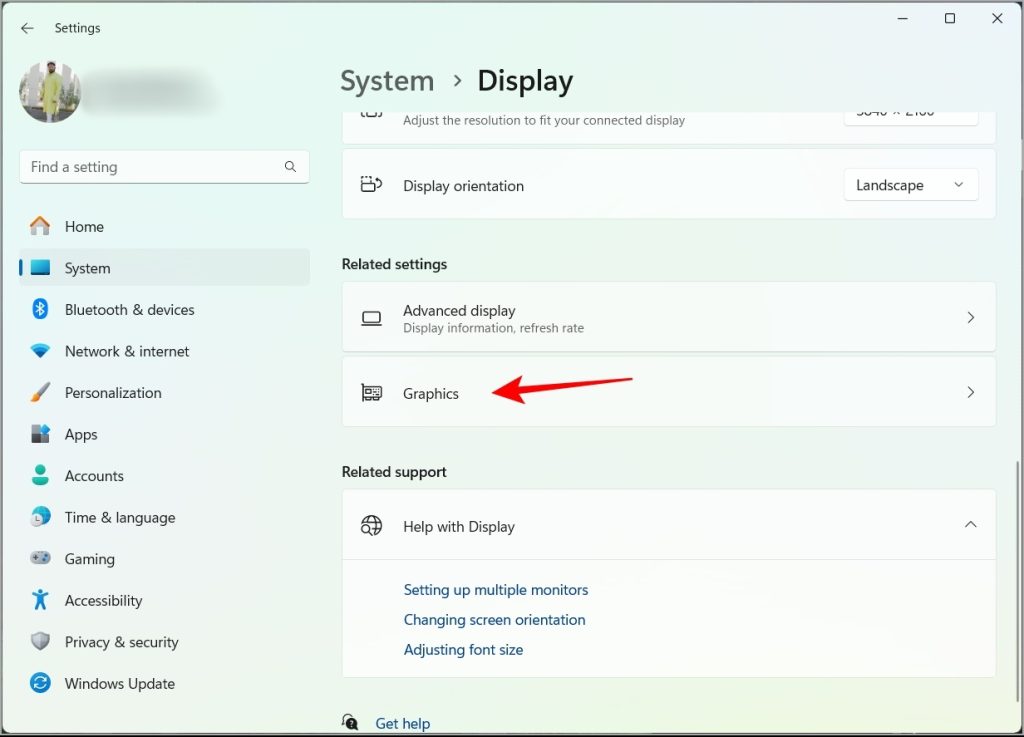
3. Scroll down and click on Graphics under the Related settings section.
4. Go to the Custom settings for applications section to find the list of apps and games that let you choose specific graphics.
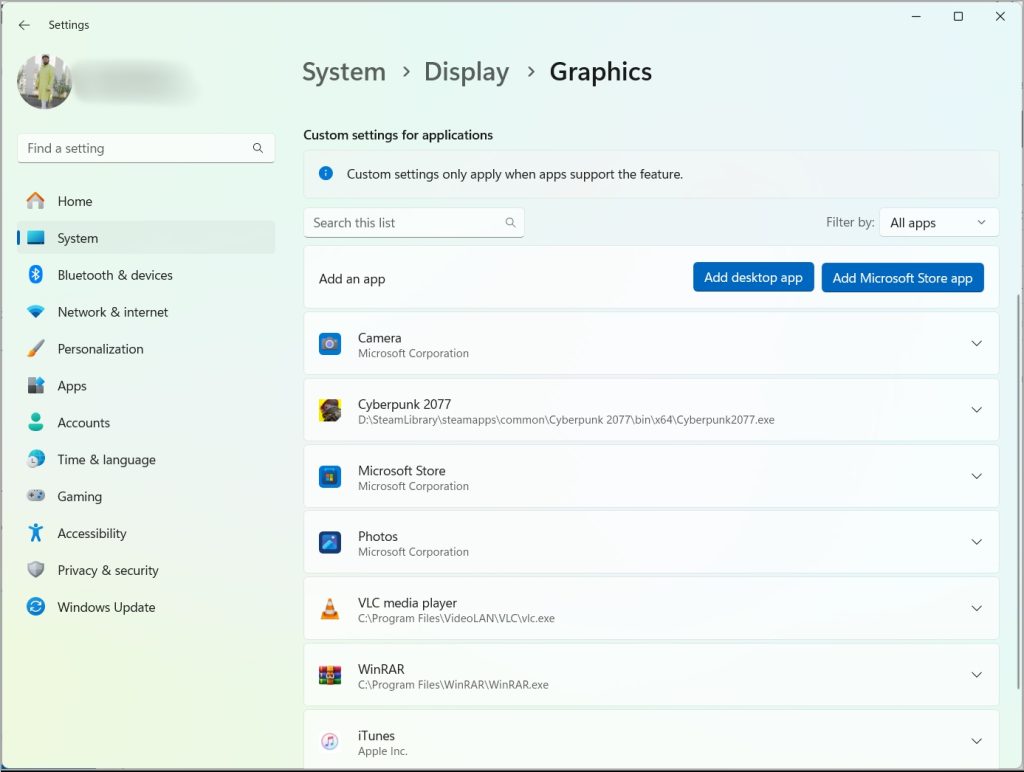
5. Pick any app or game. On my PC, I chose VLC and found that Windows had set Let Windows decide (Power saving) option from the drop-down as the GPU preference.
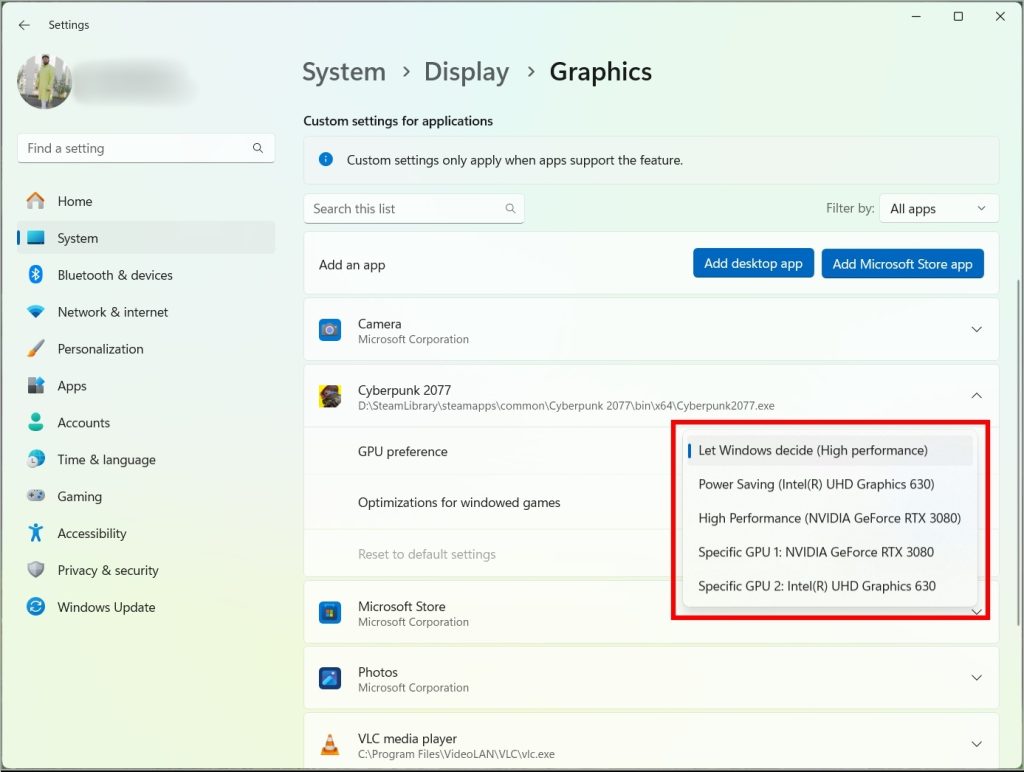
That drop-down gives you five options (depending on the number of GPUs on your PC):
- Let Windows Decide—Based on the app’s nature, Windows chooses graphics to deliver high performance or save power.
- Power saving – Windows uses the integrated GPU to save power.
- High performance – Windows will use the dedicated NVIDIA or AMD GPU, provided your PC has one.
- Specific GPU 1: Discrete NVIDIA or AMD GPU
- Specific GPU 2: Integrated Intel or Radeon GPU.
Note: The buttons in the Add an App option allow you to include the Microsoft Store apps and third-party ones to the list of Custom settings for applications.
If your PC runs Windows 11 2022 update or later, you can use Optimizations for Windows games in the Graphics section of the Display settings. That feature unlocks Auto HDR and Variable Refresh Rate for windowed games while delivering improved visual latency. In addition to setting the default graphics, you can use this optimization for apps like Photos and Camera.
Set Default Graphics From the Dedicated Graphics App
Your Windows PC with a discrete GPU from AMD or NVIDIA will have a relevant program pre-installed. Don’t worry if there isn’t one; download and install the latest AMD Software: Adrenalin Edition from the AMD site or NVIDIA Control Panel from the Microsoft Store. These dedicated apps let you add games and even individual apps to get the most out of the dedicated graphics.
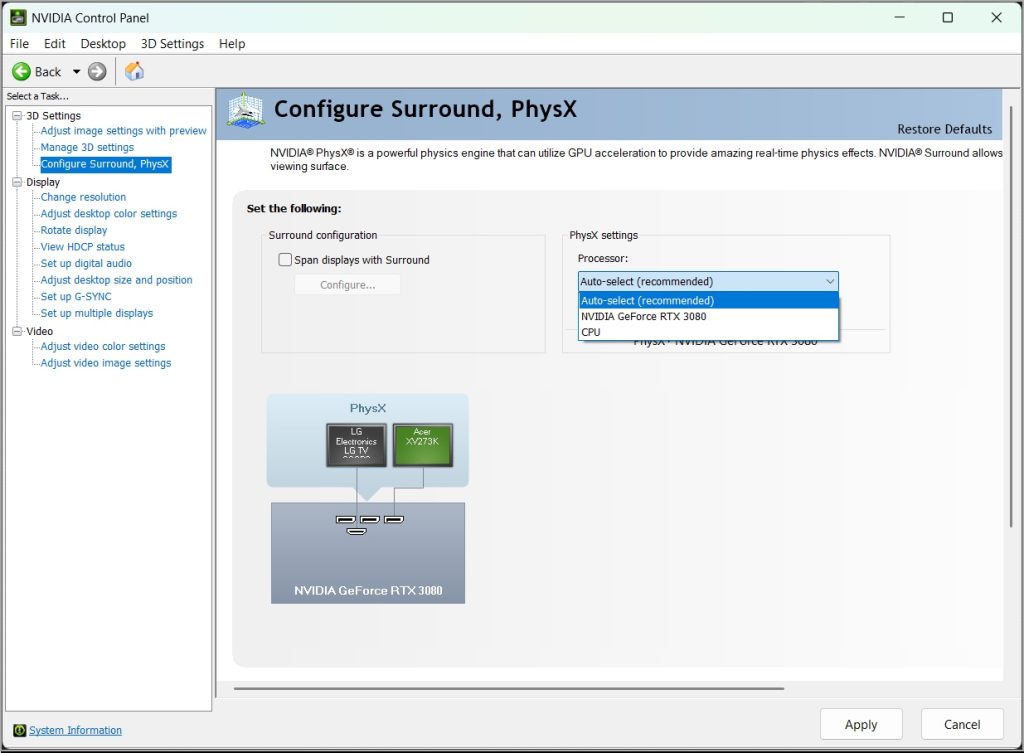
I have an NVIDIA GeForce RTX 3080 on my PC, so I will use the NVIDIA Control Panel for this guide. The steps are similar for AMD Radeon software.
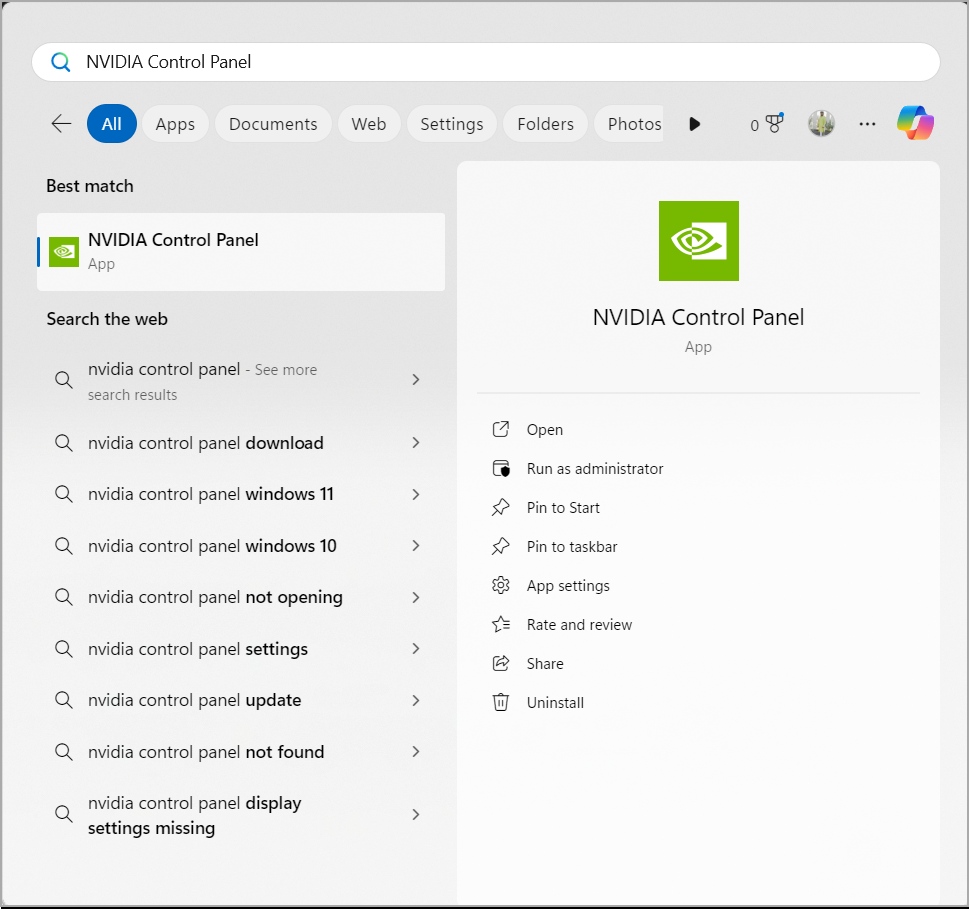
1. Open the NVIDIA Control Panel app on your PC from the bottom-right corner of the Taskbar or press Windows + S to bring up Windows Search.
2. Under the 3D Settings in the left sidebar, select Manage 3D Settings.
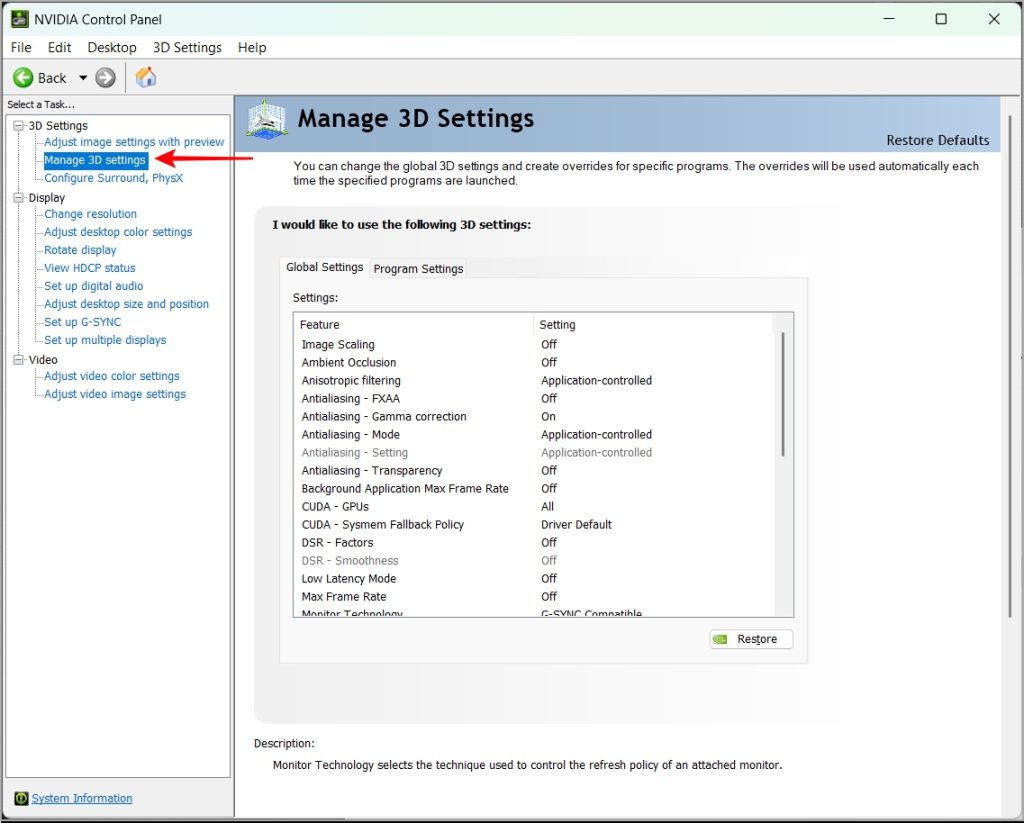
3. On the right pane, you’ll find two tabs – Global Settings and Program Settings.
Global Settings: It lists settings that apply to all apps on your PC. If you want to change a specific setting, click on it and choose the options from the drop-down next to it.
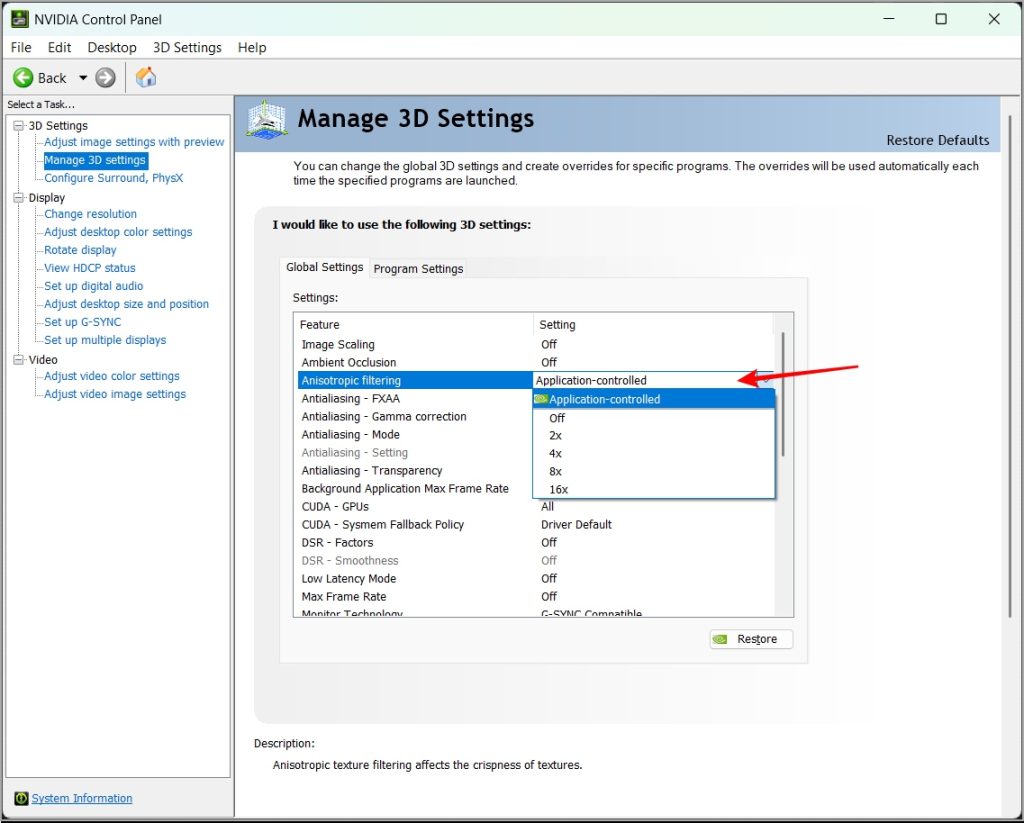
Program Settings: It automatically detects the supporting programs and lists all the individual settings you can choose for specific tasks. For instance, you can change the Texture Filtering—Quality setting for the VLC media player to High Quality.

We recommend tinkering with individual settings if you know what each one does. However, you can always hit the Restore button to undo all the settings you changed.
4. When done, hit the Apply button at the bottom-right corner of the NVIDIA Control Panel.
Control Which Graphics to Use Efficiently
Windows 11 always prioritizes power-saving or high performance, depending on the app or game, when assigning relevant graphics. You can always decide which GPU can make an image viewer feel spiffy or conserve battery life whenever necessary. Of course, this only applies if your PC has integrated and discrete graphics. When unsure, let Windows choose for you. However, set discrete graphics as default for video players if you enjoy 4K videos and all your games.