
 Updated: August 30, 2026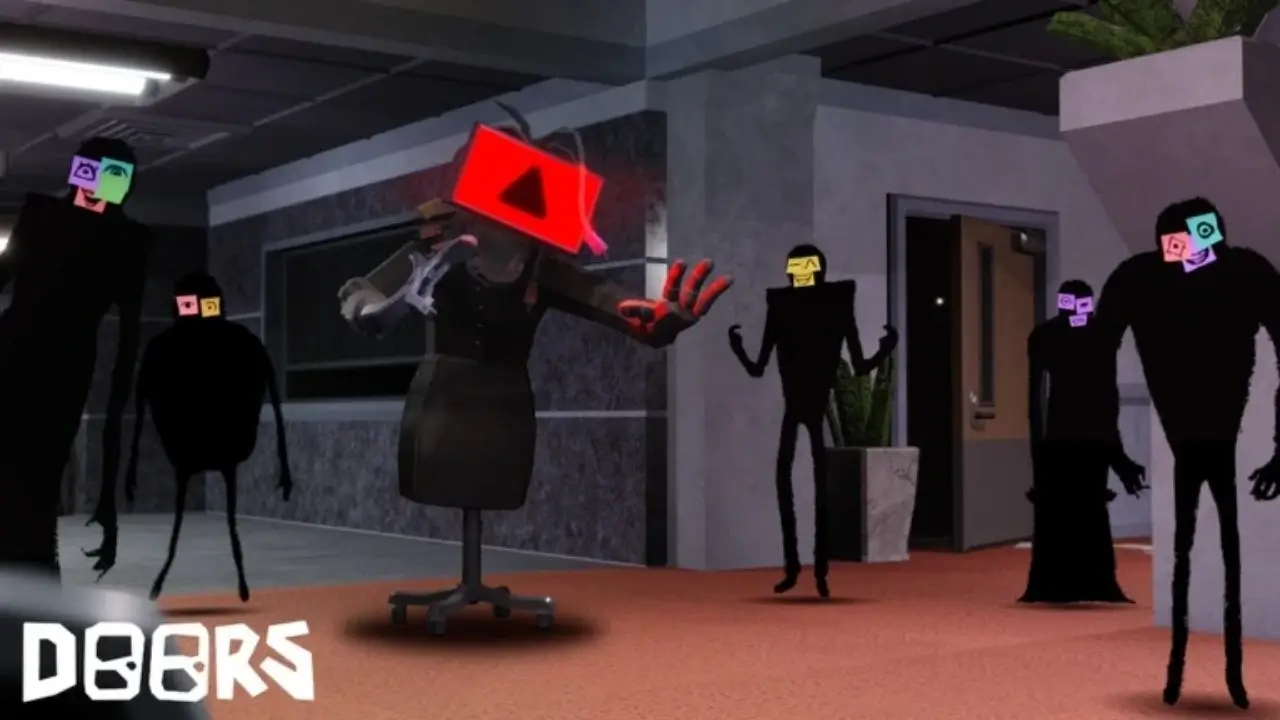

The Archive Subfloor is one of the biggest challenges in Roblox Doors. With a total of 1300 doors spread across 26 sectors of 50 rooms each, it is a serious commitment. The good news is that you do not have to go through every single one if you play it smart. Here is everything you need to know to make it through Archive Subfloor in Doors.
How to Access the Archive Subfloor in Doors
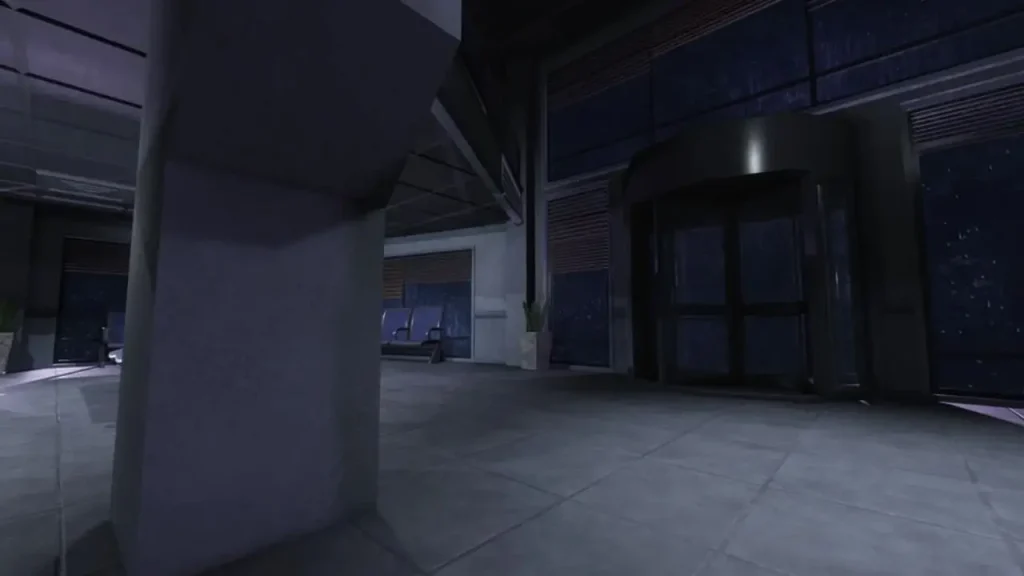
There are two ways in. The first is to take an elevator from the lobby. The second is to find the hidden door tucked behind a Skull Lock and chains at Room 60 in The Hotel. Either way, once you are in the Archives, the structure is the same across all sectors.
How the Archive Subfloor Works in Doors
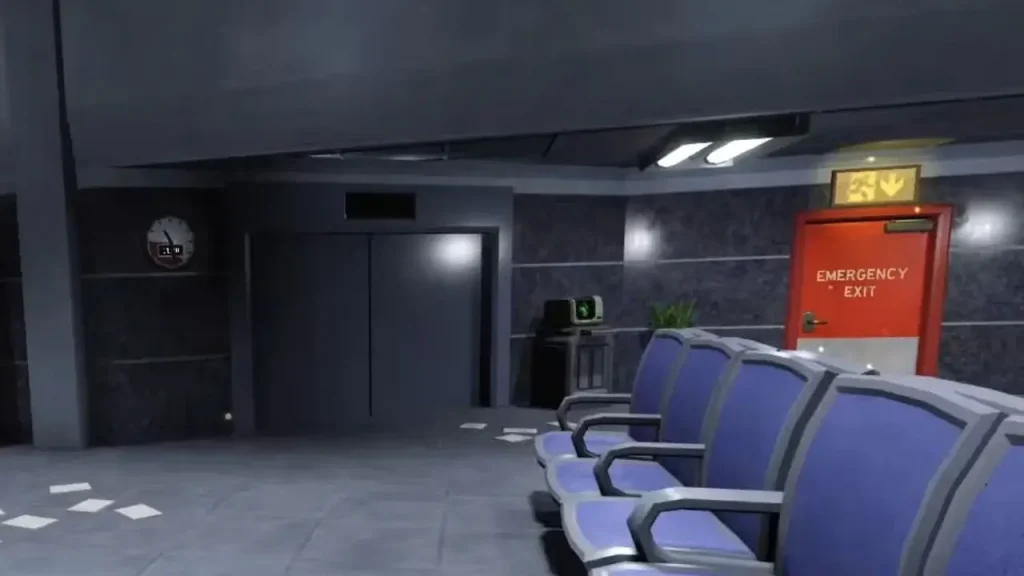
The Archives are broken into sectors, with each sector containing 50 rooms. After finishing each sector, you reach a waiting area where you can recover health, stock up on items, and use the elevator to move to the next sector.
The most important thing to understand is that you do not have to complete every sector manually. If you have enough gold saved up, you can pay to skip entire sections. The first skip costs 100 gold, and the price goes up incrementally with each subsequent skip. Saving gold throughout your run and skipping harder sectors is one of the most effective strategies for clearing the Archives.
From Sector C onwards, an Exit Door spawns at the end of each sector. This lets you leave the Archives at any point and return to The Hotel without losing your entire run.
Sector Tips
- Sector A is the gentlest introduction. Drones are the main thing you will encounter here, and Bash can show up but other entities are rare. Use this sector to get comfortable with the mechanics and start building your gold supply.
- Sector B is where the difficulty starts to ramp up. More entities become active, and Forget-Me-Not can begin appearing. Start being more careful about healing items and gold management from here.
- Sector C onwards is where Currents appear, adding a new environmental hazard to manage alongside the entities. Exit Doors also begin spawning here, giving you the option to bail if things go wrong.
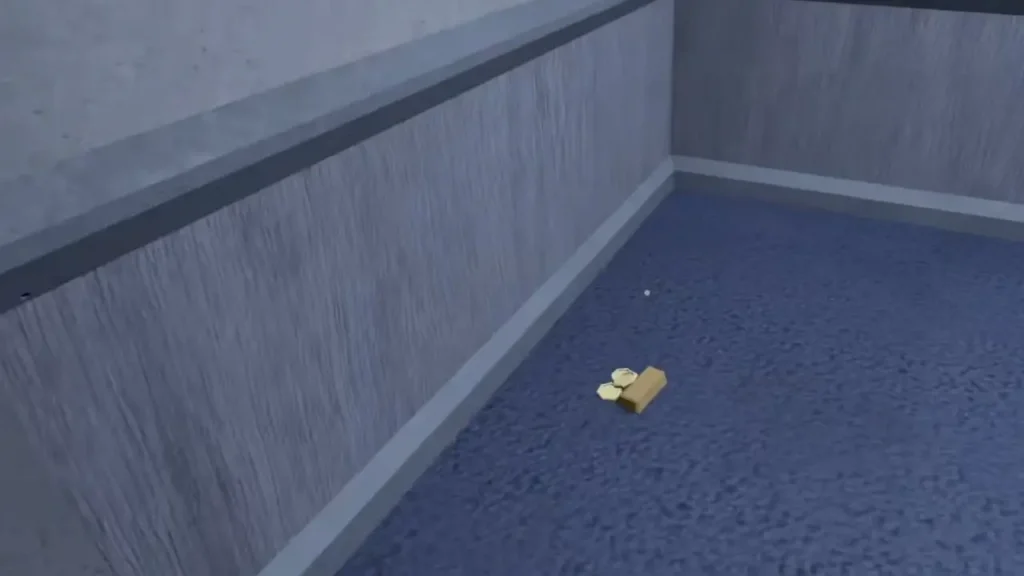
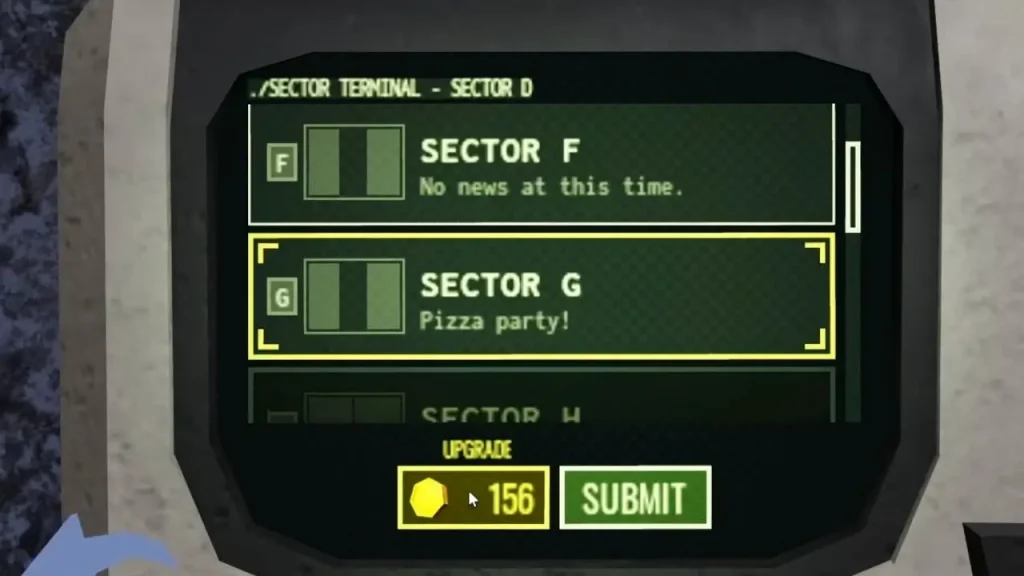
- The Pizza Party sector is the single best sector to prioritise when it appears. It is full of Drones but they are manageable, and the real prize is the Pizza scattered throughout. Load up on as much as you can carry since Pizza is one of the best healing items in the game, and you will be glad you have it in harder sectors.
- Sector J onwards is when Alma is confirmed to start appearing. She is one of the most dangerous entities in the Archives, and managing her takes practice. Stay focused from this point forward.
How to Heal in Archives
There are three healing options available throughout the Archives:
- Bandages are found in drawers and on the floor. They heal a small amount but that small amount can be the difference between surviving a Drone collision and dying.
- Pizza is the best healing item and can be stacked up to six in your inventory. Even if you are at full health, always keep Pizza on you since the Archives can drain your health quickly when multiple entities are active at once.
- Water Coolers appear at the end of sectors before elevators. Be careful with these. You need to pick up the water cup from the side first. Then pour from the red tap on the far left, followed by the blue tap on the far right, to get healing water. Getting the combination wrong will damage you instead of healing you. Also note that the cup takes up an inventory slot, so if you mess up the combination, you have to drink the bad water, take the damage, and then re-heal rather than dropping it and starting over.
Honcho Boss Fight in Door
At certain points in your run, the elevator at the end of a sector will be overridden by Honcho and redirect you to his Executive Office. This can happen as early as Sector A-50. When you arrive, walk up to the desk, and a cutscene will play showing Honcho throwing you down a pit before jumping down to chase you.
Your goal is to sort boxes by correct numbers before Honcho catches up to you. If you manage to finish the sorting before Honcho arrives, another cutscene plays where he grabs you and smashes you through the floor, letting you continue your run normally. If Honcho catches you during the sorting, it becomes significantly harder to complete, so move quickly.
One tip worth knowing: if you give Honcho a Starlight Bottle before the fight, his arms will glow yellow, and completing the sequence will earn you the Star Employee badge.
All Archive Entities in Doors and How to Deal With Them
| Entity | Description | How to Deal With It |
|---|---|---|
 Drones | Shadowy humanoid figures with sticky note faces that wander rooms randomly | Keep your distance. Do not push into them or they deal 5 damage and knock you over. Hide when the clock hits 5:00 or 9:00, as a stampede rushes through dealing 35 damage |
 Bash | A fiery red entity similar to Rush that sets you on fire rather than one-shotting you | Get into a locker quickly after spotting it. The fire kills you over time so you have a brief window to react |
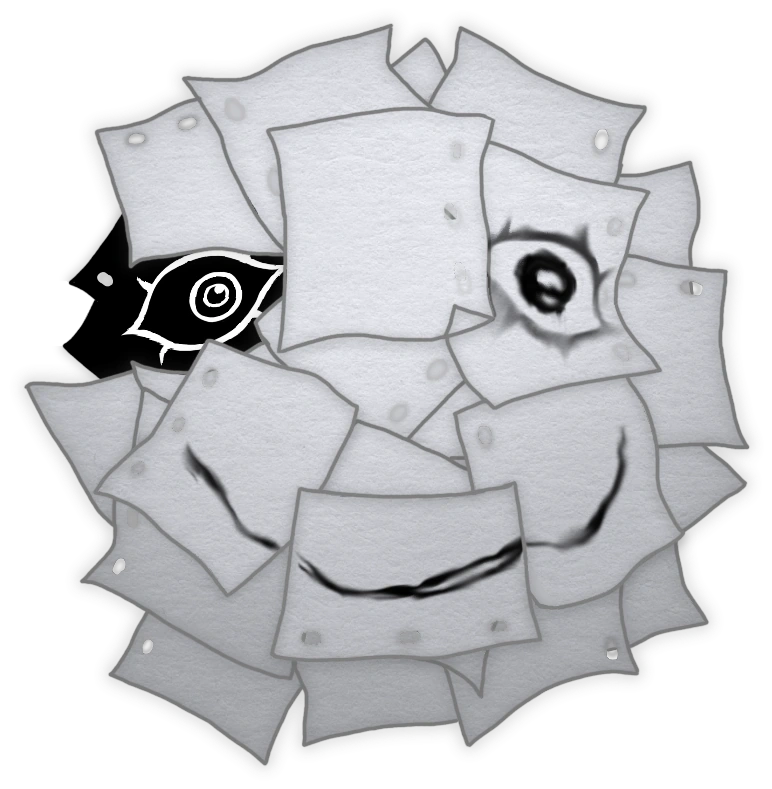 Scribbles | A cluster of animated paper sheets that tears through rooms flinging papers that deal rapid damage | Hide behind a wall, large pillar, or in a closet. If the hallway is long enough you can retreat far down it to avoid the paper range entirely |
 Alma | A grayscale humanoid figure with glowing white eyes that circles the player trying to get into view | Do not look at her. Look at the floor and turn away when she moves into your field of view. If you accidentally look at her for more than a second she becomes aggressive and dashes at you repeatedly. Losing the closet minigame kills you |
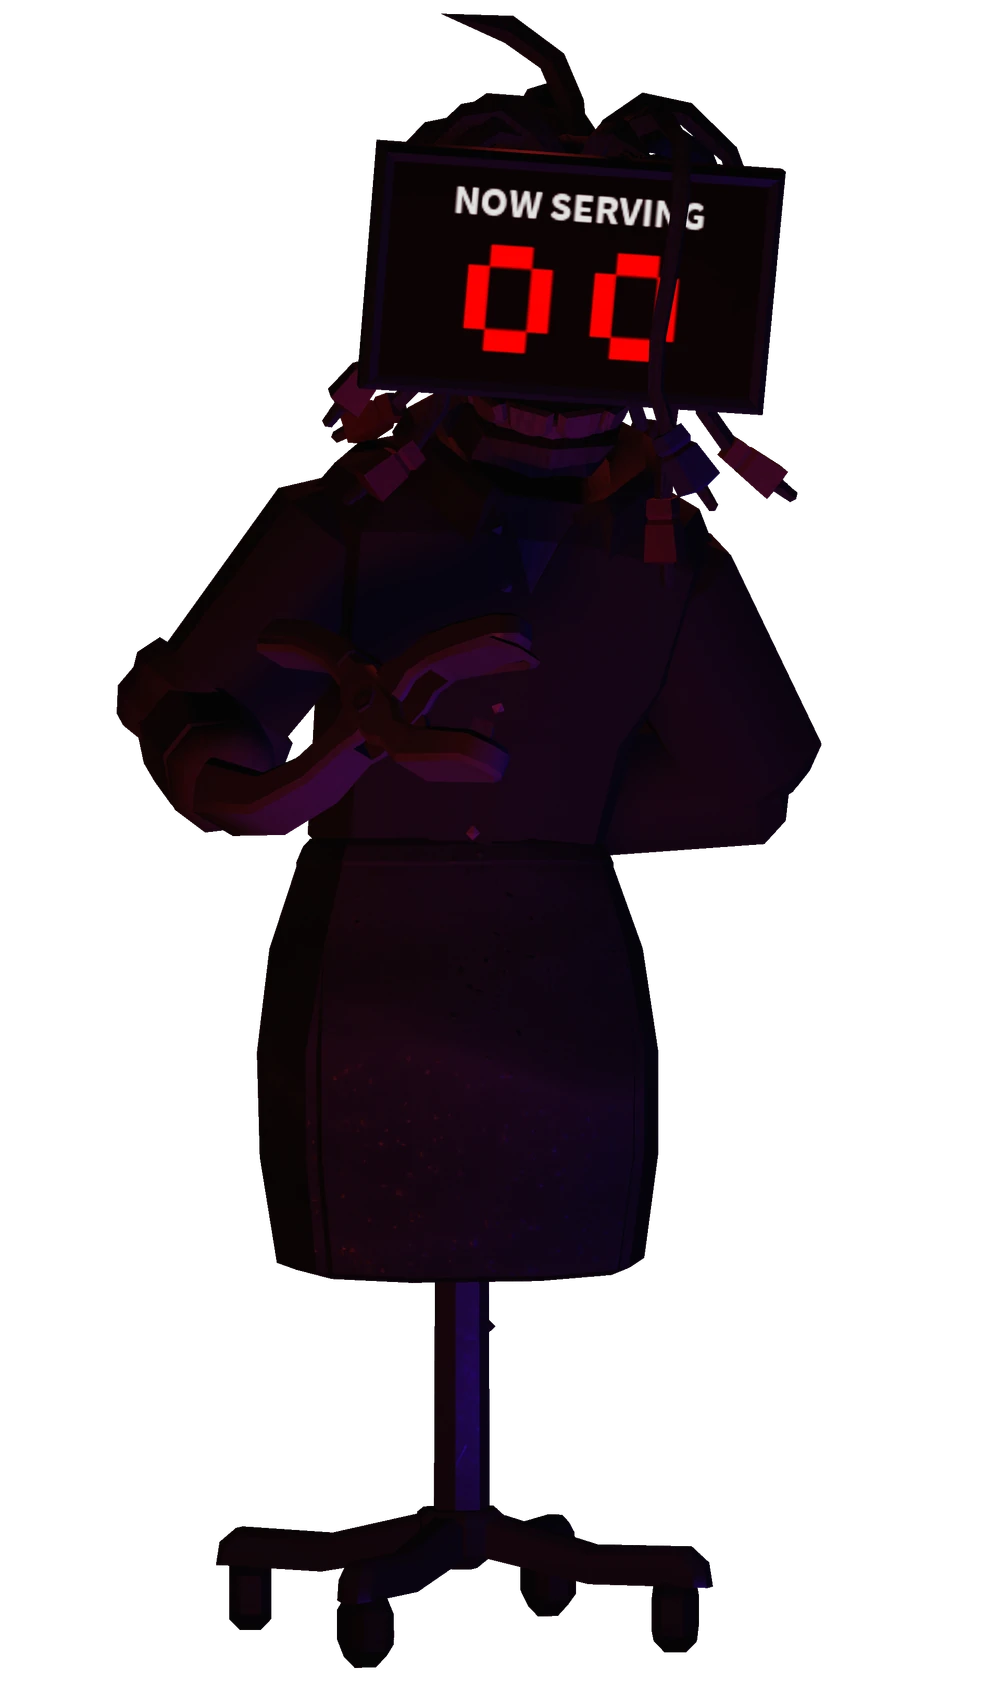 Teller | A TV-headed humanoid on wheels that blocks doors and manages a ticketing system | Take your ticket when offered. Watch the number on Teller's screen and hand your ticket back the moment it matches your number. If you miss it Teller will chase you. Hide in a closet if being chased |
 Forget-Me-Not | Blue vine clusters covering doorways with a memory-based minigame | Memorise the room before entering the minigame. Backtrack if something is different, move forward if nothing has changed. Getting it wrong causes the flowers to bite you for significant damage |
 Ransom | A pixelated glitchy face that appears on screen and demands 500 gold | Stop all inputs immediately when you see it. Then find 500 gold within the 90-second countdown. Drawers have boosted gold during this period. Failing costs you all your items |
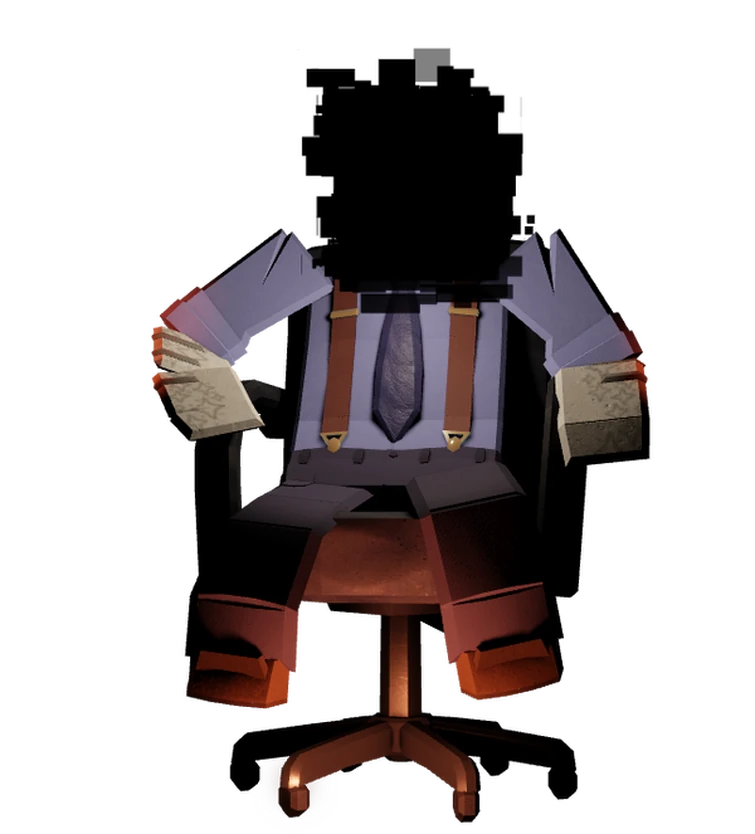 Honcho | A paper-like office worker with a redacted black square for a head who runs the Archives | During the boss encounter sort boxes by correct numbers before Honcho arrives. Completing it triggers a cutscene and lets you continue your run |
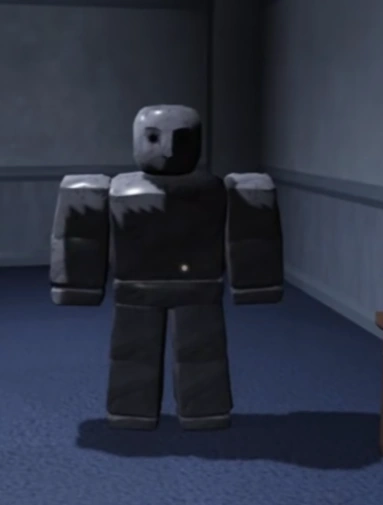 Portrait | A grey concrete-textured Roblox avatar that hides in bathroom mirrors | Avoid staring at mirrors for more than 20 seconds. If you do the mirror cracks and Portrait reveals itself. It then has a chance to appear in the world copying your movements but is completely harmless in this state |
| Currents | Electric puddles next to wall outlets that surge with electricity | Avoid walking through puddles when currents are active. The puddles also cause your character to slide making direction changes harder. First appears in Sector C |
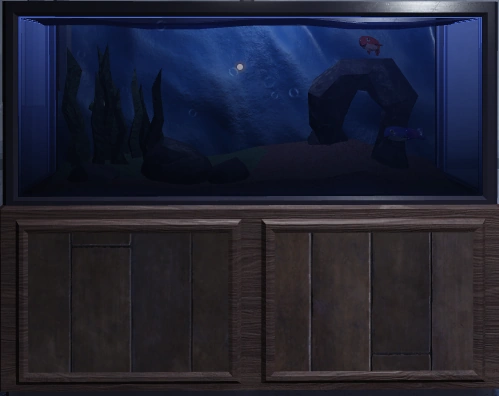 Fih | Decorative fish in tanks throughout the Archives | No threat. Feed them Fih Food found in rooms for an achievement and their journal entry |
Save gold aggressively throughout every sector, so you have enough to skip the sections that feel most dangerous or draining. Never let your Pizza supply run below two or three slices and refill during the Pizza Party sector every time it appears. When Ransom appears, stop everything immediately, as a single accidental input triggers the countdown. During Forget-Me-Not sections, take your time memorising the reference room before entering, as rushing it almost always results in taking damage. Avoid looking at anything reflective in bathrooms to prevent Portrait from activating.
FAQs
There are 1300 doors total spread across 26 sectors of 50 rooms each.
Collect gold throughout your run and spend it at the sector transition areas to skip sections entirely.
Pizza is the best healing item in the Archives and can be stacked up to six in your inventory.


