Installing apps on a Mac is relatively easy and rarely requires a restart. Most people drag and drop the app icon to the Applications folder, but nerds use a shell script. You can also run shell scripts in Terminal on your Mac easily, provided you keep a few things in mind. For starters, avoid running scripts that you’ve downloaded online without knowning what it can do. So there are two ways to run shell scripts on Mac – easy way and safe way.
Table of Contents
Things You Need to Know About Shell Scripts
A shell is an interactive text-based interface that you can use with commands. So, a shell script is like a text file containing several commands to help you avoid re-entering them for repetitive tasks. That’s how you can combine multiple tasks into one script to save time and avoid errors arising from repetitive tasks. The file names of the shell scripts carry .SH extension.
I will skip talking more about the basics of shell scripts. If you want to learn to create shell scripts on Mac, check out Apple’s official Shell Scripting Primer. That said, to avoid headaches and heartache, you’ll need to remember two statutes regarding shell scripts:
1. Giving Permissions blindly can backfire – Usually, shell scripts don’t require root user (administrator level privileges) to run. However, you might have to provide permissions to execute a shell script that requires sudo user (administrator) privileges to run select commands. However, we strongly recommend you double-check the contents of a shell script and its source before giving it full permission.
As a security measure, macOS doesn’t provide you the permission to run a script that requries root permissions from the system folders.
2. Check the contents of a shell script – Use a Text Editor like Sublime Text to view the shell scripts you got from elsewhere or create new ones. Whether you can make a head or tail out of it, the text editor can reveal the commands you can easily verify online.
Download Sublime Editor for Mac
Try This Test Script
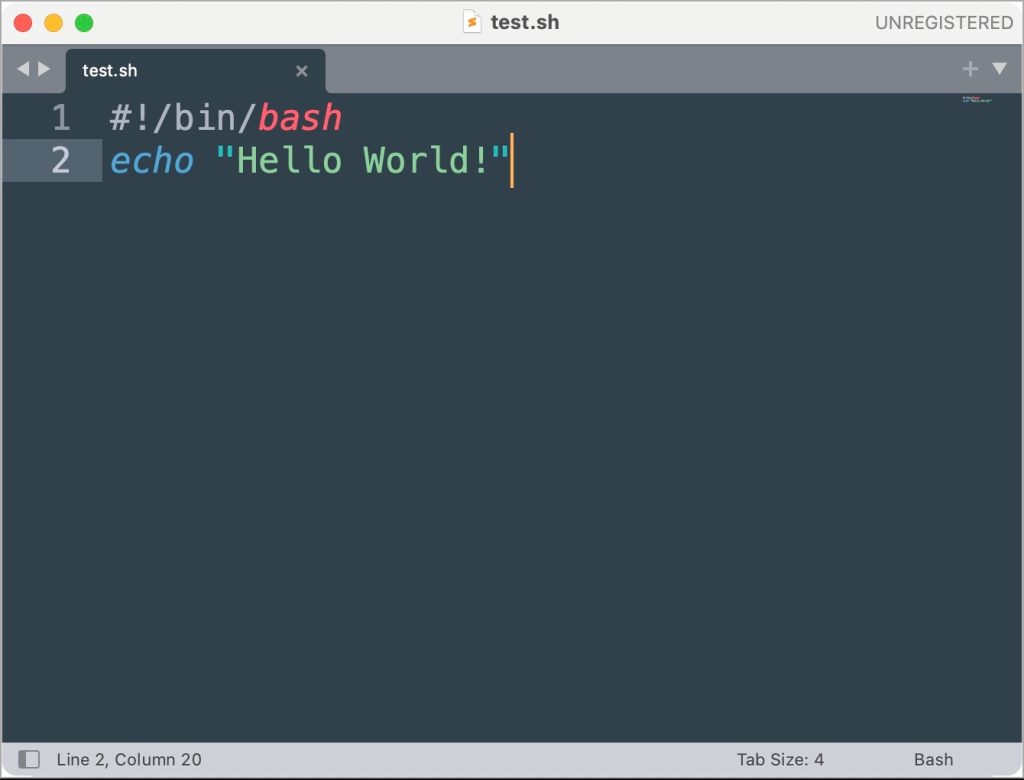
For this guide, I used the following code to create a shell script in Sublime Text editor:
#! /bin/bash
echo "Hello World!"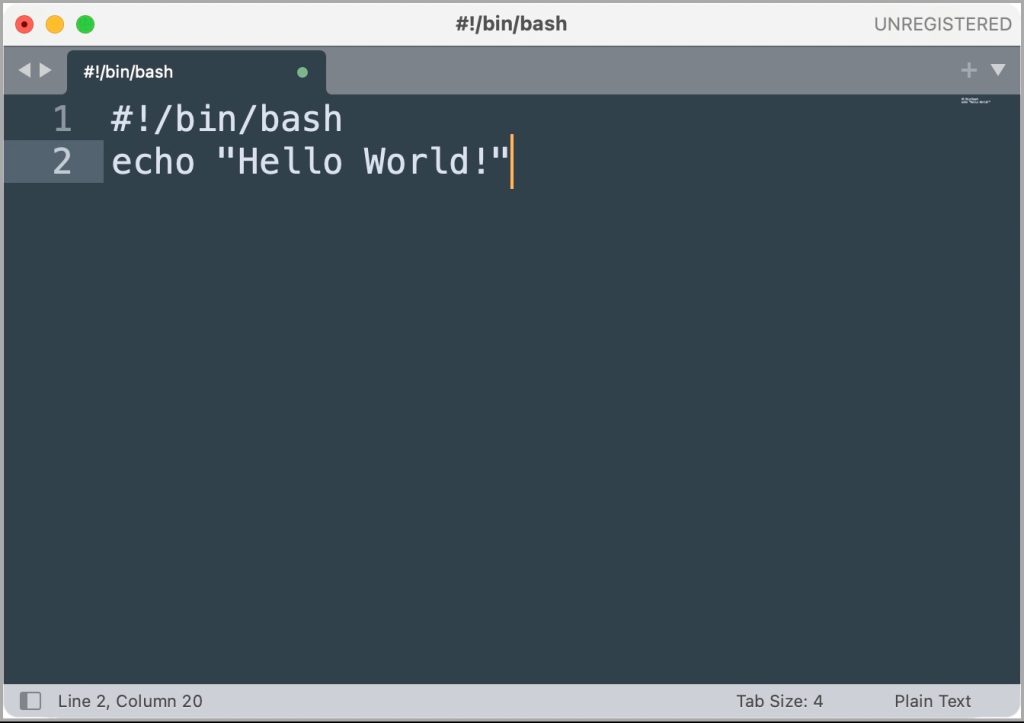
After that, I saved the file as a test.sh for testing purposes.
Easy Way to Run the Shell Script on Mac
The easiest way to run a shell script is to open it in the Terminal and watch it run. However, it’s a risky move if you aren’t aware of what the shell script might do and its origins. The Terminal will run our test script by default since it has no commands requiring root user privileges.
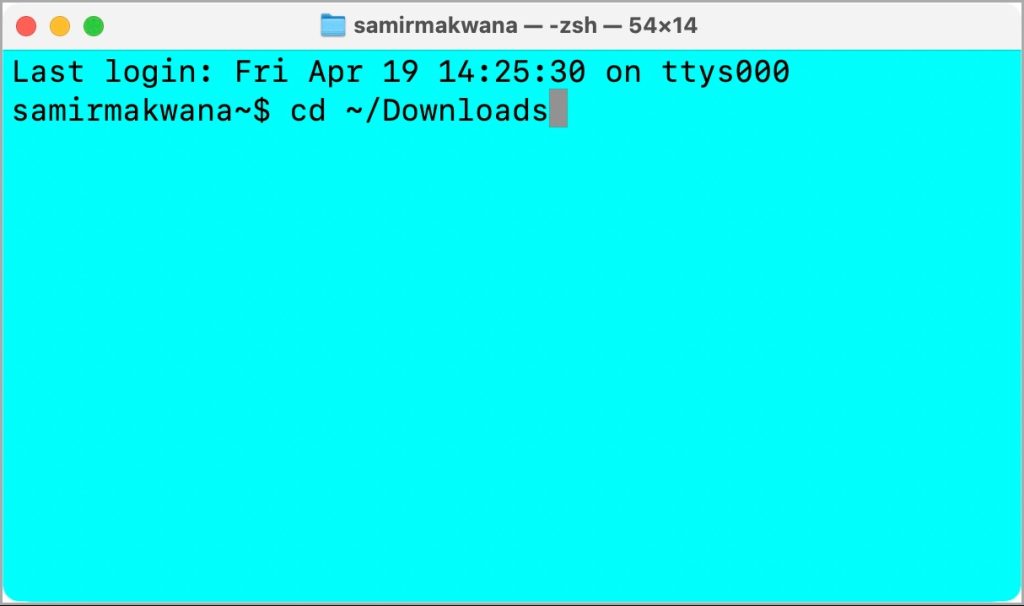
1. Open the Terminal app using Spotlight search or the Applications folder in Finder on your Mac. In the Terminal window, switch to the folder where the shell script is.
2. In the Terminal window, type the following command and hit Return:
sh <shell script file name>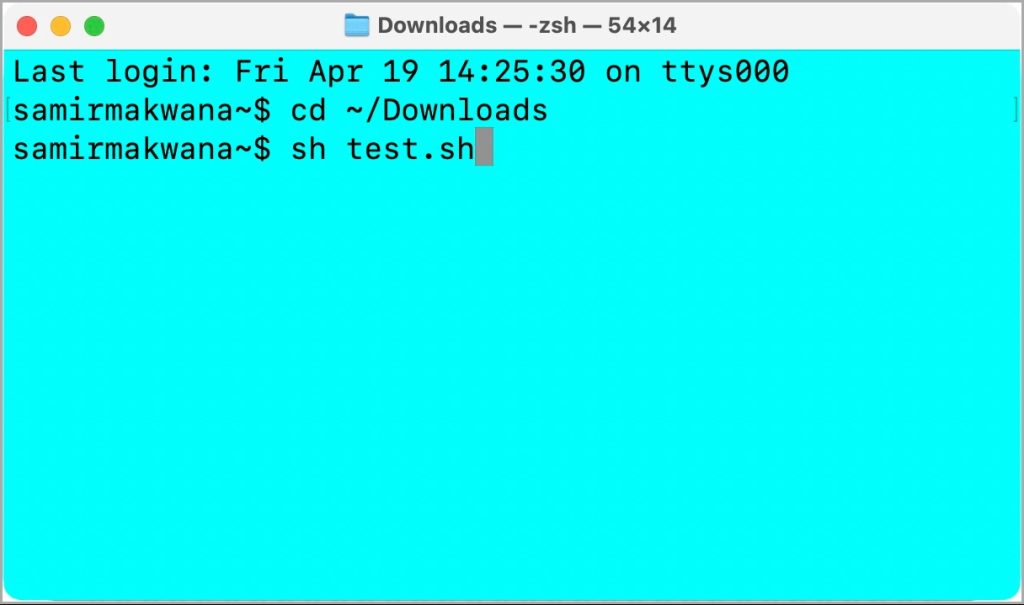
Alternatively, you can type sh in the Terminal window followed. Then, drag and drop the shell script from the Finder window to the open Terminal window and hit Return.
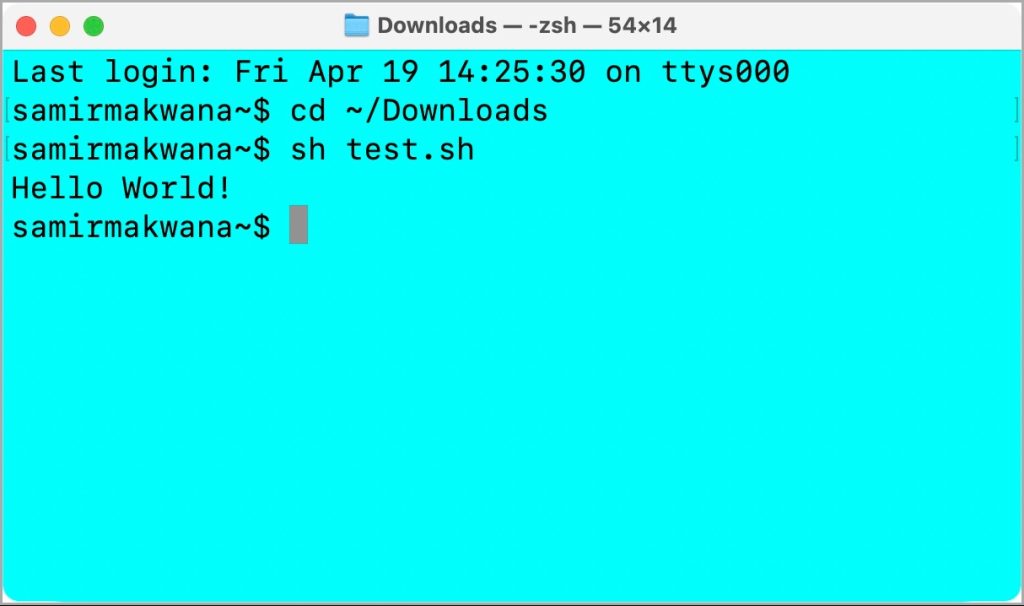
3. The shell script’s output will appear in the Terminal window. For example, if you use the test.sh file, you will see Hello World! in the window.
If the file doesn’t run, then you’ll need to give appropriate execution permission to the shell script file:
sudo chmod +x <shell script file location>
You’ll need to enter the administrator account password after you hit Return.
Safe Way to Run a Shell Script on Mac
It’s a good idea to test the shell script in a text editor for code, like Sublime Text, to check the viability of the script. Also, running it in a Text Editor is safe since it makes no changes to your system.
1. Launch Sublime Text or any other text editor for code on Mac. Open your shell script (test.sh for this guide) in it.
3. You’ll need to give execution permission to the shell script using Terminal.

4. Return to the Sublime Text window, click the Tools option on the menu bar at the top, and choose Build from the context menu.
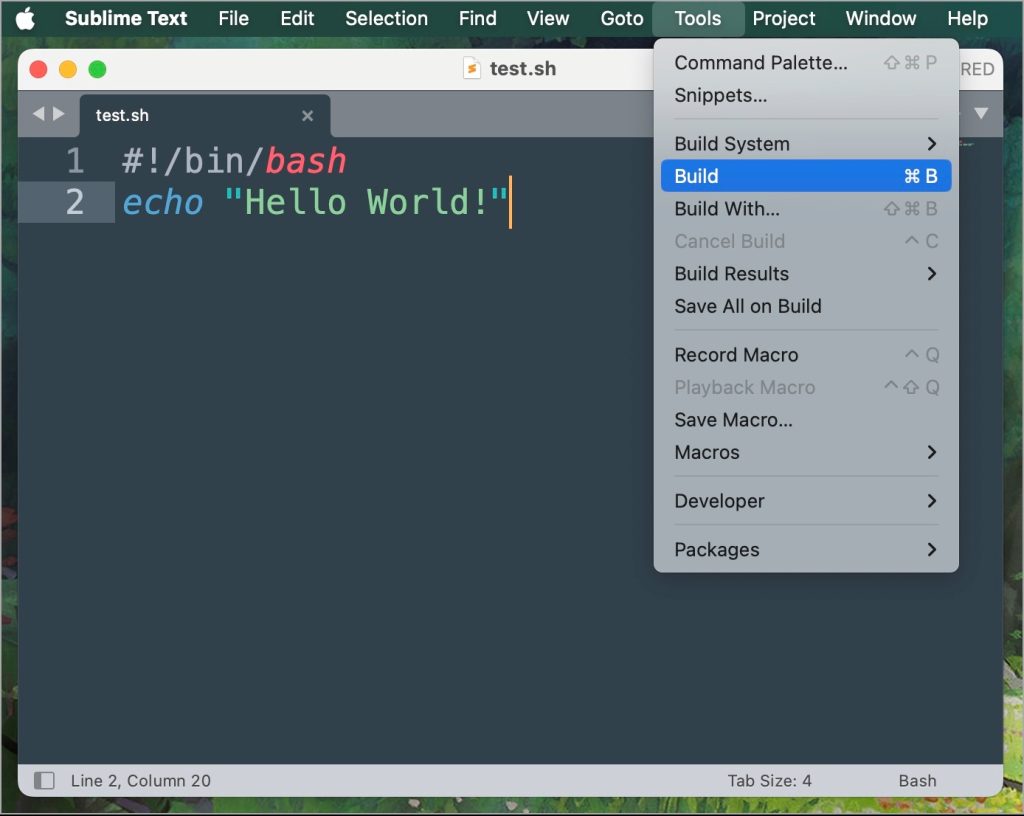
5. Let the script run in a window inside Sublime text. You’ll get a message about its completion.

If you get a permission error, ensure you follow Step 3 again to assign proper permission to the shell script.
Enjoy Shell Scripts With a Little Caution
Most shell scripts for installing software or other computing tasks are tested by their creators. But if you don’t know its impact and authenticity, you may use a text editor on Mac to check what the script can do. That’s a much safer way to test shell scripts rather than risk your Mac. Otherwise, the Terminal is an excellent tool to test and execute the shell scripts on your Mac.
Also Read: Learn How to Use Curl with These Useful Curl Commands