The default way to screenshot on Chromebook is to use the Ctrl + Show Windows key for full-screen screenshots and Ctrl + Shift + Show Windows for partial screenshots. But what if the Show Windows key isn’t working or you don’t want to use a keyboard for taking screenshots? In that case, you can use alternate methods to screenshot on Chromebook without the Windows key. Let’s check them out.
How to Take Screenshot on Chrome OS Without Windows Key
1. Using Quick Settings
All Chromebooks, be it from Lenovo, HP, Dell, Asus, etc., provide a screenshot button in Quick settings. Here’s how to use it.
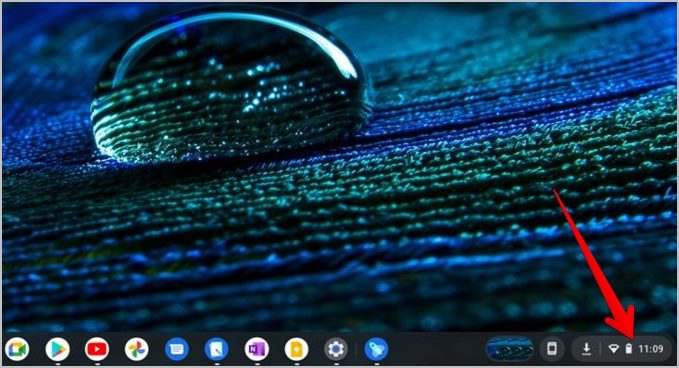
1. Click on the time present at the bottom-right corner of the Chromebook shelf.
2. The Quick settings menu will appear. Click on the up arrow to expand the menu.
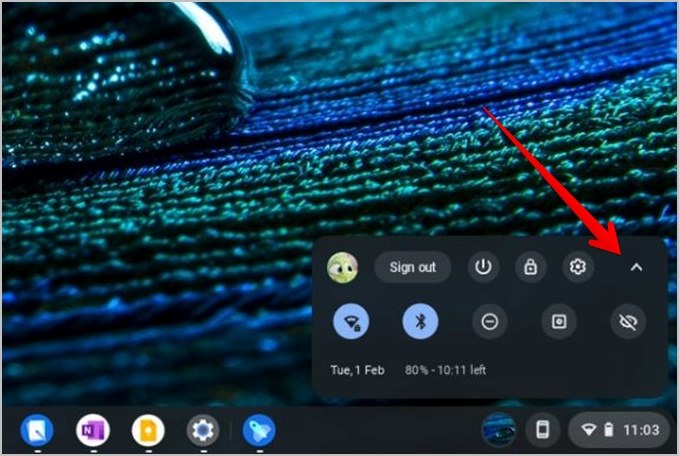
3. You will see the Screen capture button. Click on it.

4. The screenshot toolbar will appear at the bottom of the screen. Press the Screenshot button to select it. Alternatively, press the Screen recording if you want to record the screen.
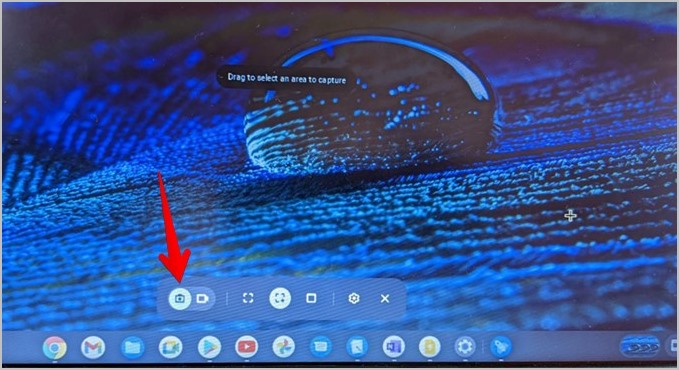
5. With the Screenshot button selected, you can take the following three types of screenshots:
- Full-page screenshot: Captures everything that is visible on the screen.
- Partial screenshot: You can select an area to capture.
- Window screenshot: Captures the active window only.
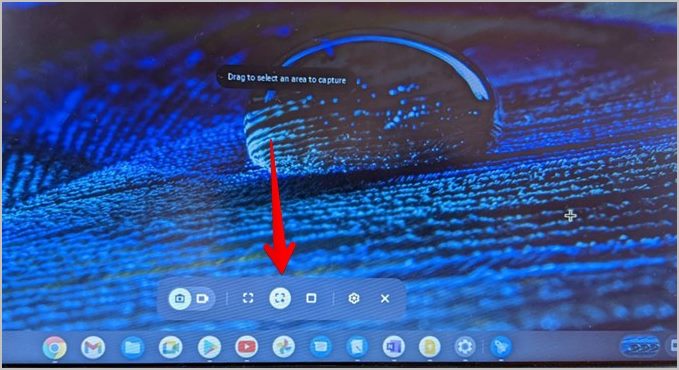
Select the desired option in the toolbar. The screenshot will be taken, copied to the clipboard, and saved on your Chromebook.
2. Using Physical Buttons
If you own a convertible, tablet-style, or 2-in-1 Chromebook, you can take a screenshot just like you do on a smartphone. That is, press the Power + Volume down buttons at the same time to take a full-screen screenshot. Please note the Volume button is different from the volume keys present on your keyboard. You will find the Volume button on the right or left side of your Chromebook.
Furthermore, this method doesn’t let you take a partial screenshot. You will have to edit and crop the screenshot later using a photo editor.
3. Using Chrome
If you want to take a screenshot of web pages, you can use Chrome’s built-in screenshot tool. The drawback of this method is that you cannot use it to take screenshots outside of the Chrome browser.
To use this method, follow these steps:
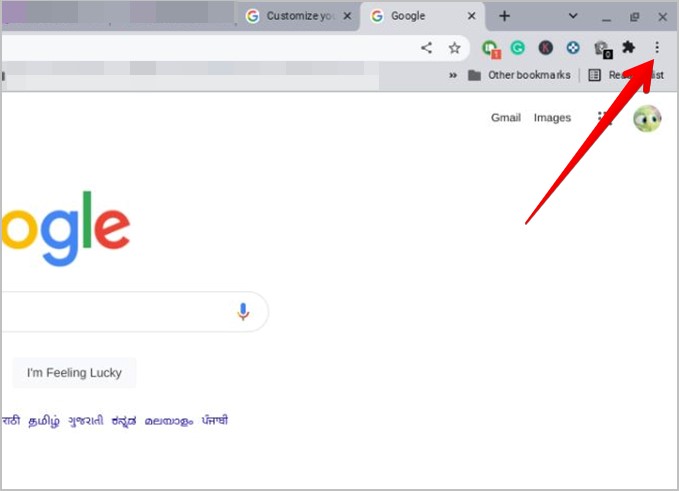
1. Open Chrome and press the three-dot icon at the top.
2. Go to More tools followed by Take screenshot.
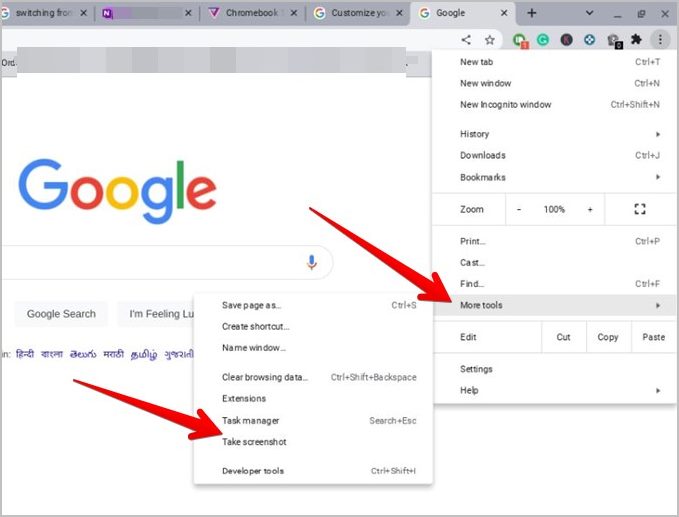
The screen will darken and a screenshot will be captured. You will receive a notification. You can access the screenshot from the clipboard.
4. Using Stylus
If your Chromebook supports a stylus, you can use the same to take a screenshot without a Windows key.
Click on the Pen icon in the Chromebook’s taskbar aka shelf. A menu will open. Click on the Capture screen to take a full-page screenshot or select Capture region to take a partial screenshot.
5. Using External Keyboard
Chromebook’s keyboard is slightly different than a regular external keyboard. For instance, you won’t find the Show windows key in it. If you intend to take a screenshot using an external non-Chrome OS keyboard, you have to use the following shortcuts:
- Ctrl + F5 for full screenshot
- Ctrl + Shift + F5 for partial screenshot
6. Using Google Assistant
You can also ask Google Assistant to take a screenshot on your Chromebook. For that, first, activate Google Assistant on your Chromebook by saying Hey Google. Then say the command ‘Take a screenshot’. The screenshot captured notification will appear on the screen.
To use this functionality, Google Assistant must be enabled on your device. To do so, go to Chromebook Settings > Search & Assistant > Google Assistant. Turn on the toggle next to Off to turn it on. Also, select Always next to the Hey Google drop-down box. You might have to train your voice.
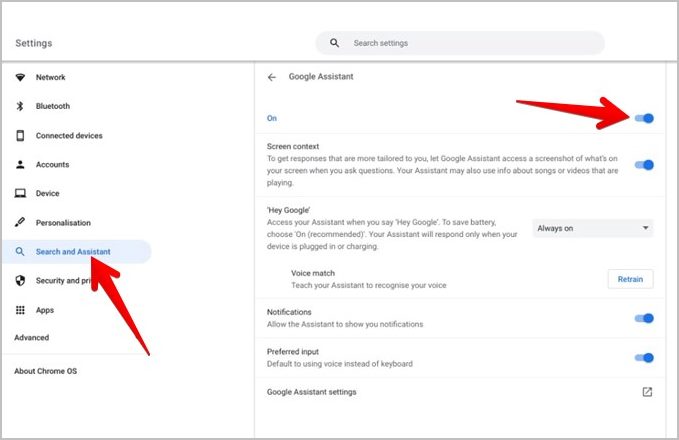
Note: The Hey Google feature will work only if your Chromebook is charging.
Alternatively, you can activate Google Assistant by clicking on the Assistant icon in the search bar when you open Chromebook’s search. Type or say Take a screenshot.

Tip: Learn how to set up a Chromebook for children.
7. Using Chrome Extensions
If the above methods to take a screenshot on Chromebook without a Windows key don’t suit your requirements, you can rely on Chrome extensions as well. These can be downloaded from the Chrome web store.
Some easy-to-use free screenshot apps for Chromebook are:
While these apps are designed to take screenshots within the Chrome browser, some of them let you select any open window to take its screenshot. Furthermore, most of these extensions will let you take a scrolling screenshot too.
Frequently Asked Questions (FAQs)
1. Where are Screenshots Saved in Chromebook?
You will find all your screenshots and screen recordings inside the Downloads folder of the Files app. Your Chromebook also stores the last five items in Clipboards that can be accessed using the Search key + V keyboard shortcut.
2. How to Edit Screenshot in Chromebook?
Click on the screenshot in the Files app to open it in the built-in photo app. You will find various editing options like crop, rotate filters, and draw in the toolbar at the top. Alternatively, open the image in Google Photos or any other photo editing app to edit it. Check out the best video players for Chromebooks.
Learn Chromebook Tips
I hope you were able to screenshot on Chromebook without a keyboard using the above methods. Once you have captured a screenshot, you can share files with Android devices. Also, check out the best Chromebook tips and tricks that every user should know.