ProBot is a recent entry into the multi-purpose Discord bots world, and the top feature is the auto-moderation and auto responder. While many used to and still do prefer MEE6 for server management features, ProBot comes with more ways to customize and automate tasks. Let’s find out how you can set up and use ProBot on Discord servers.
How to Setup ProBot on Discord
To set up ProBot on your Discord server:
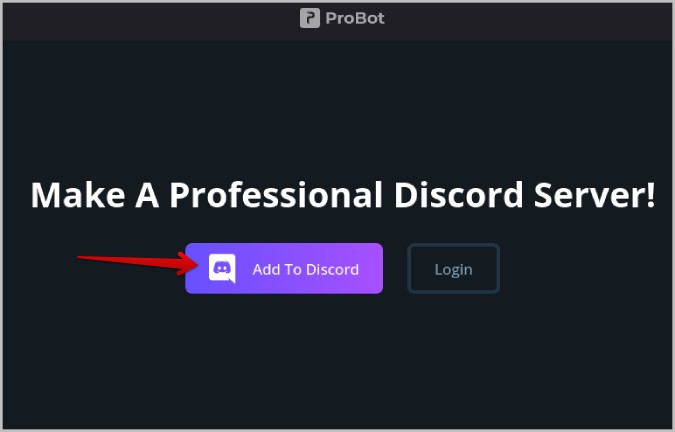
1. Open the ProBot website and tap on the Add to Discord option.
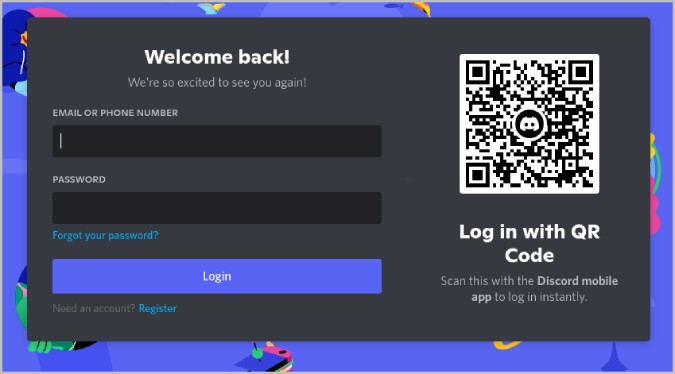
2. It will open a pop-up window. Then log in to the service with your Discord account.
3. Once done, select the server that you want to add ProBot to and click Continue.
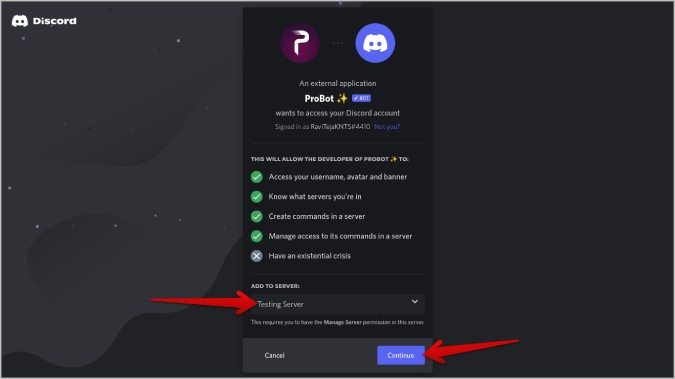
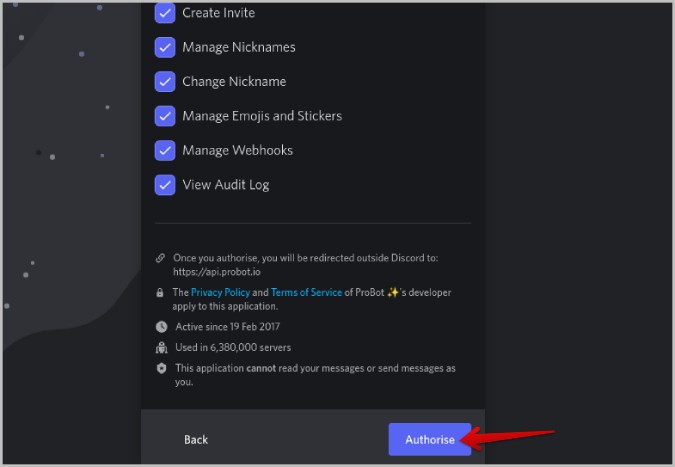
4. Then click on Authorize which should close the pop-up window.
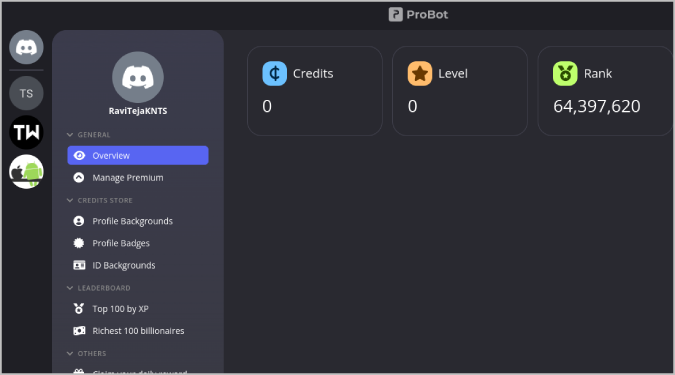
5. Now, you will be redirected to the ProBot dashboard where you can set up and manage ProBot bot on your Discord server.
How to Use ProBot on Discord
ProBot is a multi-purpose Discord bot useful for conducting various tasks. Here’s how you can manage and use ProBot on your Discord server.
1. For Welcome and Goodbye Messages
ProBot is popular for automating tasks. Sending an automated welcome and goodbye message when someone joins or exits the server is one of the key features of services. To set up:
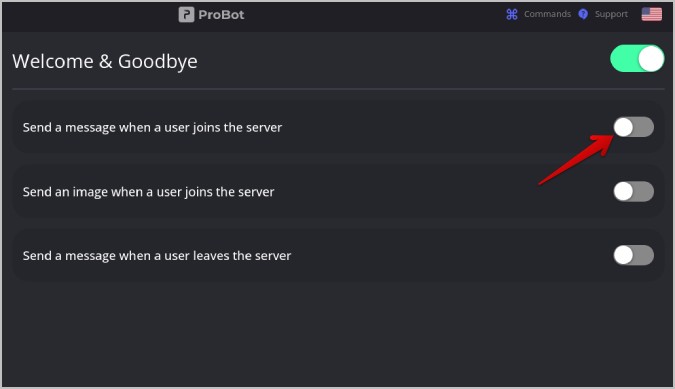
1. In the ProBot dashboard, select your server and click on the Welcome & Googlebye messages option in the sidebar.

2. To send an automated welcome message, enable the toggle beside Send a message when a user joins the server.
3. It should show you a text box where you can enter the message. Note that you can use variables such as [user], [server], [memberCount], etc. in the message. The bot will then enter respective values automatically before sending the message.
4. Then choose whether you want to send it as a DM or in a Channel.
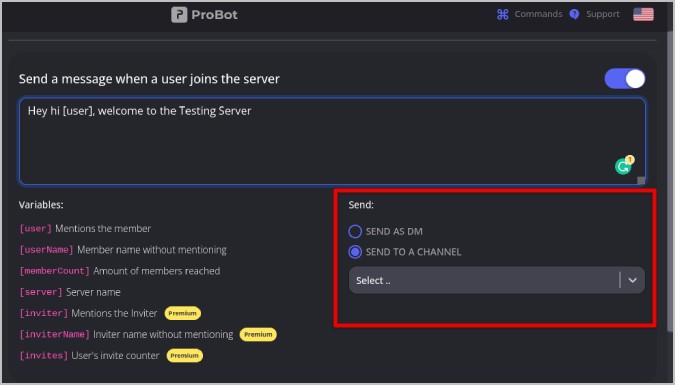
5. Now click on the Save Changes button at the bottom to begin sending welcome messages new entrants to your server.

You have successfully set up ProBot on Discord to send a welcome message when someone joins your Discord server. Apart from a text message, you can also send a welcome image. ProBot will add the user’s avatar, a background, and a welcome text directly to the Image.
1. In the Welcome and Goodbye Messages option, enable the toggle beside Send an image when a user joins the server.

2. Now, you can customize the background, username, avatar, and text and position them on the image.
3. Finally, you can choose to either send the image along with the welcome message or send it separately to a channel.
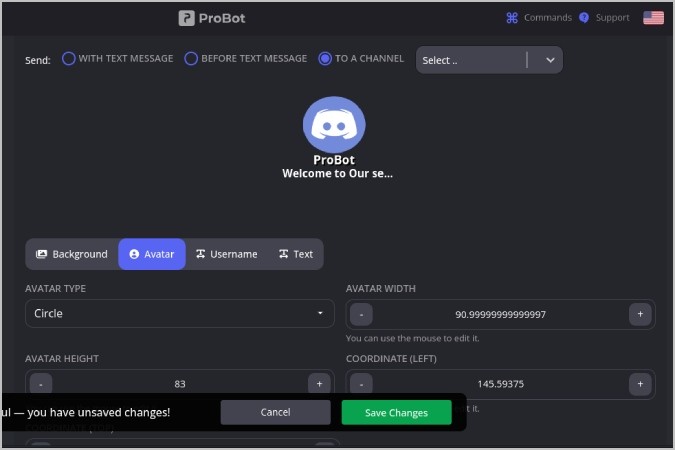
4. Once done, click on the Save Changes option.
Similarly, you can also send a goodbye message when a user leaves your Discord server. But you cannot DM now so the goodbye message can be sent to a channel on your server. As such, the user who left the server may not see your goodbye message.
1. Just enable the toggle beside Send a message when a user leaves the server.

2. Enter the message in the text box below and select a channel to which you want to send the message.
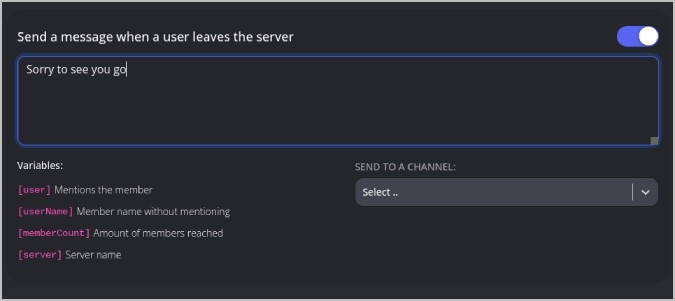
3. Once done, click on the Save Changes option.
2. For Auto Responding to Messages
Another amazing automating feature on ProBot is setting up automatic responses to the messages. You can set up a trigger word which when ProBot detects, will respond automatically with the preset message you have recorded before.
1. To set up, click on the Auto Responder option in the left sidebar.
2. Here, turn on the toggle beside Auto Responder if turned off and click Add Responder button and select Add Response.

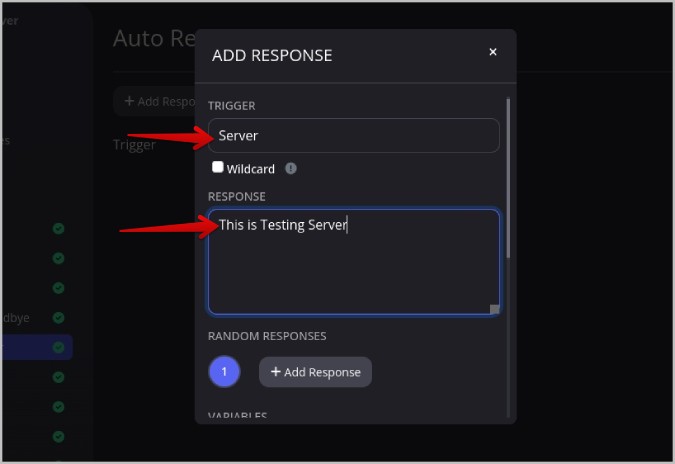
3. Now set the Trigger word and then add a Response in their respective text boxes in the pop-up. In response, you can use variables like [user], [userName], etc. too.
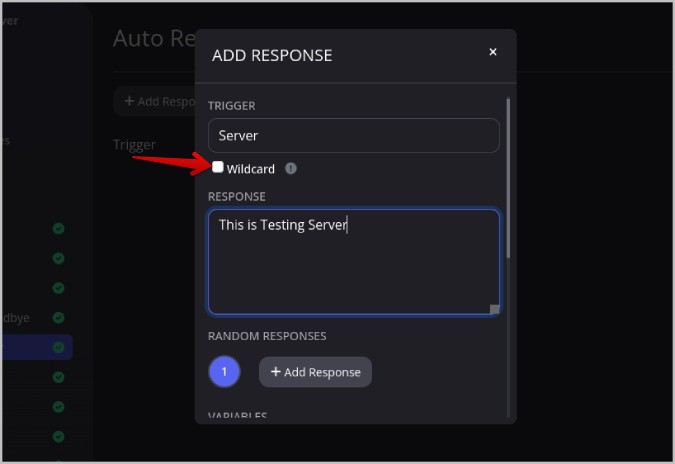
4. By default, ProBot triggers only when the trigger word is entered in a separate message. But if you enable the Wildcard option, it responds even when the trigger word is between a message.
5. Click on the +Add Response option below to add multiple responses. So that the bot can give random responses. Recording multiple messages will help you avoid sounding monotonous.

6. Finally, you can enable and/or disable roles and channels. Think of Enabled Roles and Disabled Roles as whitelist where only selected roles and channels will be allowed. Similarly, think of Disabled Roles and Disabled Roles as a blacklist that will disallow sending auto-response in those channels and users in those roles.
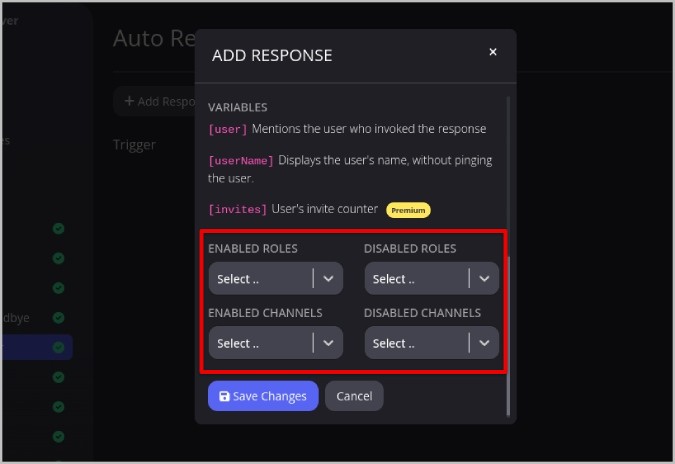
7. Once done, click on the Save Changes.
3. For Leveling System on the Server
The leveling system is commonly used on many Discord servers to keep users more active. ProBot provides an automated level system and increases the level of users based on their server activity level. The more active they are, the higher they will rank on the server. It’s a one-time setup process, then you can forget about it as the bot works in the background.
1. To set up the leveling system, open the ProBot dashboard and click on Leveling System option in the left sidebar.
2. Now enable the toggle beside the Leveling option for the bot to start the leveling functionality.
3. You can customize it a little to suit your needs. You can add roles to No XP roles, so the bot will not rank them. Also, you can add No XP Channels, so the bot will not consider when someone is active in that channel.

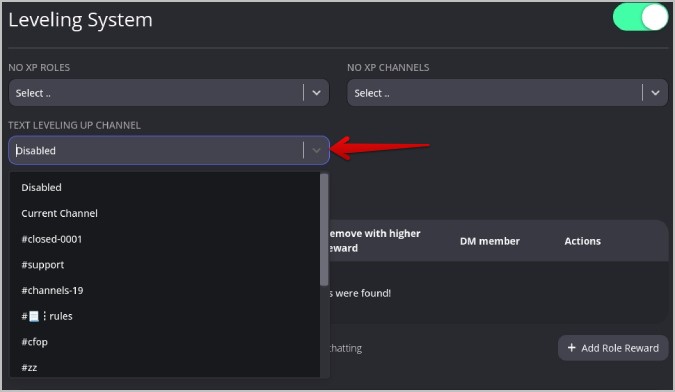
4. You can also add Text leveling up a channel where the bot can send a congratulatory message notifying the user upon reaching a new level.
5. Users can type the /top command to find people with higher ranks. They can also use the command /rank to get their rank card on the server.
To combat spam, the ProBot calculates how many minutes they were active on the server instead of how many messages they sent.
4. For Moderation Controls
ProBot offers both manual and auto-moderation controls. While the manual moderation is on par with other services, the auto mod includes a couple of additional settings compared to other similar bots.
1. To set up manual moderation, open the ProBot dashboard and select the Moderation option in the left sidebar.
2. Enable moderation and in the Mod roles section, add the moderator roles that can have access to moderation on your server.

3. Moderators can use commands such as /ban, /unban, /kick, /clear, /move, /timeout, /slowmode, etc. which are self-explanatory.
With manual moderation, moderators have to keep track of the messages and ban users who spam or use foul language. ProBot also has an Automod option where it can detect curse words and take necessary actions that you have specified. Once ProBot is set up on Discord, everything will happen in the background automatically.
1. Open the Automod option in the left sidebar.
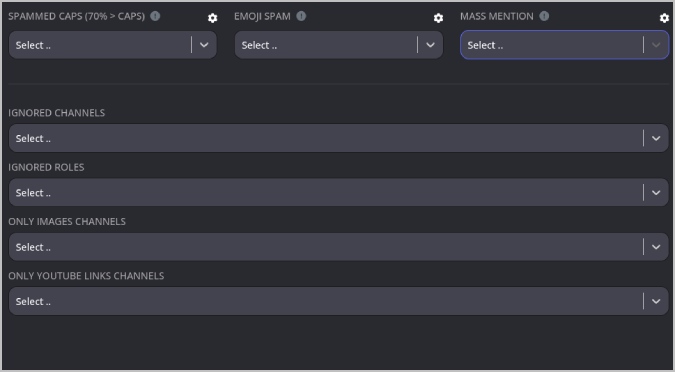
2. Here you should see a list of triggers such as spam, invites, bad words, links, etc.
3. Just click on the Select option below the respective triggers and select the message to Delete, Warn, or Mute. Now whenever the bot detects spam or uses foul words, it will take the required action selected.

4. You can scroll down and set roles and channels that can be ignored so they will be neither muted nor their messages deleted. A whitelist.
Anyhow, the automod can only delete or mute messages. If you prefer to ban the user completely, you have to do it manually.
5. For Reaction Roles Option on the Server
The reaction roles feature is useful for users to self-assign their roles on your Discord server instead of an admin or moderator assigning the role to them. While this isn’t complete automation, this can save a lot of hassle for the moderators and users can also take on any role they are interested in the server. But, as an admin or moderator, you have full control over what roles users can and cannot assume.
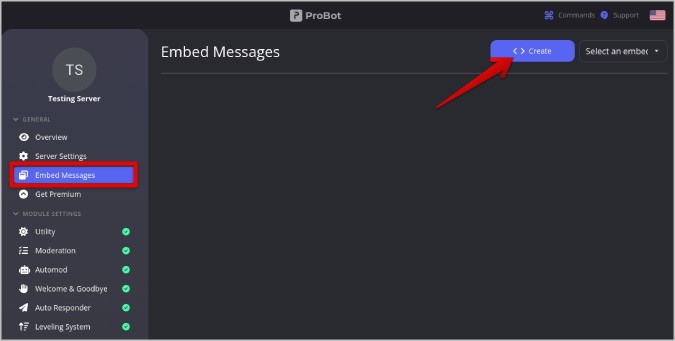
1. On the ProBot website, click on the Embedded Messages option.
2. Now click on the Create option at the top to create a new embedded message.
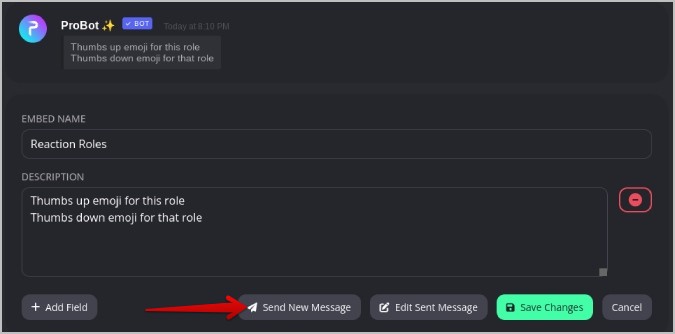
3. Give your embedded message a name and then click the +Add field option to add title, content, image, etc.

4. Add the required fields explaining the roles in your server to the new users.
5. Then click on Send New Message button at the bottom.
6. In the pop-up, select the channel and then click Send New Message. This message will be sent as an Embedded message in the selected channel.

7. Once done, click on the Save Changes button.
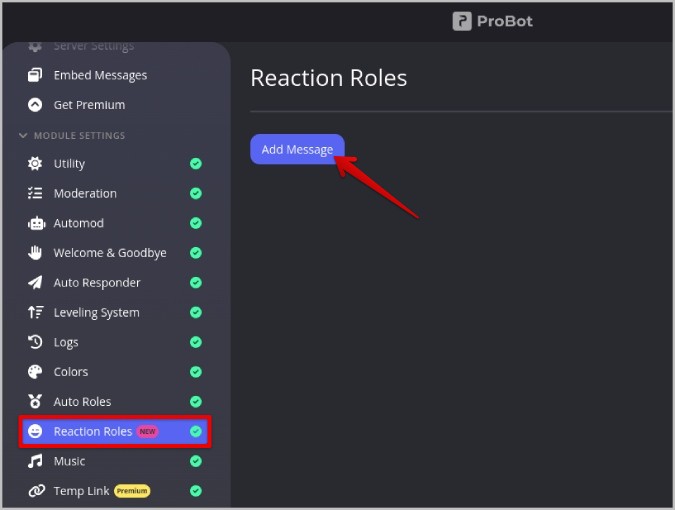
8. Now click on the Reaction Roles option in the left sidebar and then click on Add Message.
9. Now under the Embeds section, select the embed that you have just created in the last step above.
10. Then under Choose a message, select the message that you just sent.
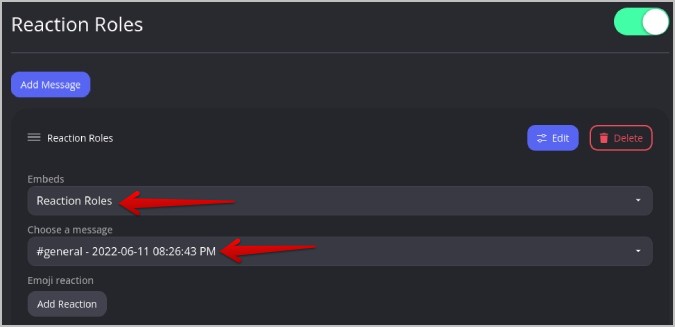
11. Then under Emoji reaction, click on Add Reaction button.

12. Select the emojis that represent the roles on your server. One emoji for each role.
13. Once selected, you can see emojis below with a plus icon beside them.
14. Click on the plus icon and select the role, if the user chooses that emoji, they will be added to that role automatically.

15. Once done, click on Save Changes.
Now users can hop on to that channel or you can set that channel as a welcome channel. Users will have to just click on the emoji reactions for that message to join the respective server.
6. For Playing Music on the Voice Channels
One notable feature on ProBot that isn’t about automation is the ability to play music in Discord. These days, every multi-purpose Discord bot supports playing music. The users need to join a voice channel and send the commands to ProBot on any text channel that ProBot can access.
1. Open the ProBot Dashboard and click on the Music option in the left sidebar.
2. Here make sure that the toggle is enabled beside Music.
3. On the Music page, you will see all supported music commands like /play, /stop, /skip, /repeat, /24/7, etc.
4. You can add roles in DJ Roles so that only they can control the music from ProBot.

ProBot on Discord
Along with the above features, you also get some utility-based commands such as /profile, /user, /server, and others for the details of any user or server information. Subscribing to ProBot’s premium plan, that costs $2.5/month, will enable features like volume control, temp link, voice online, anti raid, etc. Also check out, how to use the carl bot for reaction roles and how to set up Ticket Tool on your Discord server which adds similar features to your Discord channel.