Google launched its’s Beta 1 version of Android Q on March 13, 2019. Now, it’s only available for the Pixel devices starting from Pixel 3 all the way down till the original Pixel. But this is a Beta version of Android Q and I wouldn’t recommend that you install it on your primary device. If you have a spare Pixel Phone or if you know what you are doing then these are the ways to install them on your Pixel Phone.
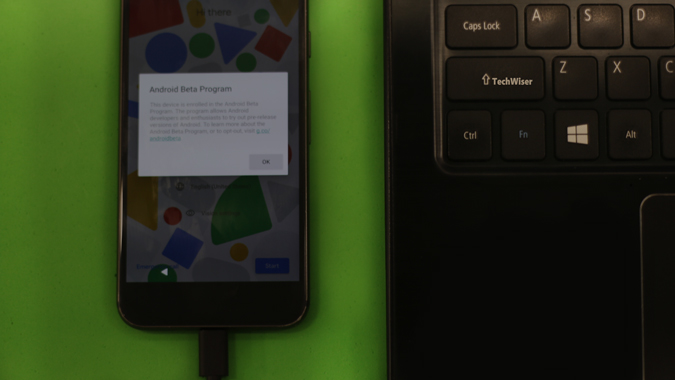
Warning: If you install a beta version, you will not be able to unenroll and revert back to a lower public release version of Android without first wiping all locally saved data on your device. You may also encounter issues restoring a backup.
Read: Android Q – Top 10 Best Features So Far
How to Install Android Q
1. OTA Update
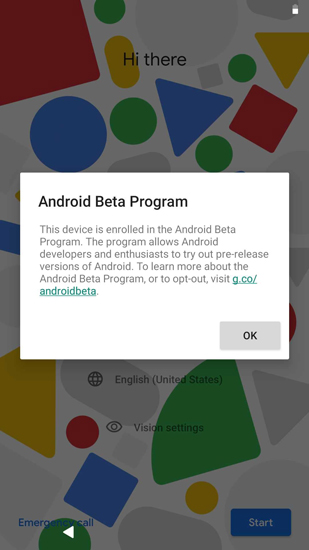
This is the easiest way to install the Beta update. All you have to do is enroll for the Beta version on the Google Developer website. Firstly, you have to log in on your Pixel device with a Gmail account. Go to the Android Beta Program website on the browser and log in with the same Gmail ID. Now, in the webpage at the bottom, you should see your Pixel device listed under “Your Eligible Devices” section.
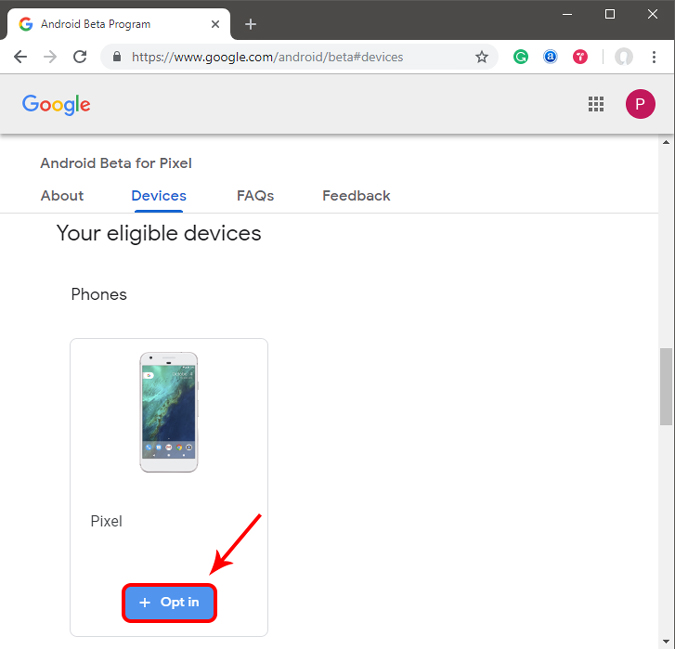
Click on the Opt-in button and you will receive the update via OTA. Once done, go back to your phone and check for updates. You should receive the Beta 1 update in some time. You can install it like a normal update and your device will reboot meanwhile. Make sure the phone battery is above 60% when you are applying the update.
2. Flash Manually
In case you don’t want to opt-in for the Google developers program and are well versed with flashing your phone. You can do it manually by flashing your phone. Here are the direct links to the Beta 1 version of Android Q for various Pixel Devices.
Now, flashing a stock ROM is different from how you flash a custom ROM like lineage OS. It is much easier with minimal efforts. To start off, we would 3 things:
- A Pixel device
- USB C cable
- A computer with ADB & Fastboot installed (Android ADB Install Link)
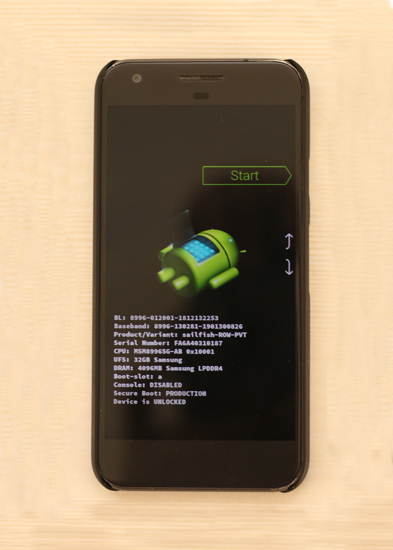
Now, when you have ADB or Android SDK installed on your device. We need to reboot the phone into bootloader. To do that, power off your device by long pressing the power button and tap on “Power Off”. Once the device has powered off, hold the power button and Volume Down at the same time until you see the following screen.
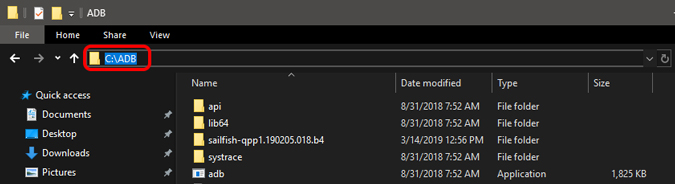
Now, once you are in the Fastboot mode, connect your device to the PC via the USB type C cable. Next, we need to open ADB in command prompt. To do that, browse to the folder you have ADB extracted. In my case, it is C:/ADB. It need not necessarily be the same, you can place the ADB files on any directory. Now, copy the path for the ADB folder.
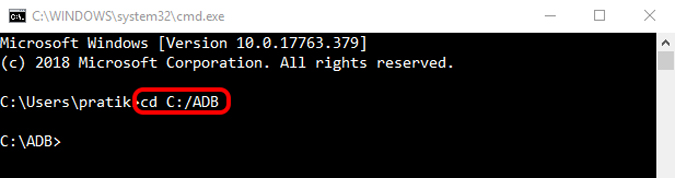
When you have copied the ADB path, open the command prompt and change the current directory to the copied path by using the following command.
cd C:/ADB
Now, this enables command prompt to run the ADB commands.
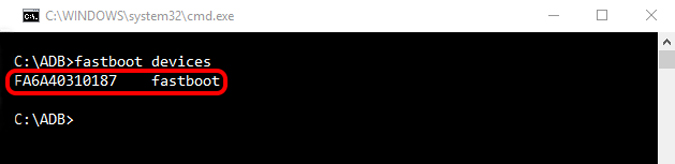
Once this is done, test if ADB can detect the phone in bootloader mode by running the following command.
fastboot devices
This is a Fastboot command which works in Fastboot mode or Bootloader mode.
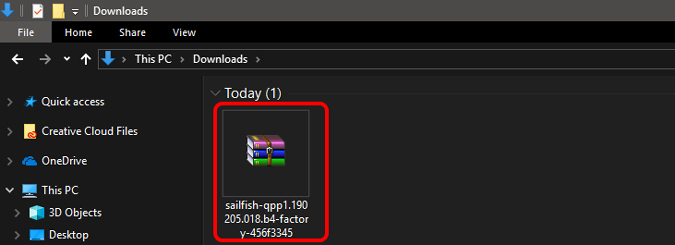
Now, paste the Beta 1 version of Android Q zip file in the ADB folder. The zip file contains 6 files and they need to be extracted in the main folder.
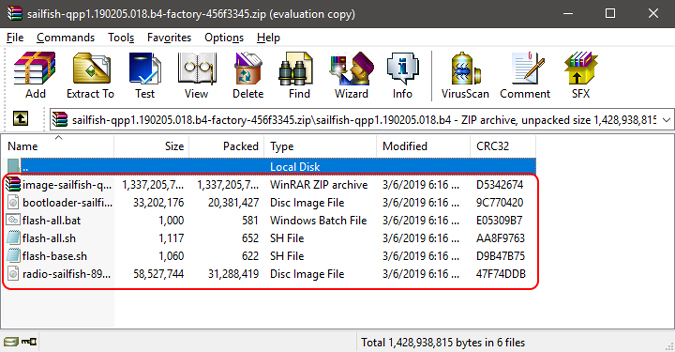
It is important to keep these files in the ADB folder. In my case, these 6 files are in C:/ADB. Now, it is fairly simple from here on, you just have to run the “flash-all.bat” script and to do that hit the following command
flash-all
After running this command, the Pixel device will reboot many times. Hold on and make sure it is connected to the PC all the time. If the device connection is interrupted, it might lead to a soft brick.

Now the entire process will be performed by the script and the device will be rebooted automatically. The first boot screen should show that you have installed the Beta version of Android Q.
In case you face any errors like “cannot find the file” etc, make sure your ADB version is greater than 1.0.38. If not then download the latest ADB version from the Google site. The latest version of ADB supports flashing to multiple slots of Android.
Closing Words
This is a Beta version of Android Q and it is not stable enough to be used on your daily driver. This beta upgrade will continue for 5 more cycles and you should get OTA upgrade if you have opted in the Beta program. For more new Android Q features, read our article on What’s new in Android Q.
In case of any queries about flashing and custom ROMs, let me know in the comments below. I will catch up with you there.