Apple has improved the default Safari browser on Mac with the last couple of macOS updates. Even after all the new additions to Safari, most still prefer Google Chrome to browse the web on Mac. But at times, many users face issues installing Google Chrome on Mac. If you frequently face the same, here are the best ways to fix Chrome installation errors on Mac.
When your Mac gets affected with bogus files, or when you deal with less storage on Mac, you may face issues with installing software from the web. You can’t pinpoint the error to a specific reason. We will start with the basics and move to advanced tricks to help you complete the Google Chrome installation.
Table of Contents
1. Use the Official Google Chrome Website
Google Chrome isn’t available on the Mac App Store. You must download the browser from the web. You shouldn’t browse any random or unknown website and download the Chrome installation file on your Mac. You should always rely on the official Chrome website.
1. Head to the Google Chrome website on your Mac.
2. The website auto-detects your device and directly offers an option to download the Mac version.

3. Once the download process completes, find the file from the Finder app.
Double-click on the Chrome file to install it on your Mac. If you still face issues during the installation process, read along to fix the problem.
2. Check Network Connection
If you deal with a sketchy network connection on your Mac, you may end up with a broken or corrupt Chrome file. Ensure a solid Wi-Fi connection on your Mac while downloading and installing Chrome. If your Mac keeps disconnecting from Wi-Fi, read our dedicated post to fix the problem.
3. Ensure Sufficient Space on Mac
When you have low storage on Mac, you may face issues with Chrome installation. Here’s how you can check the remaining space on Mac.
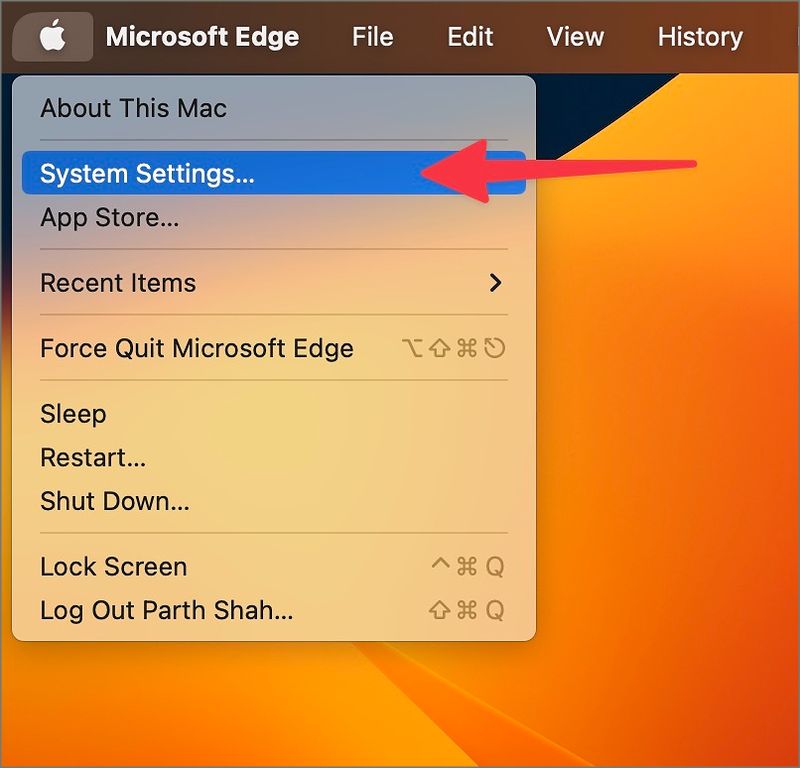
1. Click the Apple icon in the top left corner.
2. Open System Settings.

3. Select the General menu.
4. Click Storage from the right side.

5. Check the detailed Mac storage breakdown from the following menu.

If you deal with low space on Mac, use the Recommendations menu to optimize storage. You can empty the Bin, find large files and remove unnecessary ones from the same menu. You can also use the best Mac cleaner apps to free up space. Once you have sufficient storage on your Mac, try installing Google Chrome again.
4. Delete Chrome Service Files
You can delete old Chrome data from your Mac and try installing the latest build from the web again.
1. Open Finder on Mac.
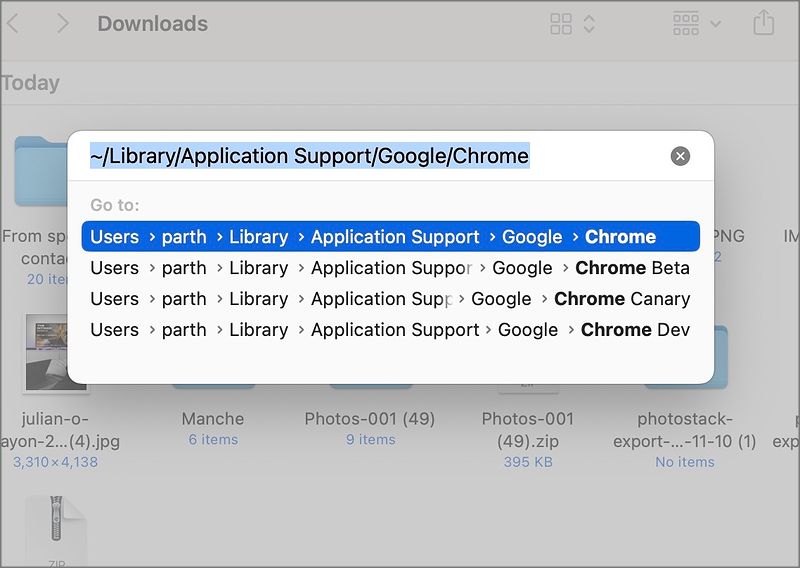
2. Press the Command + Shift + G keys to open the ‘Go to Folder’ menu.
3. Paste the below path and hit the Return key.
~/Library/Application Support/Google/Chrome

4. Select all files and folders from the following menu and move them to Bin.

5. Try Google Chrome Beta
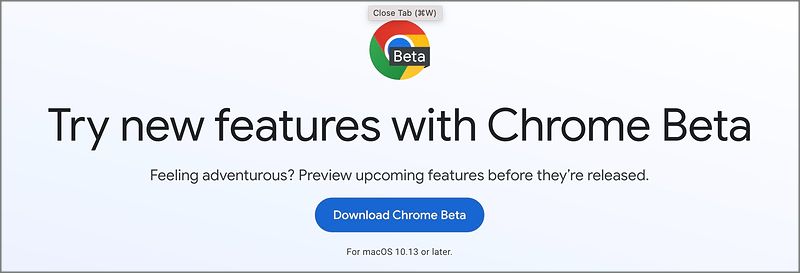
If you still face issues installing Google Chrome on Mac, try your luck with Google Chrome beta. Head to the Chrome beta website and download the installation file.

Set Google Chrome as the Default Browser on Mac
Now that you have successfully installed Google Chrome on Mac follow the steps below to set it as the default browser.
1. Open System Settings on Mac (refer to the steps above).
2. Select Desktop & Dock.

3. Expand the Default web browser menu and select Google Chrome.
Use Google Chrome on Mac
Google Chrome not installing may force you to settle with a below-average browser on Mac. Instead of using Safari, Edge, Firefox, or Brave, use the tricks above to install Google Chrome on Mac without any issues. Once you install Chrome on Mac, don’t forget to set it as the default browser on your Mac machine.