Is your Windows PC running slow, or has it been laggy while taking your inputs? If this is the case, chances are there might be a lot of background processes running in Windows. This is how you can reduce background processes in Windows 11.
Table of Contents
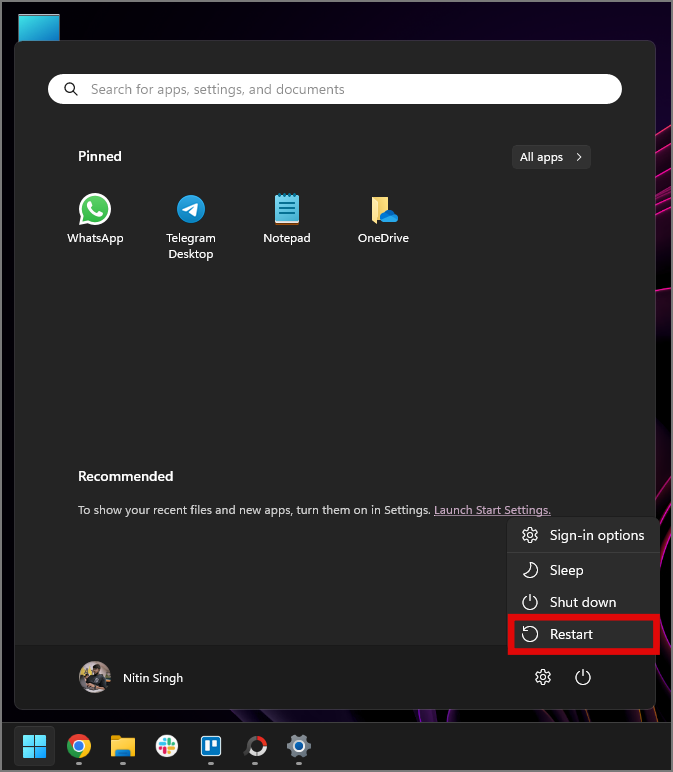
1. Restart Your PC
If you’ve been working on your PC for quite some time, then it’s best to give it a rest by restarting the PC. This should be the first thing you do. Restarting gives the processor time to cool down and closes any unintended or unnecessary background processes running.
Recently purchased your PC? Chances are Windows is indexing files, restoring any backup data from your Microsoft account, and building cache to give the best performance down the line. Our advice would be to let it run, and Windows should kill any redundant background processes. As long as your performance is not compromised, too many background processes aren’t always a bad thing.
2. Close Unwanted Browser Tabs
Do you have too many browser tabs open? If so, then they’re the main contributors to the high number of background processes. Each browser tab creates a separate process that stays in memory and consumes the resources. If you want to reduce the background processes, then you should consider closing the unwanted tabs in your browser.
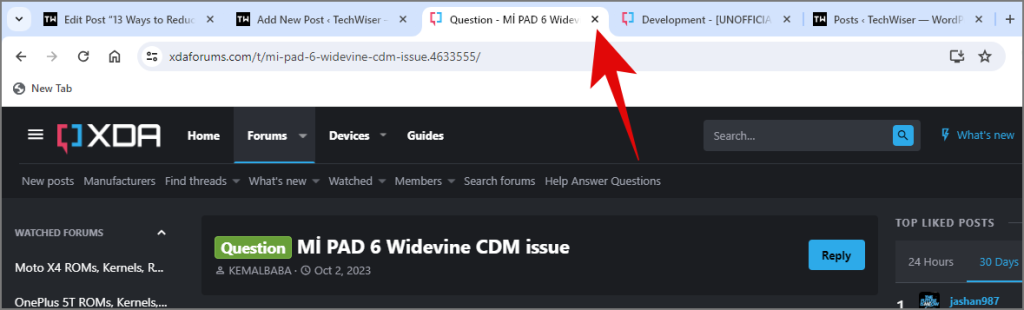
Alternatively, you can also hover over each open tab to check its memory usage in real-time in Google Chrome. Then choose which tab to close first, rather than closing all tabs altogether.

3. Uninstall Unwanted Applications
If you have too many apps installed on your Windows PC, it is bound to run too many background processes. Each app has an update service among others, that keeps it connected to the Internet all the time running in the background. Yes, even if you close the actual app, the service associated with it will stay in the background, eg: Microsoft Click-to-Run.
The best course of action is to uninstall any app that you do not need anymore. Not only will it free up storage for other applications, but it will also rid Windows of the application’s background activity. We recommend you use the Revo uninstaller or any of its alternatives to completely and cleanly remove applications from Windows 11.
4. Disable Ads in Windows
Ads and other Microsoft data collection telemetry are usually always active, thereby contributing to the increasing number of background processes in Windows. You can disable ads from the Start, Lock Screen, Notification ads, and other data-sending process. We already have a detailed article on how to disable ads on Windows you can read later.
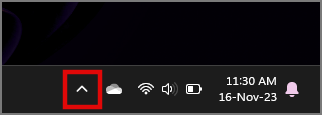
5. Remove Apps From the System Tray
Sometimes applications can keep running in the background hogging memory and resources even when you are not using them. So, you can manually close these applications from the system tray on the taskbar.
1. To remove apps from the system tray, click on the arrow pointing upwards present on the right side of the taskbar.
2. You will see quite a few apps running in the background. Look for apps that you might not be using actively, in our case Nearby Share From Google.
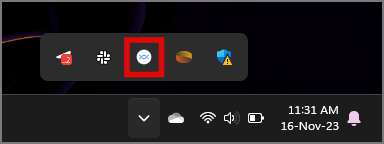
On a side note, this is how you can share files between Android and Windows using Nearby Share from Google.
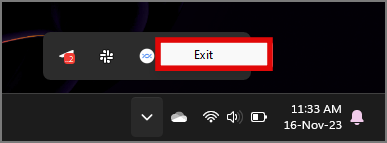
3. Right-click on Nearby Share From Google and click on Exit.
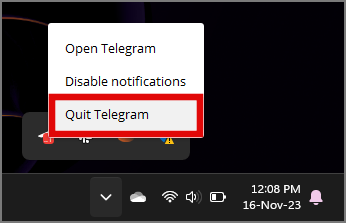
4. Repeat the same process for other applications that are not actively in use, like Telegram or WhatsApp, and close them to reduce the background processes in your Windows 11.
6. Disable the Xbox Game Bar
Xbox Game Bar is an overlay game box manager from Microsoft that runs in the background all the time. You can trigger the Xbox Game Bar into action using the shortcut Windows + G. It would free some system resources if you disable the Xbox game bar if you don’t game on your Windows PC.
7. Disable Touchscreen and Screen Gestures
Are you using an old touch-enabled Windows PC? If so, then making a touch screen work with all the gestures and other touch-related features might be too much for the older machine. An easy way would be to only enable the touchscreen when you’re actively using it and disable it when not in use.
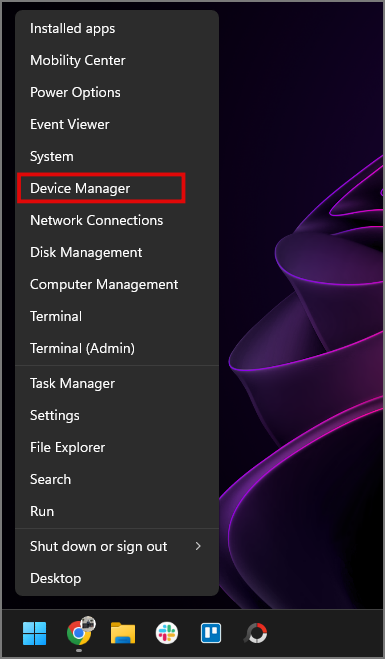
1. To disable the touchscreen in your Windows PC, right-click on the Start button and click on Device Manager.
2. Look for Human Interface Devices from the list of devices and double-click on it.

3. From the expanded list look for the HID-compliant touchscreen. Right-click on the HID-compliant touchscreen, and click on disable device.
4. Now, click on OK to confirm disabling the touch screen.
With this, the touchscreen and associated touch gestures will be temporarily disabled until you enable it. We know it’s an extra step but it is worth it and you can always follow the same method to enable it.
8. Change Personalization Settings
Did you know the more you use personalization settings in Windows, the more resource-heavy it becomes? This can be inferred from different settings like Transparency effects throughout the OS and dynamic themes resulting in Windows Desktop Manager service running in the background at all times.
The Windows Desktop Manager service manages any visual effects-based settings, like transparency effects, dynamic themes, animation, thumbnails, etc. You cannot turn off this service, but you can change any unnecessary visual settings that you don’t necessarily use to reduce the background processes in Windows 11.
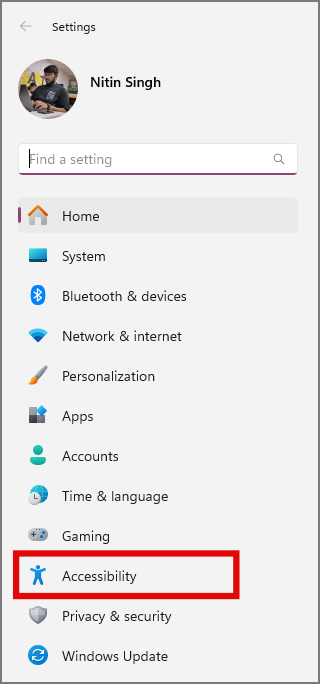
1. To change personalization settings, go to Settings or press Windows key+I to open it from any screen. Now switch to the Accessibility tab from the left of the screen.
3. Click on Visual effects.
4. Now turn off Transparency effects and Animation effects by clicking on the flip switch towards the right.
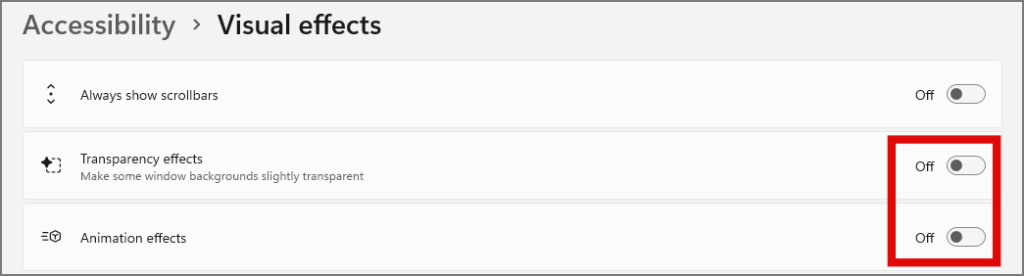
With this out of the way, the first change you’ll observe is that Windows panels are no longer translucent.
Also, observe the animation while switching tabs or windows. These actions are snappier since there’s no animation being loaded and shown by Windows here.
After the change, you might not have the most elegant-looking Windows experience, but it most certainly will be the most functional one since you’ll be turning off a lot of CPU-intensive background tasks.
9. Change Startup Apps From the Task Manager
Disabling the Startup applications from the taskbar should be a ritual for every Windows user, regardless if you’re new or old. This can affect your boot times as well as general usage a lot since these applications keep running in the background from the moment you turn on your Windows machine.
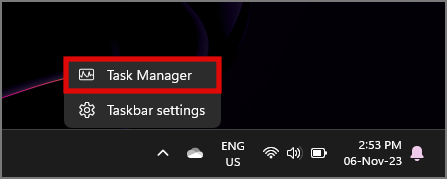
1. To check and disable Startup applications, right-click on the taskbar and open the Task Manager. Alternatively, you can also press Ctrl+Shift+Esc to open it from any screen.
2. From the left pane of the Task Manager switch to Startup apps.
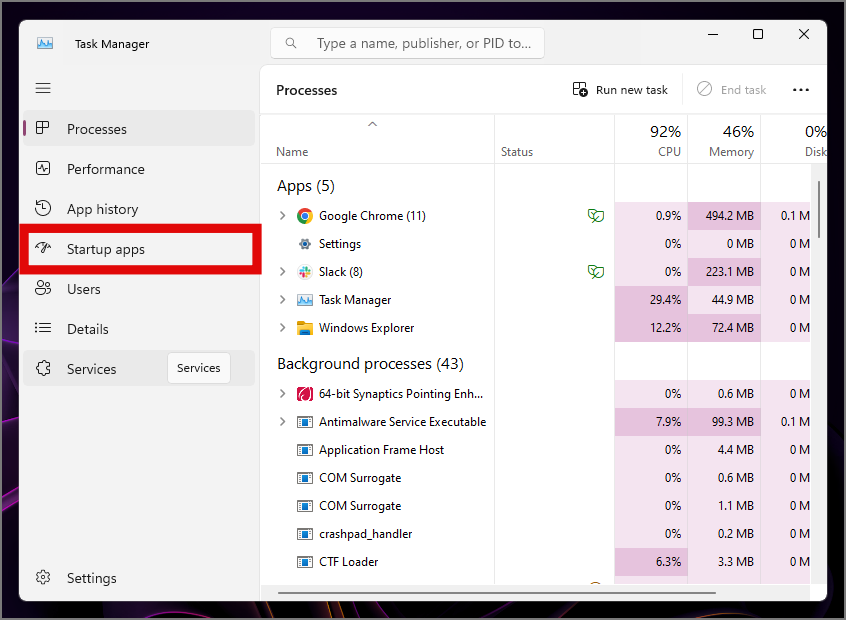
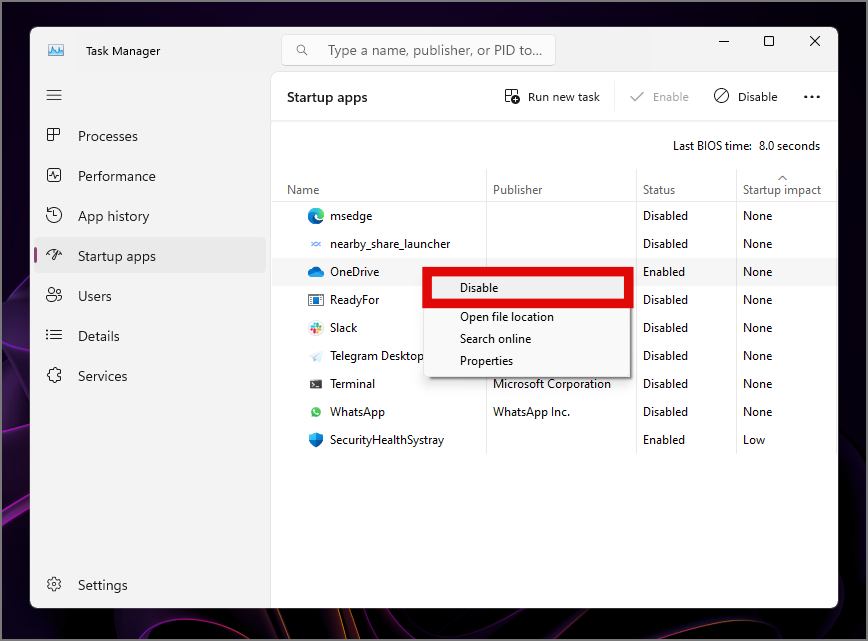
3. You’ll see a list of applications that can be enabled or disabled on Windows startup. Within this list, look for applications that you don’t actively use and are enabled by default, in our case OneDrive.
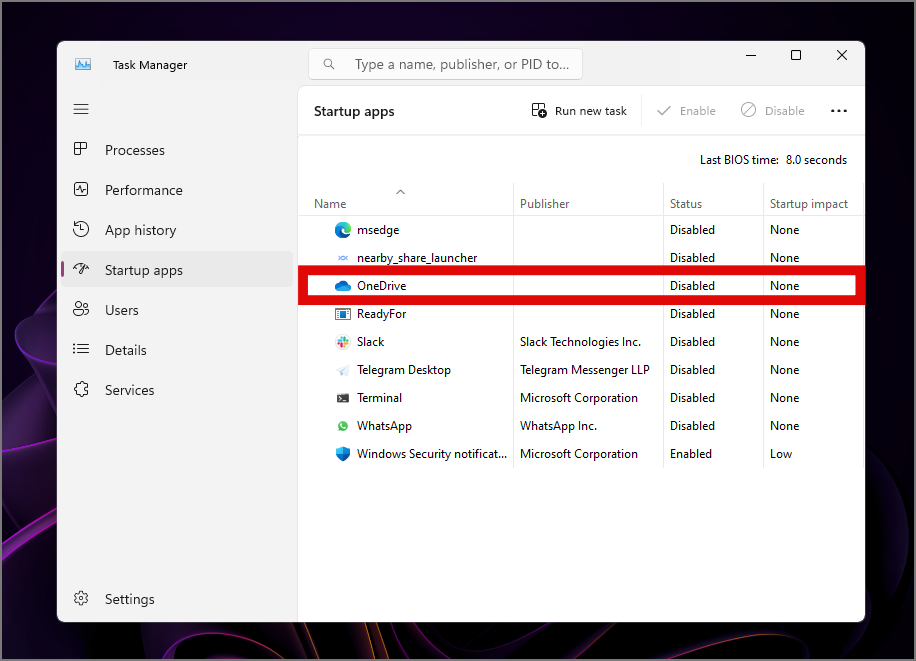
4. Now, right-click on OneDrive and click on Disable to disable it from running automatically on startup. Repeat the same process for all the applications you think should be disabled on startup.
5. Restart your Windows PC after you’ve made the changes. Now it requires running fewer apps while starting (lesser is better).
The boot time should have reduced considerably and the PC should feel faster and snappy overall. All because of the changes made in the startup of Windows.
10. End Tasks From the Task Manager
There are often some apps or processes that can stay open in the background even when you think you have closed the app. You need to dig deeper into the task manager to find them. This is how you can end them from the task manager manually.
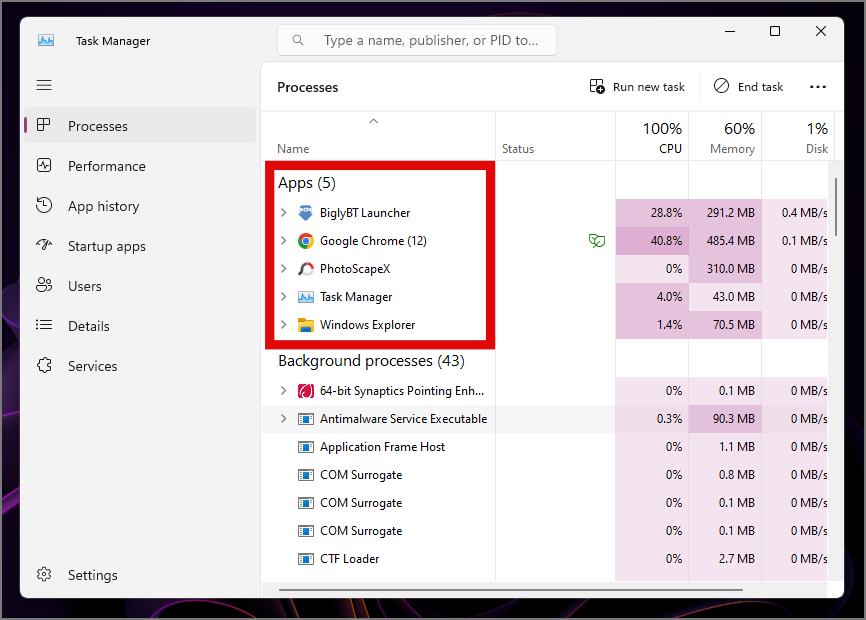
Note: These tasks are bifurcated into 3 categories, namely, Apps, Background processes, and Windows processes. Make sure that you only end tasks from the Apps and Background processes section and NOT Windows processes. These processes are essential for the running of Windows and might render your PC unusable if removed manually.
1. The Apps section shows you all the running apps in Windows like Excel, Outlook, Google Chrome, etc.
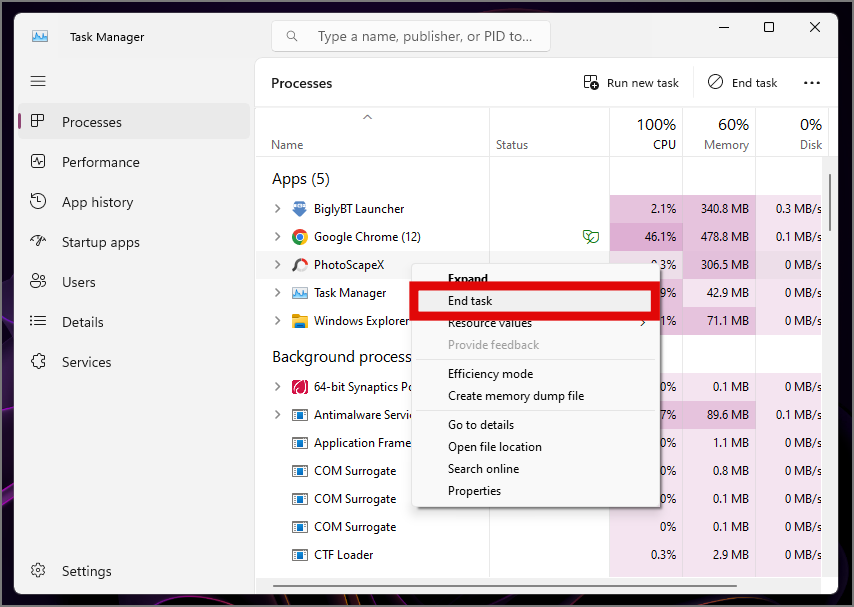
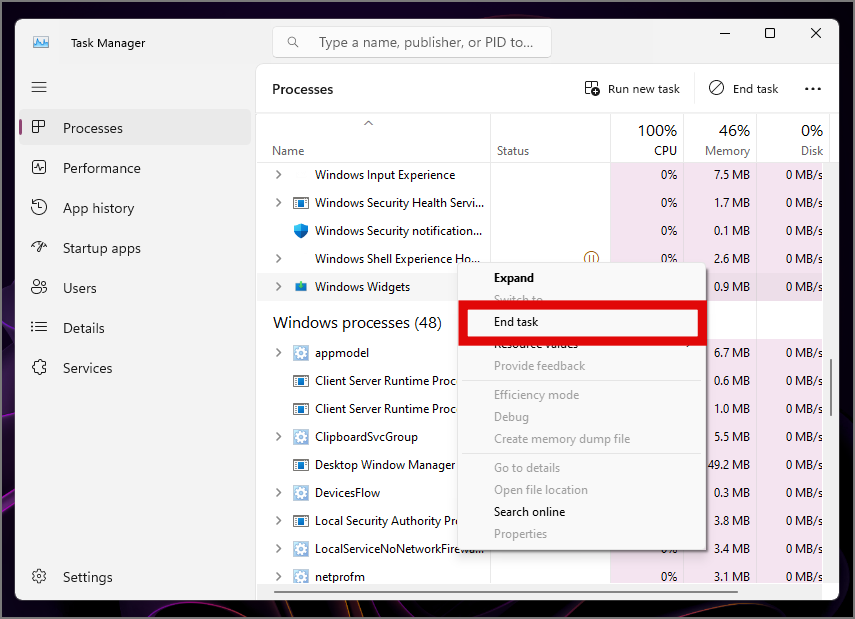
2. Right-click on the unrequired app, then tap on End Task to end the task manually.
3. The background processes section houses any processes run by Windows or the user apps that are required for proper functioning. Sometimes these processes keep running even after closing the associated apps. Hence, you can close tasks like Microsoft Sharepoint, MS Office Click-to-run, Windows Widgets, etc.
Disclaimer: Sure, you can close these processes but some associated tasks might not work as intended. Therefore, do not close any processes that you don’t understand or know what they do. And if you still close any other tasks by mistake then there’s nothing a Windows Restart cannot fix, but we hope it doesn’t come to that.
4. The Windows processes are NOT to be meddled with as they are too essential for Windows. Without these processes running Windows won’t be able to work normally and ending these will result in Windows failure or worse.
11. Turn Off Services From System Configuration
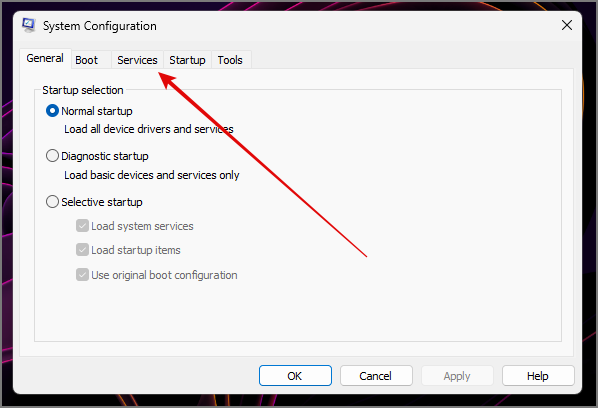
1. Open the Start menu and search for msconfig to open System Configuration.

2. Switch to the Services tab. You should see all the services running in Windows at the moment.
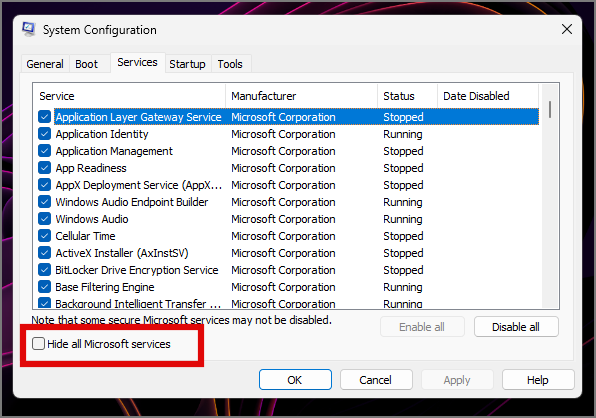
3. Now select the option to Hide all Microsoft services. This will hide the essential Microsoft services that are necessary for the safe working of Windows.
4. Now a short list of apps should be available to you. Select any apps that deem unnecessary to you, like Steam Client Service, and uncheck the app. This should disable the app service.
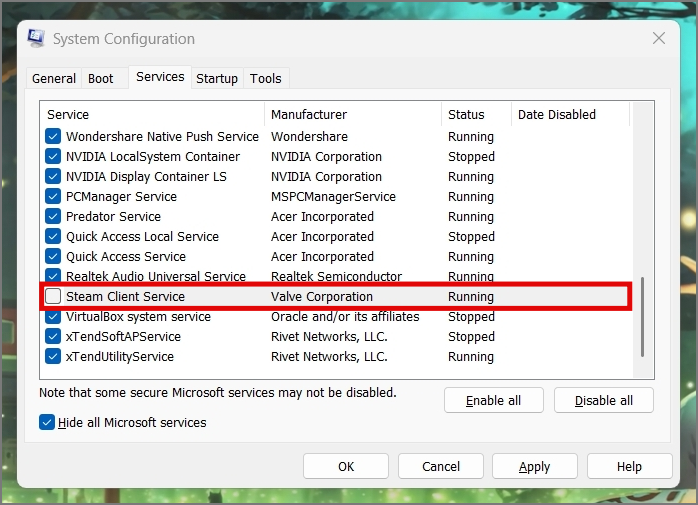
Note: There’s a chance that some apps might stop checking for updates if you disable their background services, like Google Chrome.
12. Change Windows Update Settings
Windows Updates are the second best thing that Microsoft has done, not releasing a new Windows version every year still takes the first spot for us. But sometimes the best things can also hold you back, as is the case here.
Windows Update Service can stay up and running in the background accessing the Microsoft servers looking for the latest update. Once an update is found, it downloads the update and installs it in the background right away unless blocked.
To tackle this you can delay non-important, optional Windows updates from Microsoft, or temporarily pause all of the updates altogether for that much-needed performance edge while doing intensive tasks.
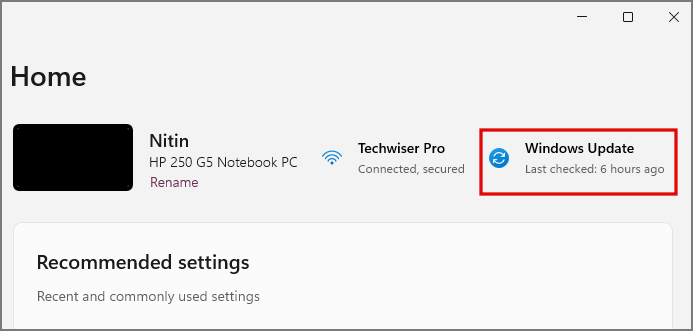
1. To delay the non-important feature updates open Settings and go to Windows Update.
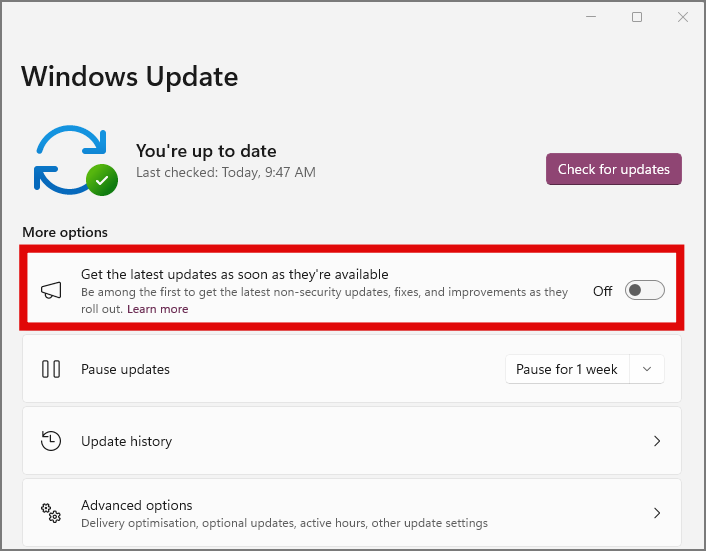
2. Turn off the option for Get the latest updates as soon as they’re available by flicking the switch next to it. This will ensure that only important security updates will be rolled out and feature or optional updates will be delayed for a bit. Although you cannot control the frequency of these delays, it’s still an effective way.
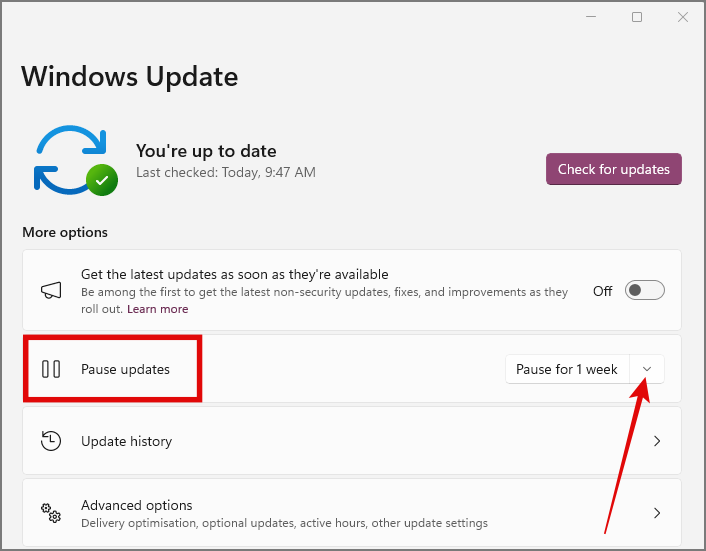
3. If you want to completely disable all Windows updates for some time then you can do so by using the Pause updates option.
4. Set the pause duration by tapping on the arrow next to the option depending on your use case, for example, 1 week.
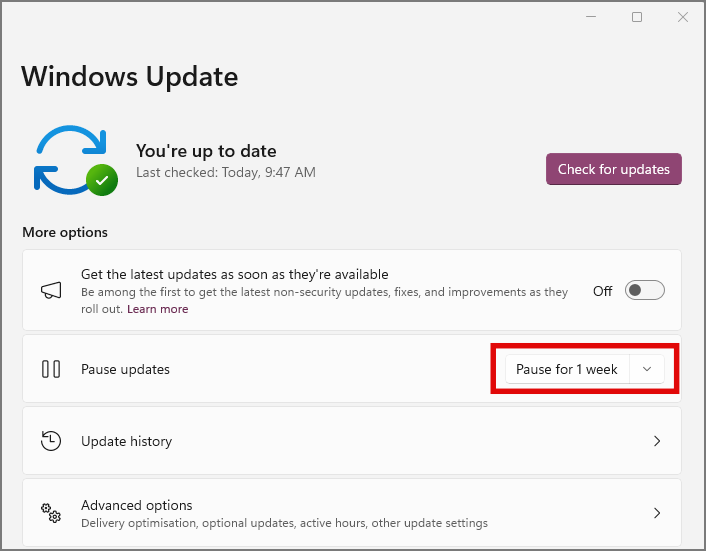
5. Now click on Pause for 1 week, and all Windows updates will be temporarily disabled for the time being.
Windows updates might be regular, but they still put a strain on your PC’s processor regardless of whether you run a powerful setup or a modest home PC. If you want the best performance out of your machine in every scenario possible, then it’s advisable to change a few update settings.
13. Reset Your PC
Some things just can’t be disabled or removed after being run on your Windows PC. To remove any residuary files or unknown junk you can consider resetting your PC. This is not to be done as a first approach but only as a last resort if no other method is working at all.
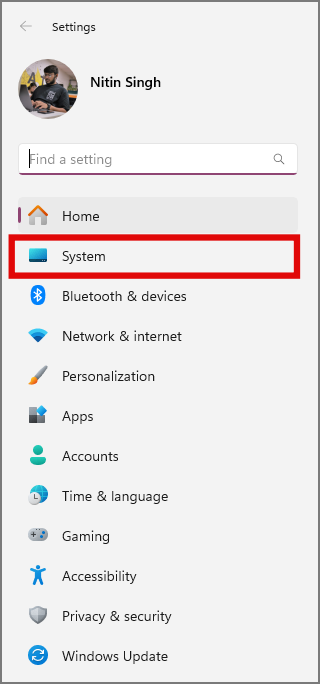
1. To reset your PC, open the Settings app and head over to the System tab from the left pane.
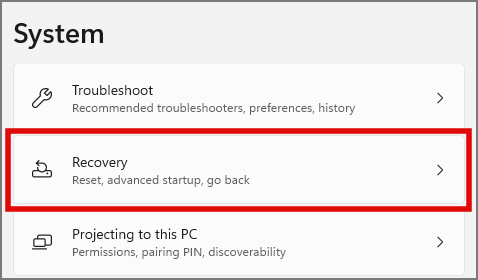
2. Scroll down and look for Recovery, tap on it.
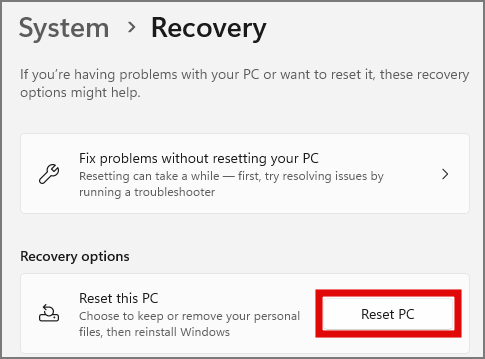
3. Now tap on Reset PC.
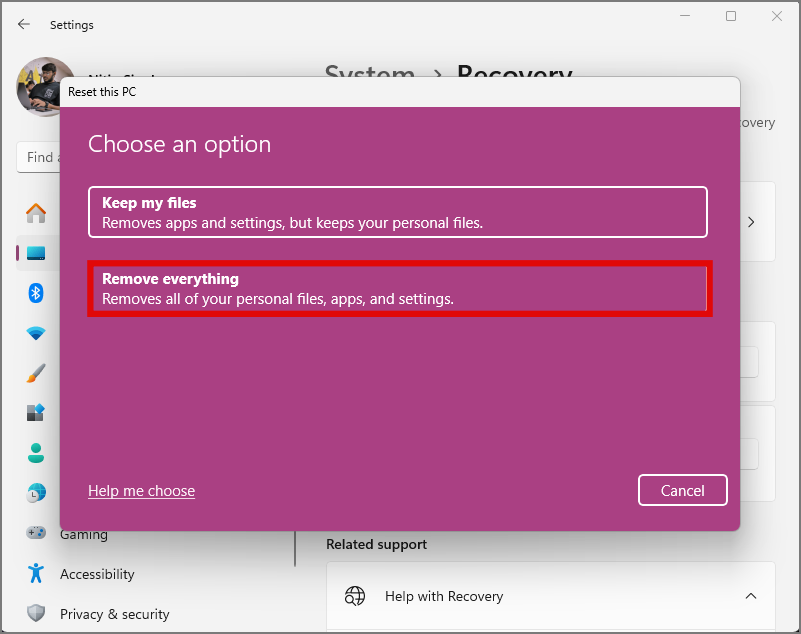
4. A new dialog box will open. If you want to keep all your files but remove all settings and apps, tap on Keep my files. This will reset the PC to what it was when you bought it initially but will have all your files as they were before resetting the PC.
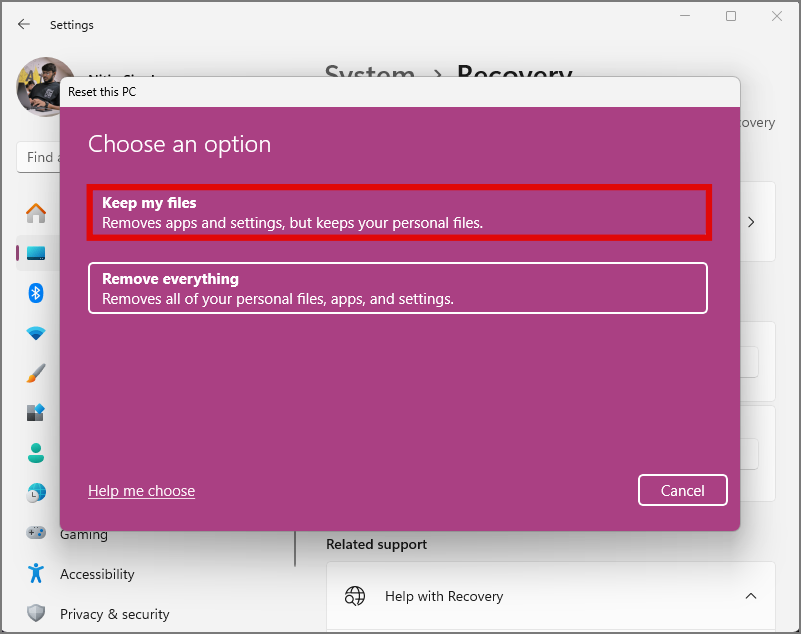
5. Or you can opt to Remove everything if you want to set up your Windows PC from scratch. This option will remove all your files, apps, and settings.
After you’re done choosing the right option for you, Windows will begin the reset progress and your PC will restart a few times while in the process. So make sure you’re connected to a power source before beginning the process.
Reducing Background Processes in Windows 11
Regardless if you have 120+ background processes in Windows 11 or 10, you should be able to reduce these safely using our guide. From as simple as restarting your PC to changing MSConfig settings, you can do it all if you stick to the end.