Sharing an Outlook calendar is an effective way to keep your colleagues up-to-date about the company schedule. You can keep your calendar separate and create another one to share with employees, friends, and family. Here’s how to create and share an Outlook calendar to keep select meetings, plans, and events separately.
Table of Contents
Create an Outlook Calendar on the Web
While Outlook offers native apps on desktop and mobile, we will create a new calendar using Outlook web. Follow the steps below to make changes.
1. Open the Outlook site in a web browser and sign in with your Microsoft account details.
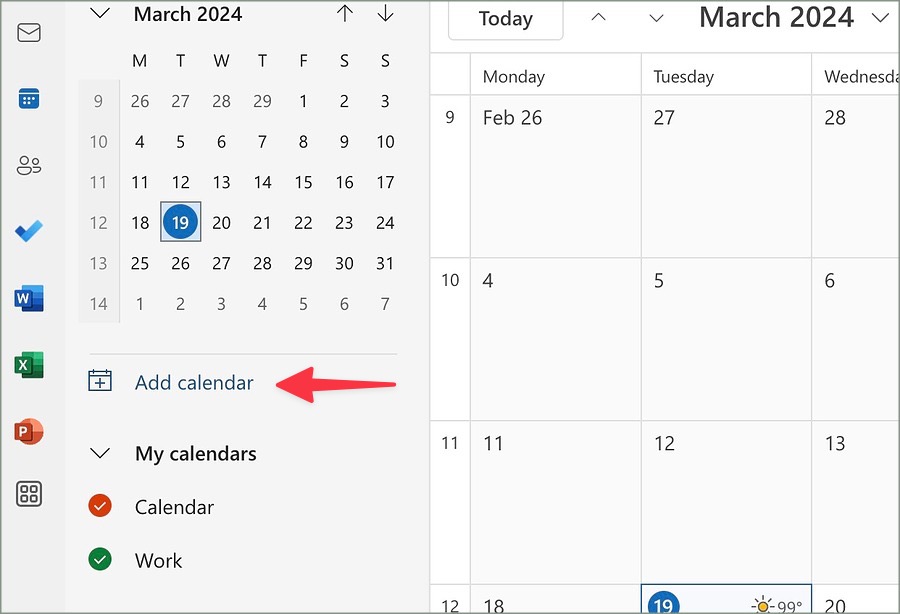
2. Move to the Calendar tab. Click Add calendar.
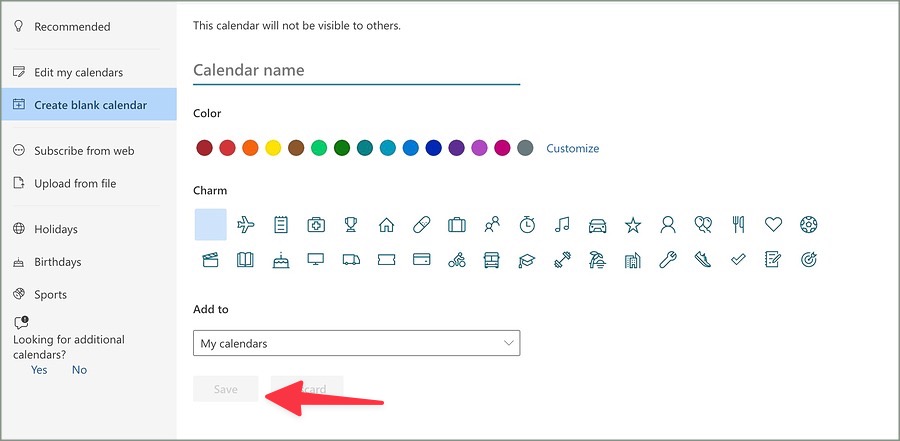
3. Select Create blank calendar from the left sidebar.
4. From the right pane, enter the calendar name, select color, assign an icon, and add it to a relevant category.
5. Click Save button at the bottom.
You can create multiple calendars based on your preferences. After you create one, it is easy to share it with others.
Share an Outlook Calendar on the Web
There are several ways to share an Outlook calendar. We will start with the web version and move to the desktop and mobile apps to share your calendar.
1. Open the Outlook site in a web browser and sign in with your Microsoft account details.
2. Open the Calendar tab in Outlook.
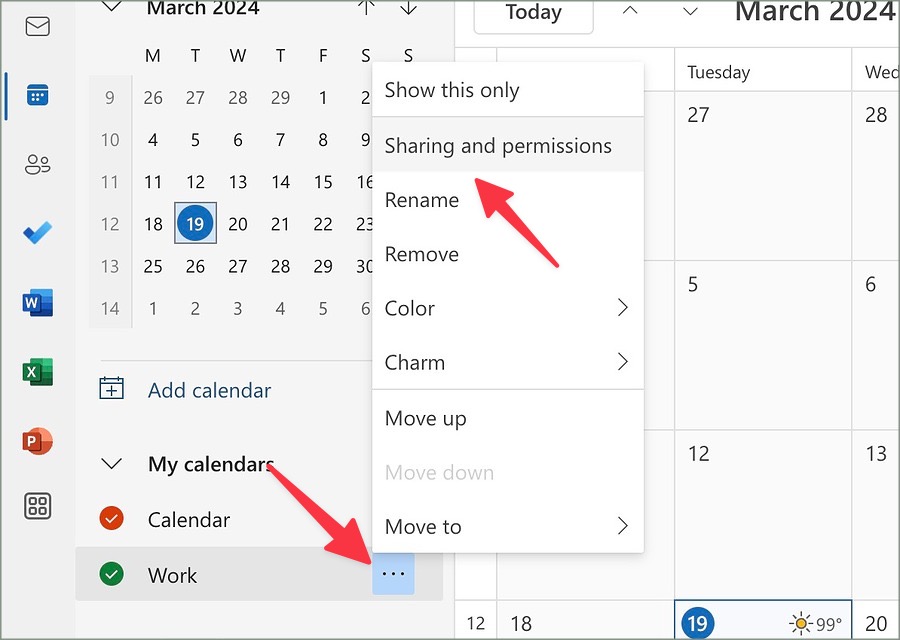
3. Click the three horizontal dots menu icon beside a calendar and select Sharing and permissions.
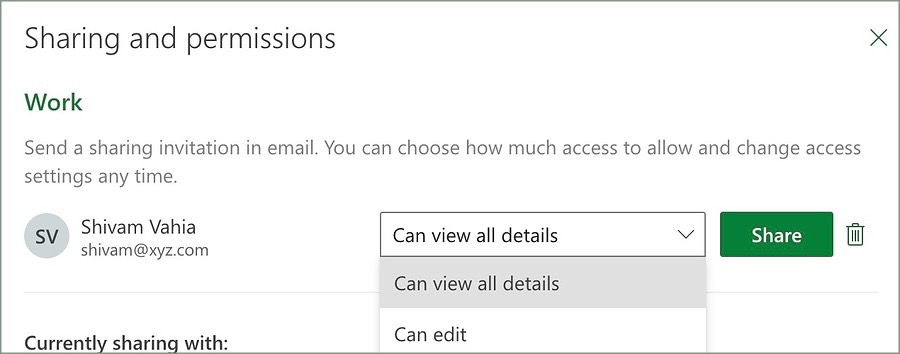
4. Send a sharing invitation by email. You can choose how much access to allow and change access settings at any time. Click Share.
When the recipient accepts your invitation, your Outlook calendar will appear under their account.
Microsoft offers two Outlook apps on Windows—a classic Outlook app, and a new web-based app. If you use the latter, the steps to create and share a calendar are identical. If you use Outlook Classic, follow the steps below.
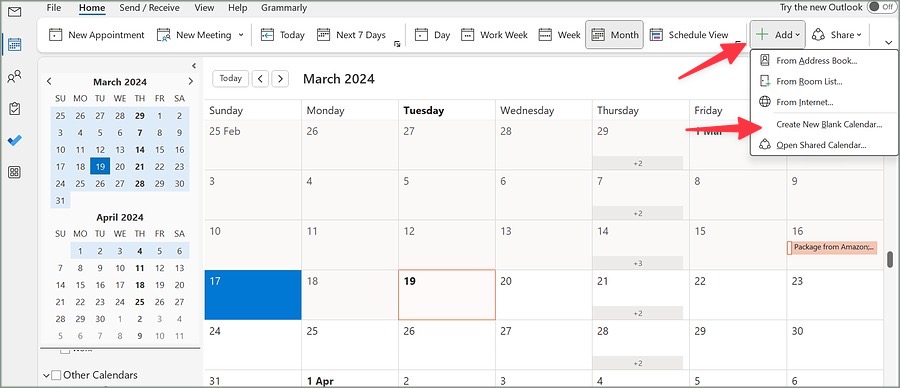
1. Launch Outlook app on Windows and slide to the Calendar tab from the left sidebar.
2. Select Add in the top-right corner and click Create New Blank Calendar.
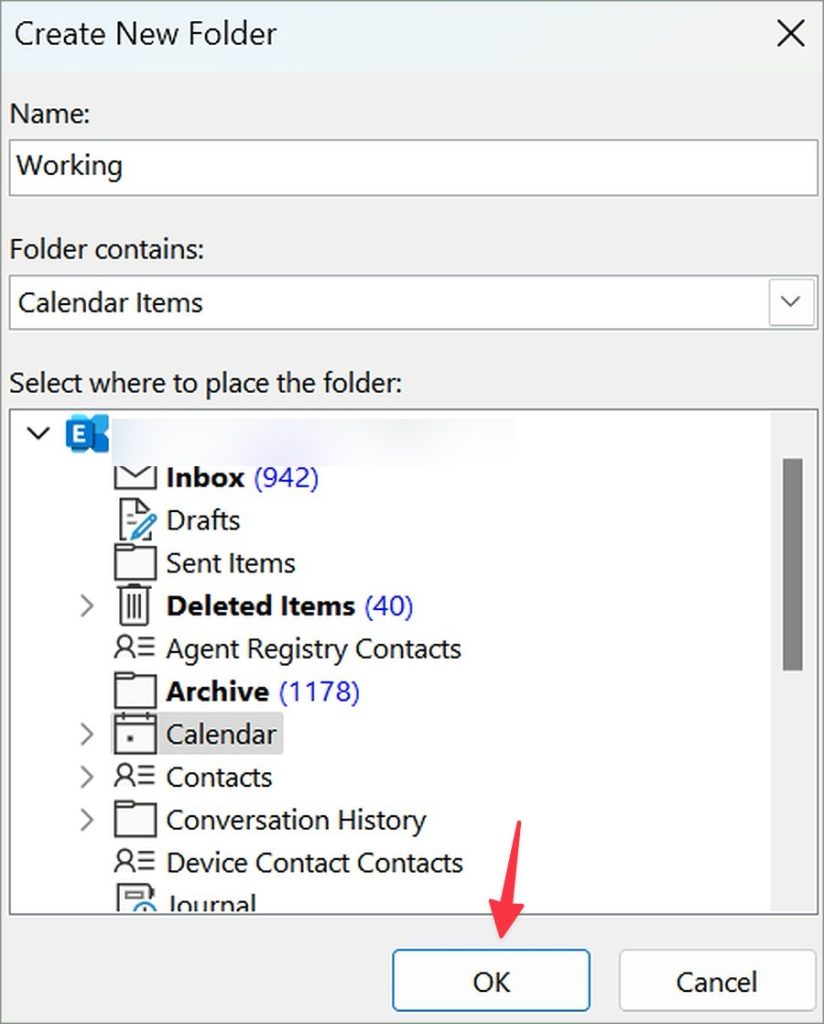
3. Give your calendar a relevant name and click OK.
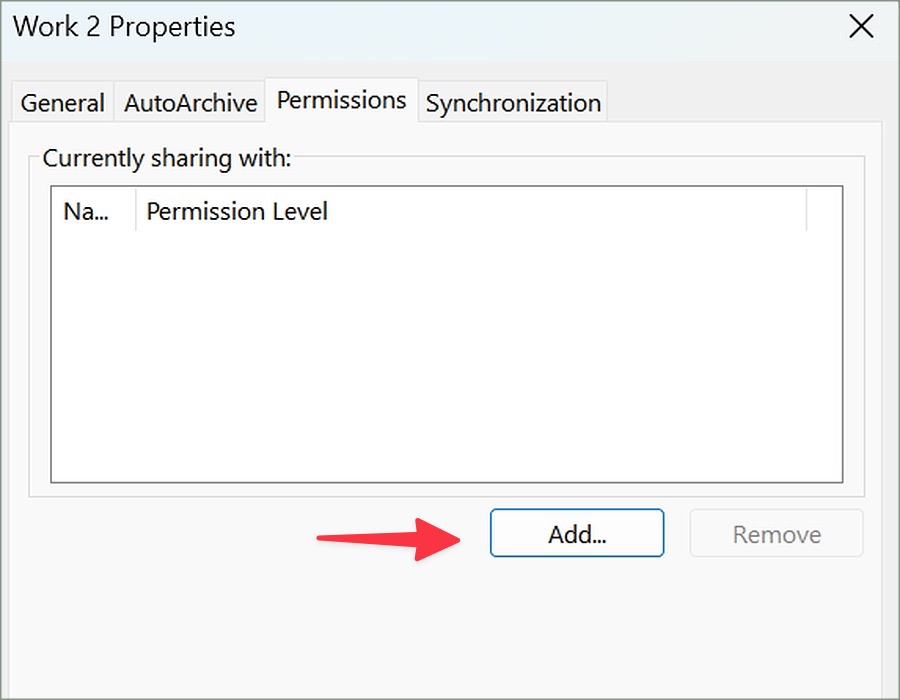
4. Check your newly created calendar. Select it under your Outlook account. Click Share and select a calendar.

5. Select Add. Search for a person’s email and hit Add.
Outlook also offers a native Mac app. You can use it to create and share a calendar with others. To make changes, check the steps below.
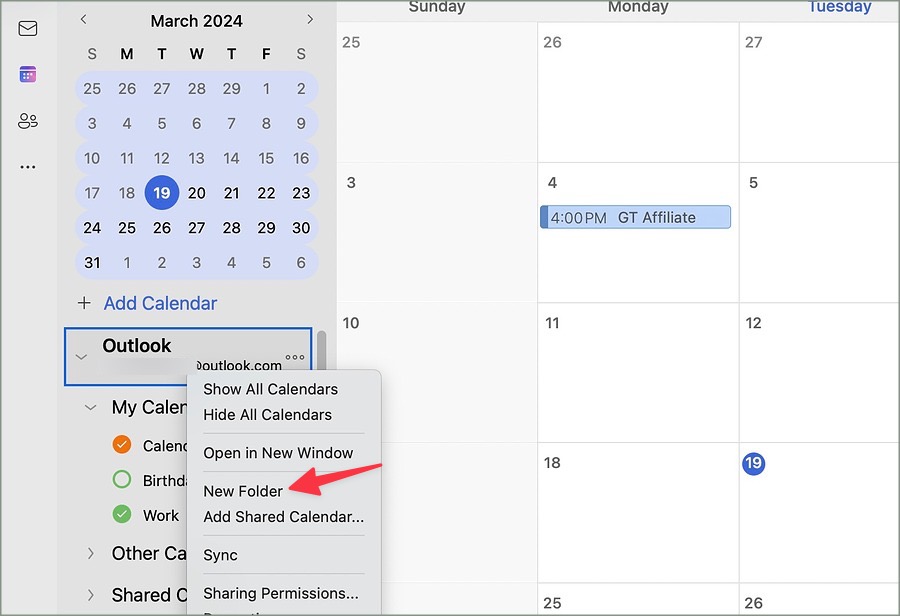
1. Launch Outlook app on your Mac and move to the calendar tab.
2. Click the three horizontal dots menu beside a folder and select New folder. Give a relevant name and your calendar is ready to use.
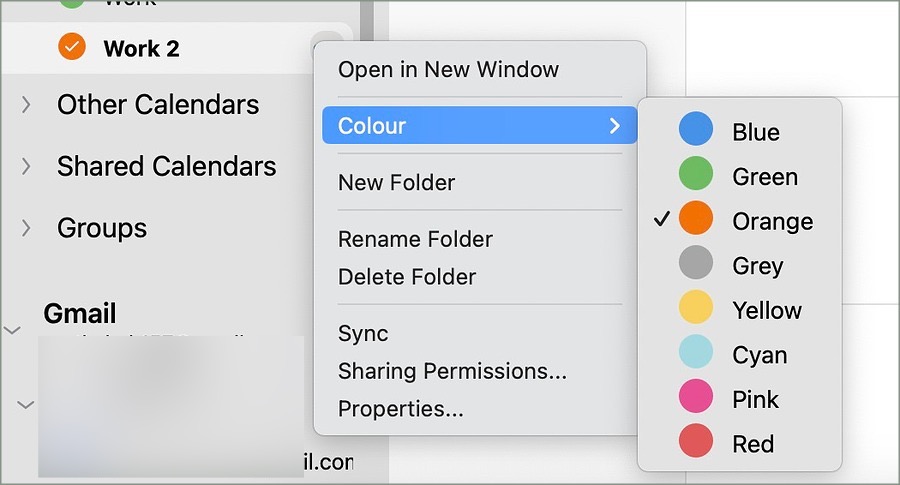
3. Select the three horizontal dots menu icon next to your calendar and expand Color menu to assign a specific shade.
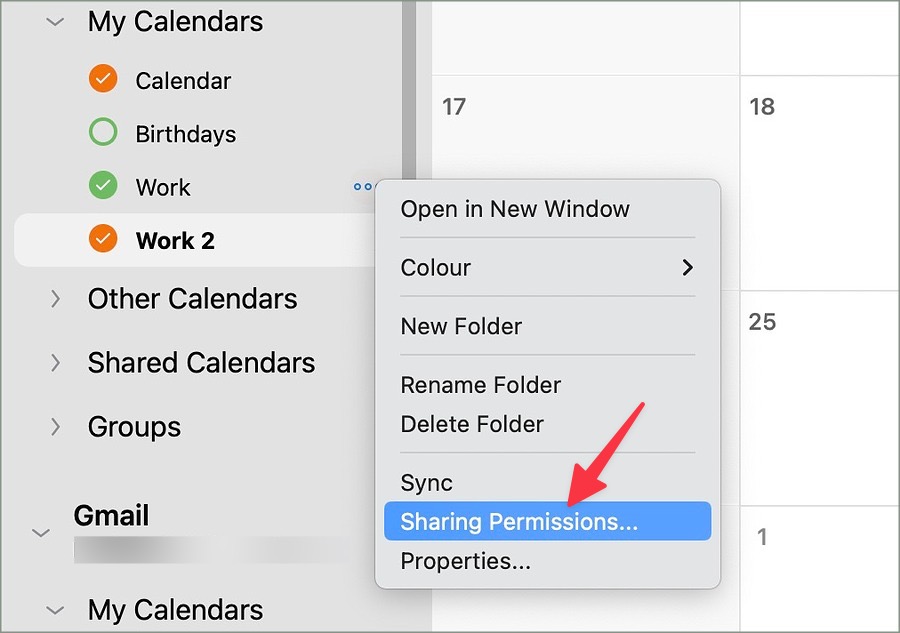
4. To share it with others, open the same three horizontal dots menu next to the calendar name and click Sharing Permissions.
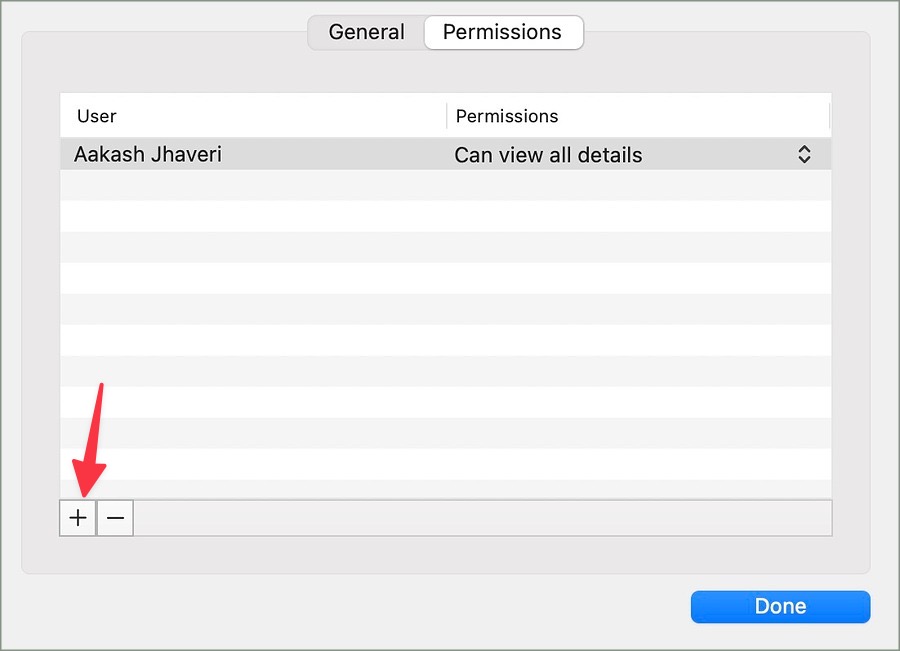
5. Select + and choose a username from the list. Tweak permission using the drop-down and select Add.
Microsoft Outlook is available for iPhone and Android. While there is no way to create a new calendar on mobile, you can share an existing one using the steps below.
Note: We have used Outlook for iPhone in the screenshots below. You can follow the same on Outlook for Android.
1. Get the Outlook from the Play Store or the App Store.
Download Microsoft Outlook for Android
Download Microsoft Outlook for iPhone
2. Sign in with your Outlook account in the app. Move to the Calendar tab.
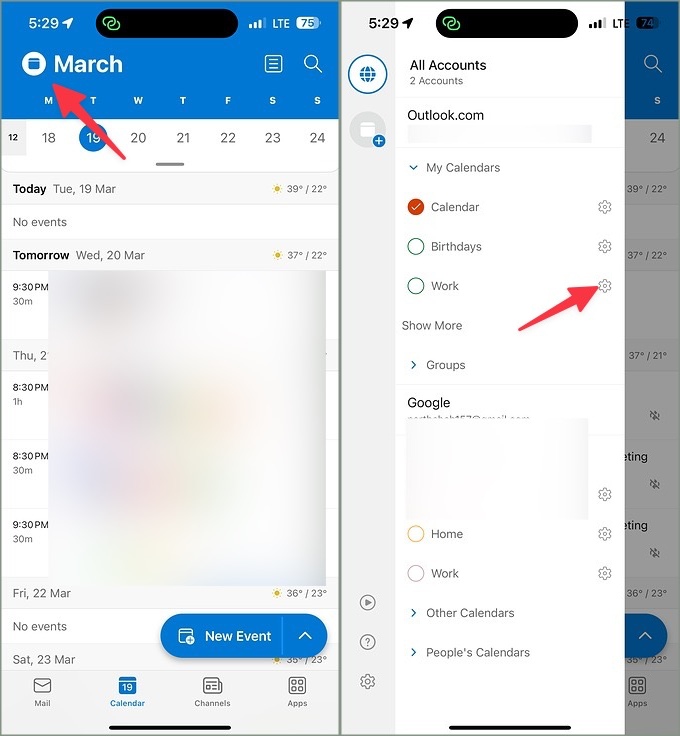
3. Open the Calendar menu, tap the settings gear beside a calendar, and tap Add People.
4. Type a name or email address. Tap the arrow in the top-right corner.
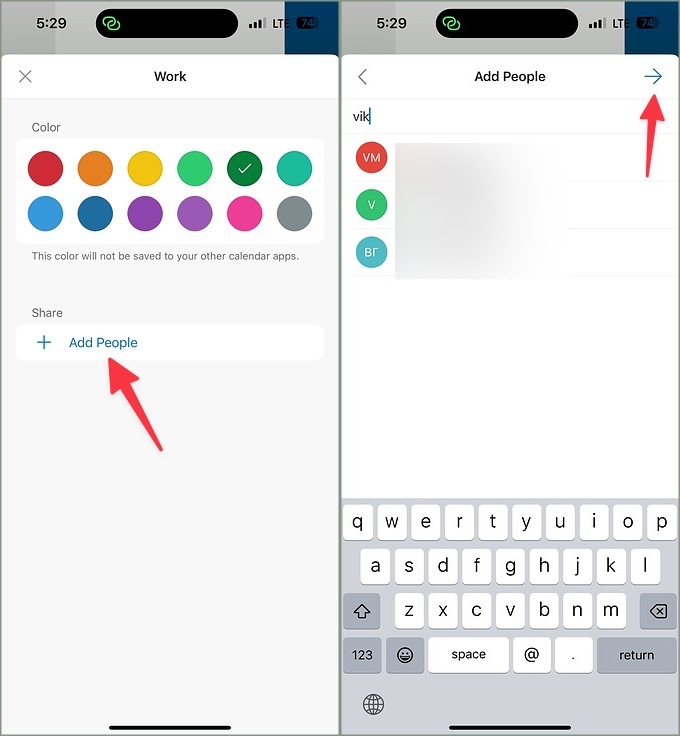
5. Select the same and tweak the editing permission. Hit the checkmark at the top.
Tweak Sharing Permission in Outlook Calendar
At any point, you can revoke the editing permission and even remove the person from accessing your Outlook calendar. Let’s take Outlook for Web as an example.
1. Open Outlook site in a web browser and move to the Calendar tab.
2. Select a calendar you want to share.
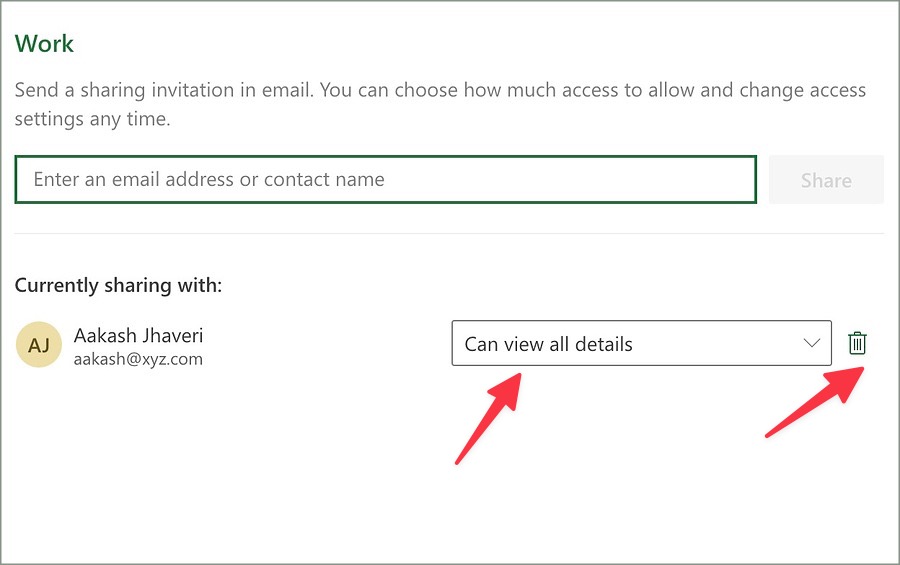
3. Click the three horizontal dots menu and open the Sharing and permissions menu.

4. You can change the Outlook calendar permission or click Delete (Trash icon) to remove the person.
Keep Your Busy Schedule in Check
Instead of shuffling with others to confirm meeting or event details, create an Outlook calendar and share it. If you prefer Gmail, check our dedicated to share Google calendar with relevant contacts.