Google Forms is getting popular in the education sector, startups, and small businesses. It’s handy software to gather data and opinions from your employees, students, co-workers, and consumers. Google Forms can be your ideal pick for creating a survey, feedback form, and even a quiz. The latter is quite helpful for creating a quiz and share with the class. Here’s how you can create and share a quiz in Google Forms.
Table of Contents
Create a Quiz in Google Forms
Just like other productivity apps from Google, you can either start from scratch or use one of the built-in templates to create a form. Let’s get started.
1. Visit Google Forms on the web. Sign in with your Google account details.
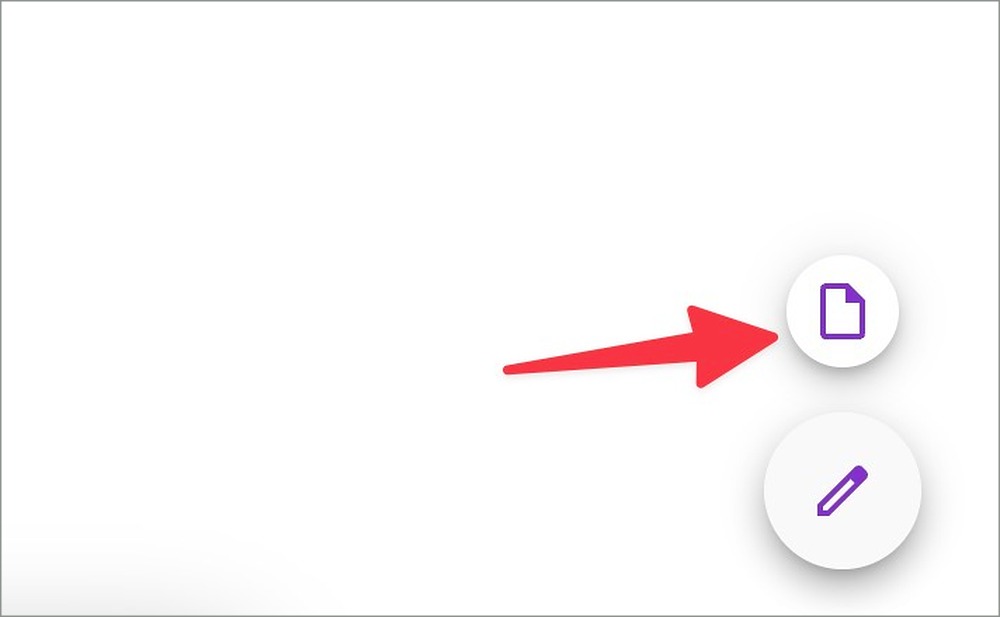
2. Select + icon in the bottom right corner and open the templates gallery. You can also create a new form from the same menu.
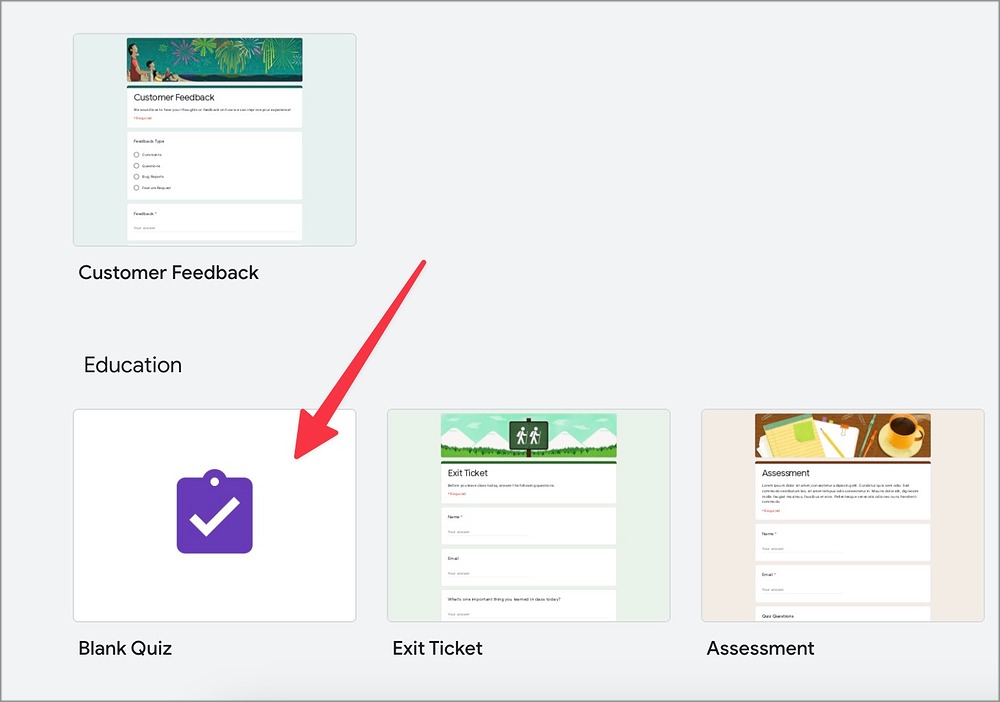
3. Scroll to the Education section and open Blank Quiz.
4. Give it a title and a relevant description. You can also use bold, italic, and underline styles to make the header stands out.
5. You can also attach a relevant Header image. Click the customize theme icon at the top and select Choose an image under Header.
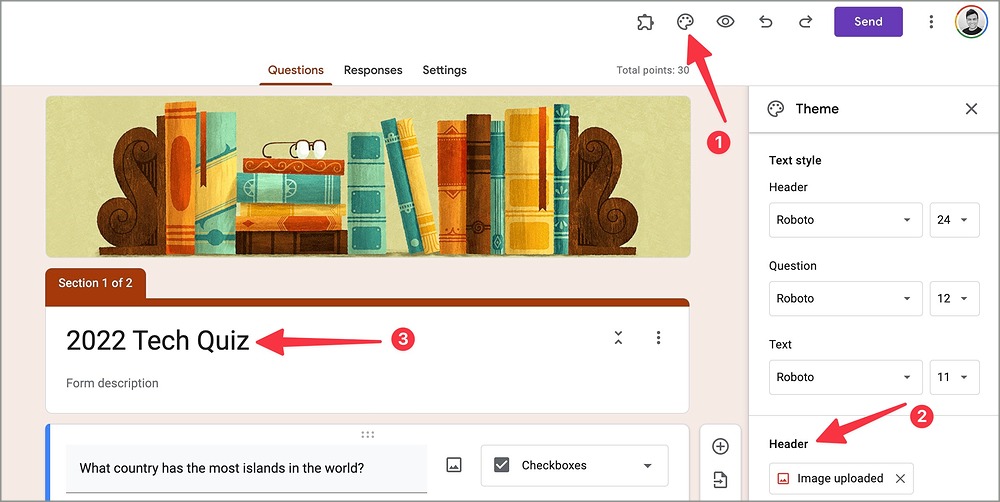
6. You can pick a header from one of the themes, upload one separately, or choose from your Google Photos library.
Now that you have added a header image, title, and quiz description, it’s time to add questions.
1. Enter your question. You can upload an image or video to your question too. You have the same text editing options available for questions.
2. Select the side menu and click Checkboxes or Multiple choice.
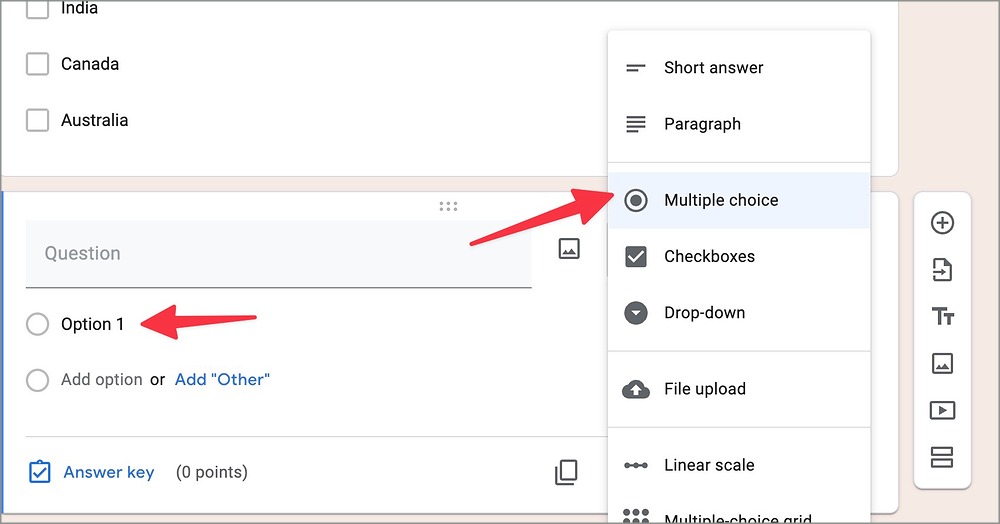
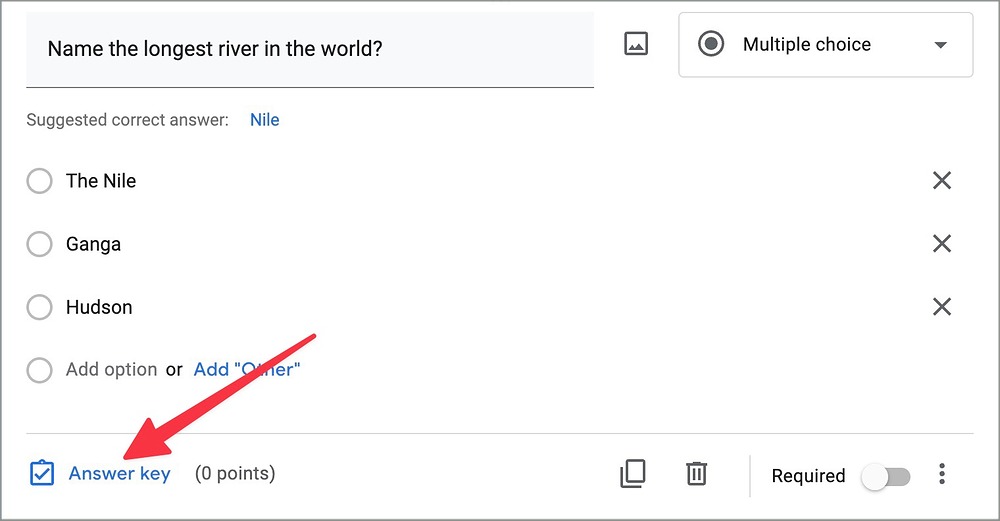
3. Enter options for your question.
4. Click the Answer key in the bottom left corner. Add points for guessing the correct answer and enable a checkmark beside the right answer.
5. Enable the Required toggle to make the question compulsory for others to answer. You will see a red star mark beside such questions.
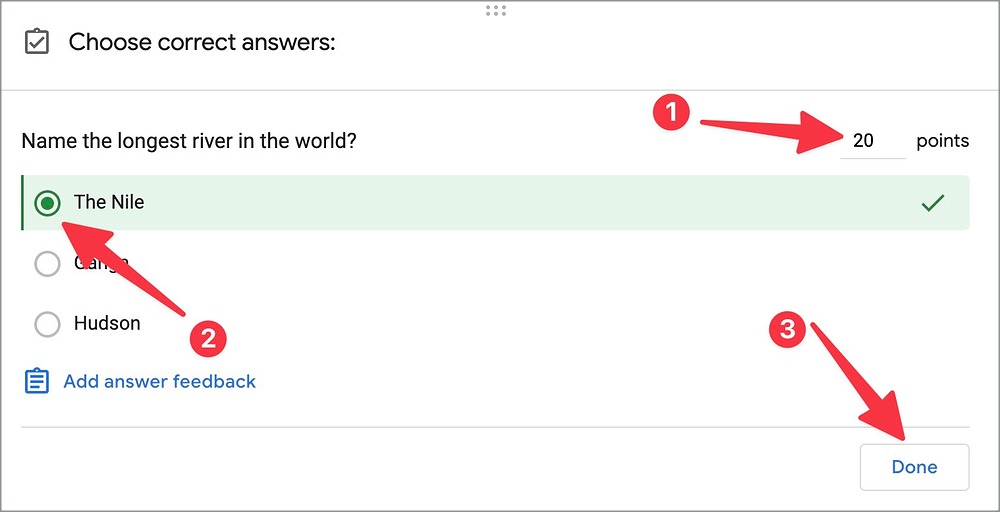
6. Hit Done, and you are good to go.
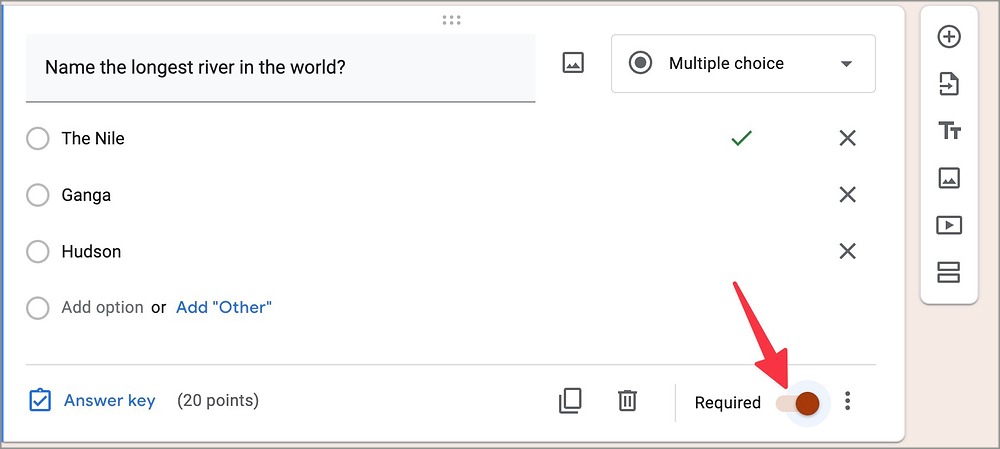
Repeat the same and enter all the relevant questions into Google Forms. Once you add all the questions, you can check the total points in the top right corner.
Import Questions from Other Google Forms
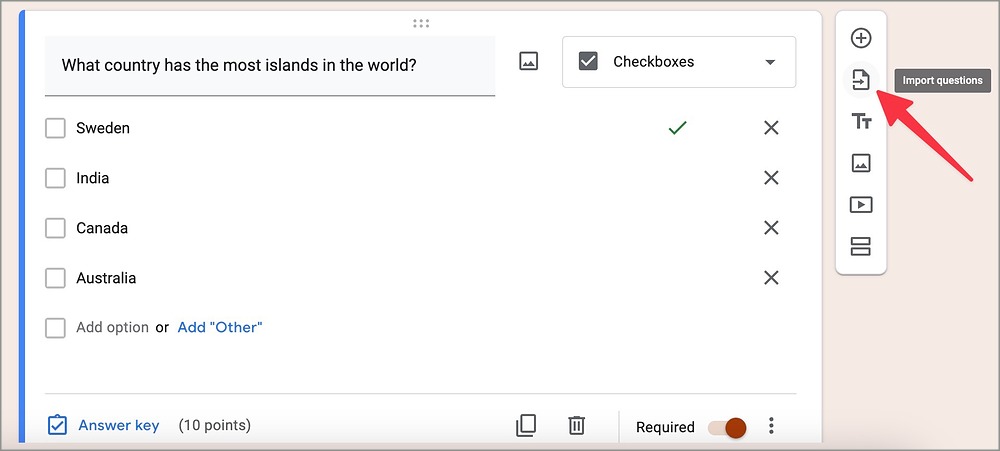
If you have questions in another Google Forms document, you can easily import them to your existing form. Here’s how.
1. While creating a quiz form, use the side floating menu and click Import questions.
2. Select another form or document from the following menu and select import.
Add Sections in Google Forms
If you want to enter questions under several sections, you can easily do so in Google Forms. For example, you can create a single quiz form under sections like Physics, Maths, Chemistry, General Knowledge, and more.
1. Open any quiz document in Google Forms.
2. Select Add section from the side floating menu.
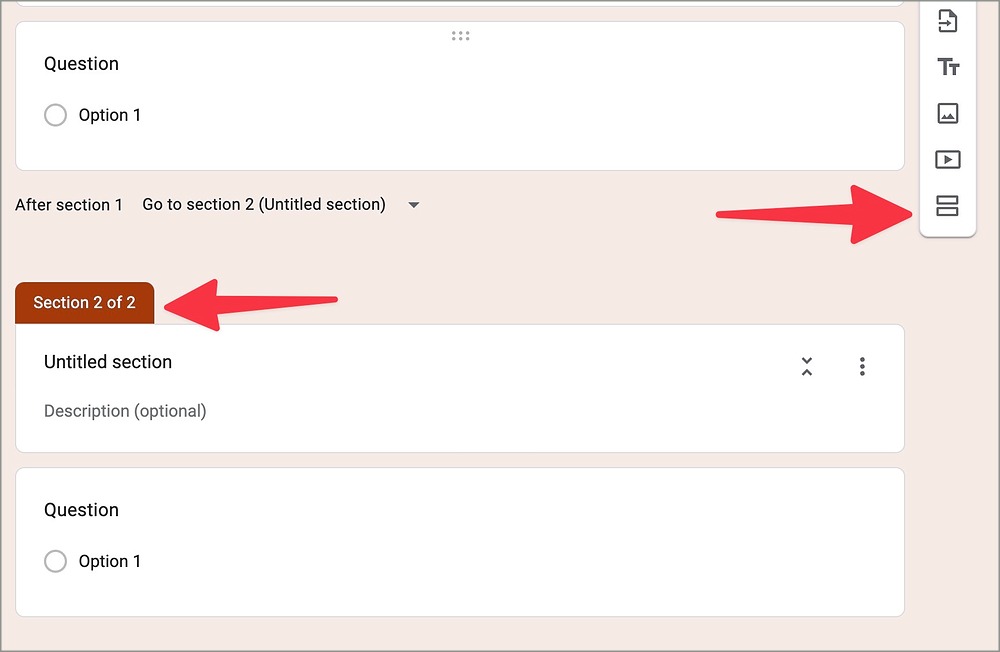
3. Enter the section title, description, and questions in the document.
Make Changes to Your Quiz Document
You can make relevant tweaks to your quiz document. You can immediately release marks, change respondent settings, and even set point values for every question. Here’s what you need to do.
1. Open your quiz document in Google Forms.
2. Once you add questions (check the steps above), slide to Settings.
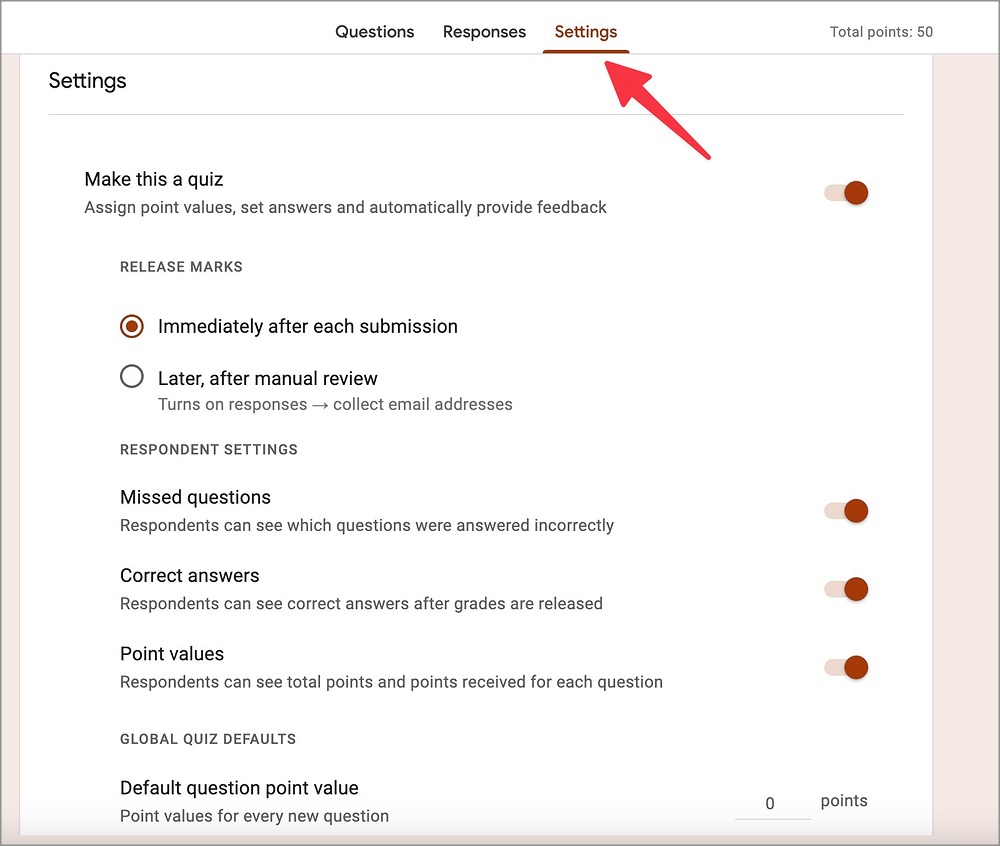
3. You can immediately release marks after each submission or later after a manual review.
4. You can also let respondent check missed, incorrect, correct, and point values for each question.
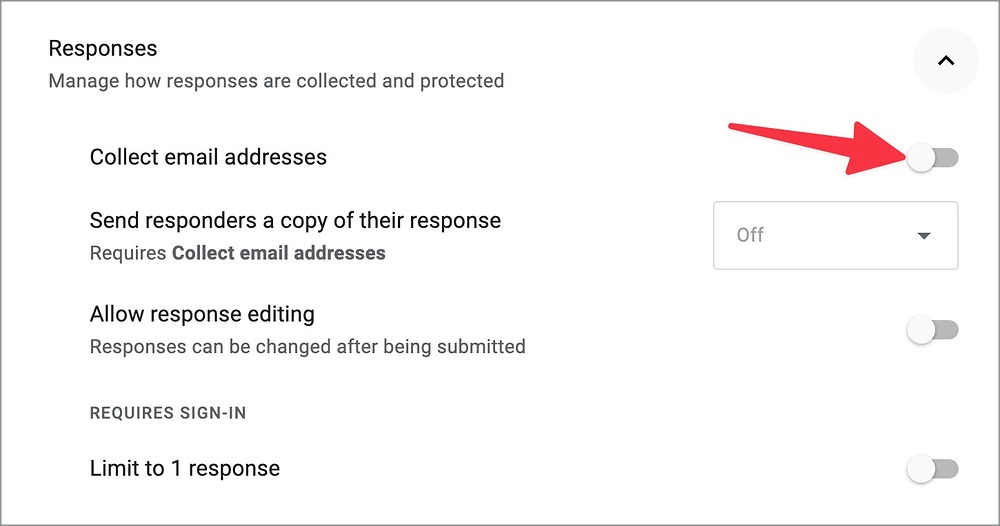
5. Expand the Responses menu and make sure to collect email addresses from others.
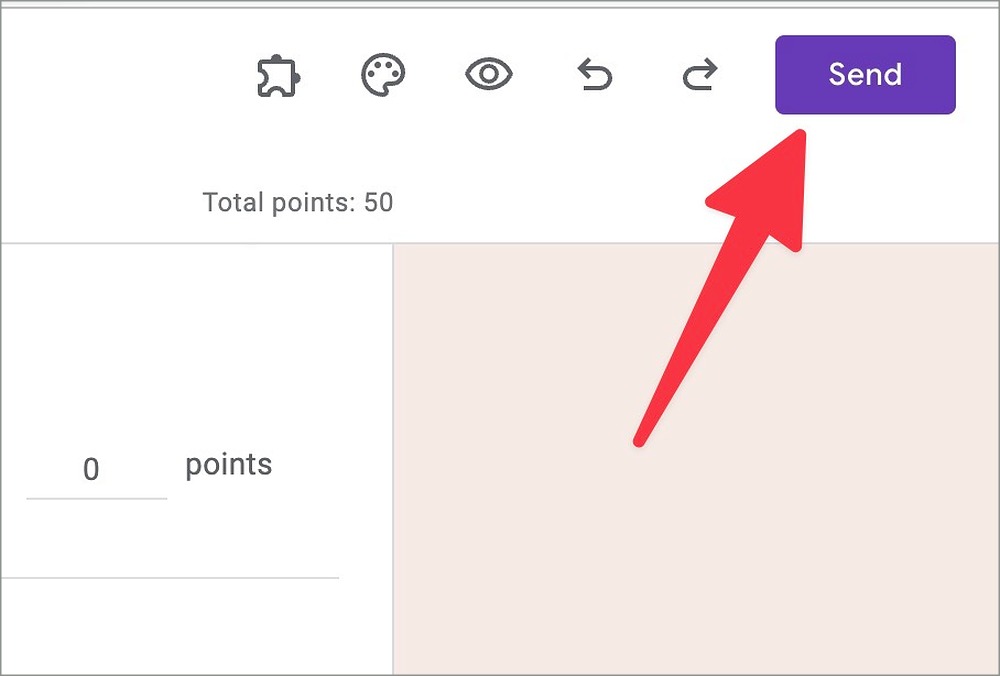
Once you add all questions and make the required changes from the Settings menu, share it with your students. You can also hit the Preview (that looks like an eye) to give it a final glance.
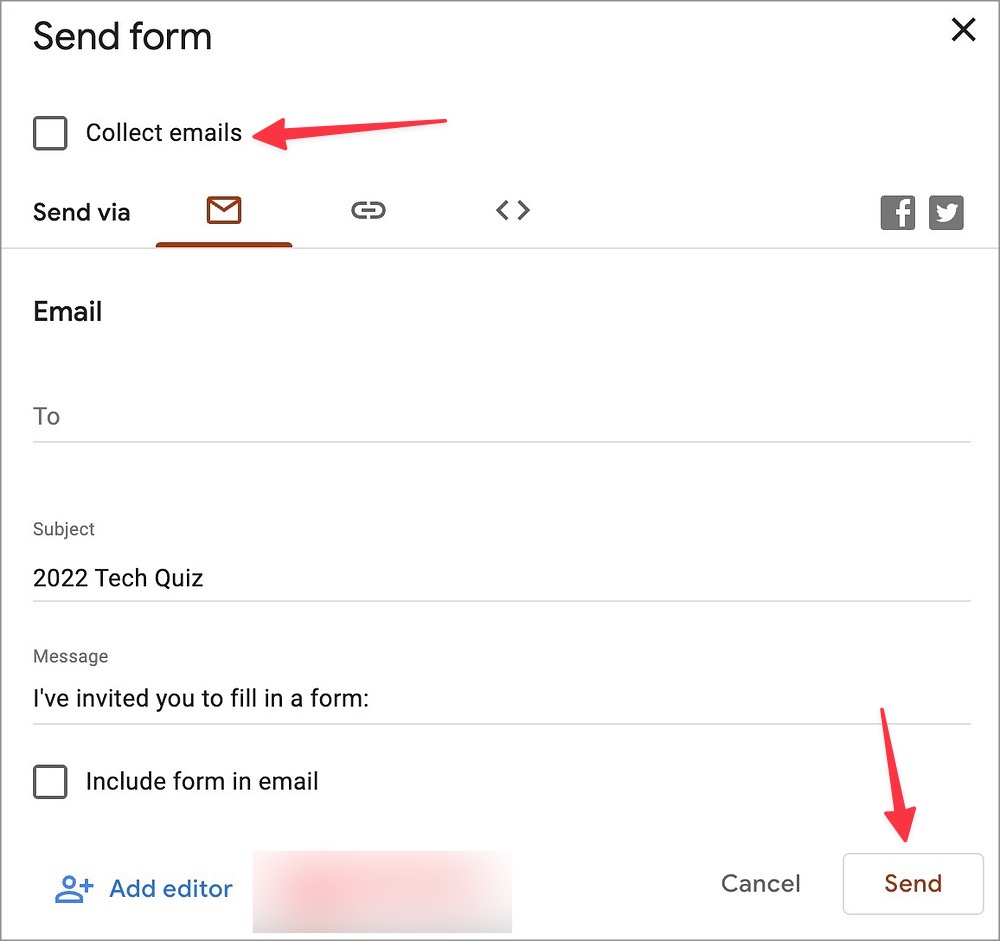
1. After making all the changes in Google Forms, select Send in the top right corner.
2. Enable the checkmark beside Collect emails.
3. Enter email addresses and hit the Send button.
4. You can also slide to the link menu and copy your sharing link.
5. If you plan to share a quiz on social media, use Facebook or Twitter shortcut from the same menu.
Once your students start answering questions on the quiz, you can find them under the Responses tab. You can also share your Google Forms as a QR code.
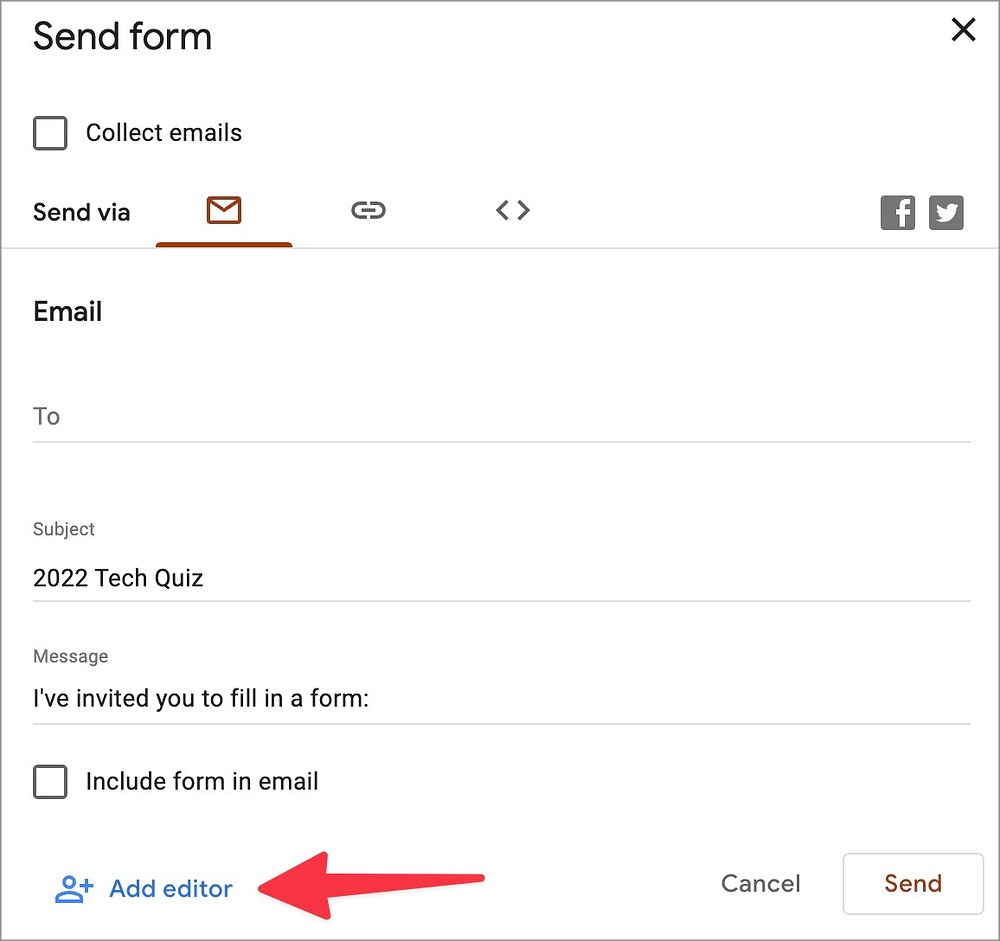
6. You can also enable Add editor from the same menu and invite another person to complete the quiz.
Use Google Forms Like a Pro
Google Forms isn’t limited to creating a quiz only. It’s helpful for all types of data collection. The software also lets you create a spreadsheet of the email addresses of all your students from the Response tab.