If you often download files or capture screenshots but forget to delete them after use, your computer’s storage can quickly become cluttered. So, what’s the solution? Well, we have three simple methods to help you automatically delete older files on your Windows PC. As a matter of fact, our laptop is also filled with outdated screenshots and documents, so we will be using that as an example to show you how to auto-delete old files on Windows in the background.
Table of Contents
Pros and Cons of Auto-Deleting Files
Like every technology, auto-deleting files also have its advantages and disadvantages. Here are some pros and cons to consider:
Pros:
- The most obvious pros of setting up an auto-deletion function is you don’t have to manually delete files, which saves a lot of time and effort.
- It helps your computer from being cluttered with unnecessary files, which can improve system performance.
- By automatically deleting files, you also reduce the risk of accidentally leaving sensitive or confidential information on your PC.
Cons:
- One of the biggest fears one may encounter is the unintentional removal of files.
- You may not have much control over what type of files to auto-delete, potentially leading to the removal of files you intend to keep.
- Once the files are deleted, it can be challenging or impossible to retrieve the files.
- Setting up auto-deletion rules can be complicated, and improper configurations could result in problems, such as unintentional file deletions.
1. Using Storage Sense
One of the simplest methods we recommend to any beginner or less tech-savvy user would be to use the Storage Sense feature on their Windows PC. It is simple and easy to use and with it, you can easily manage most of the temporary files and downloaded files that have been living under the hood for ages inside your computer.
Here’s how to configure Storage Sense:
For Windows 11:
1. Go to Settings (Windows Key + I) > System > Storage.
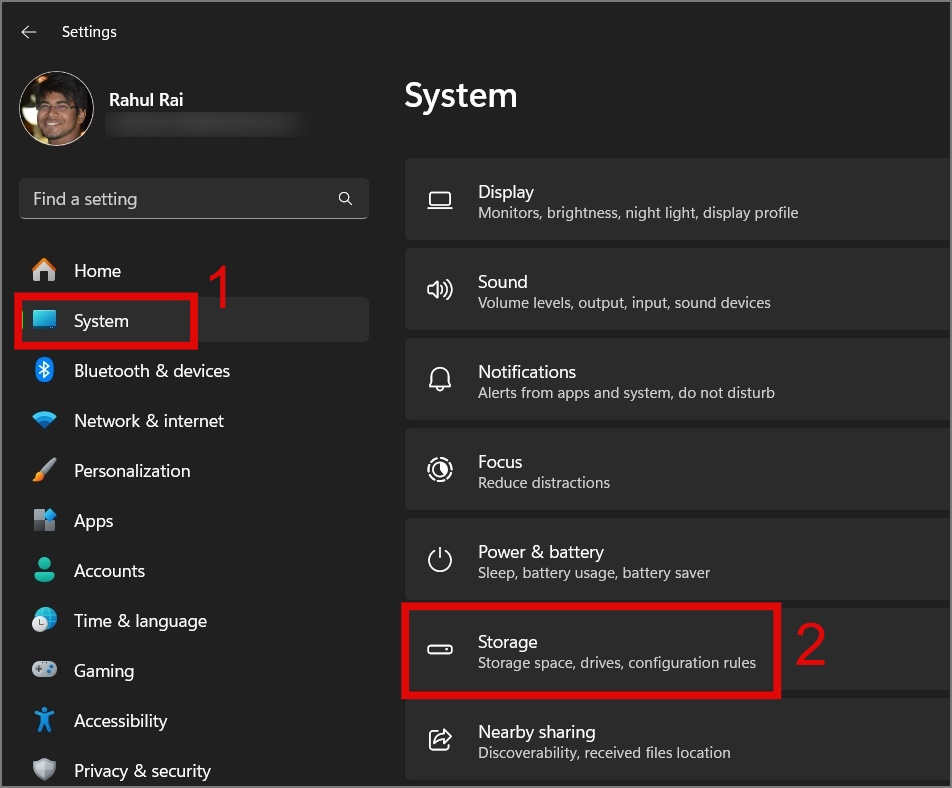
2. Next, enable the Storage Sense toggle.
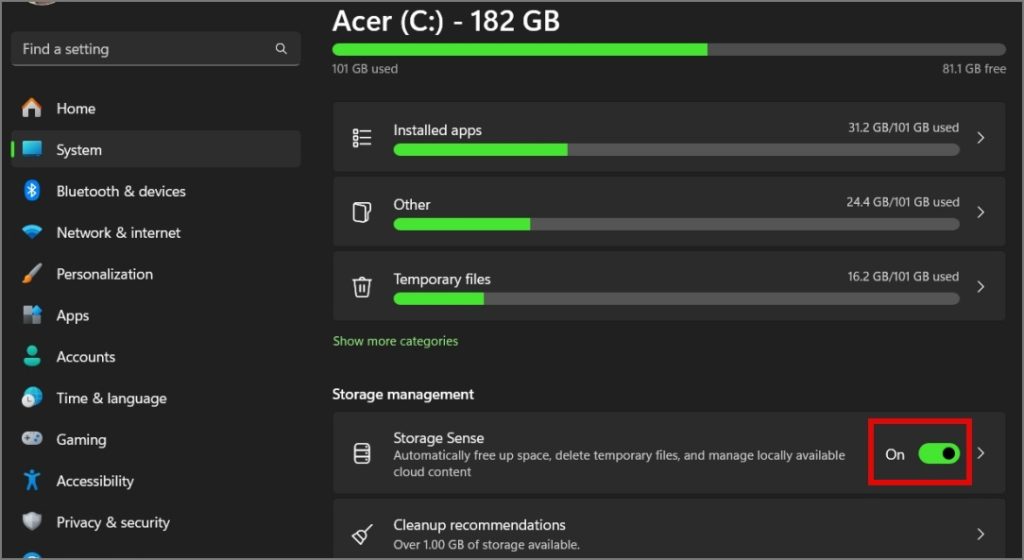
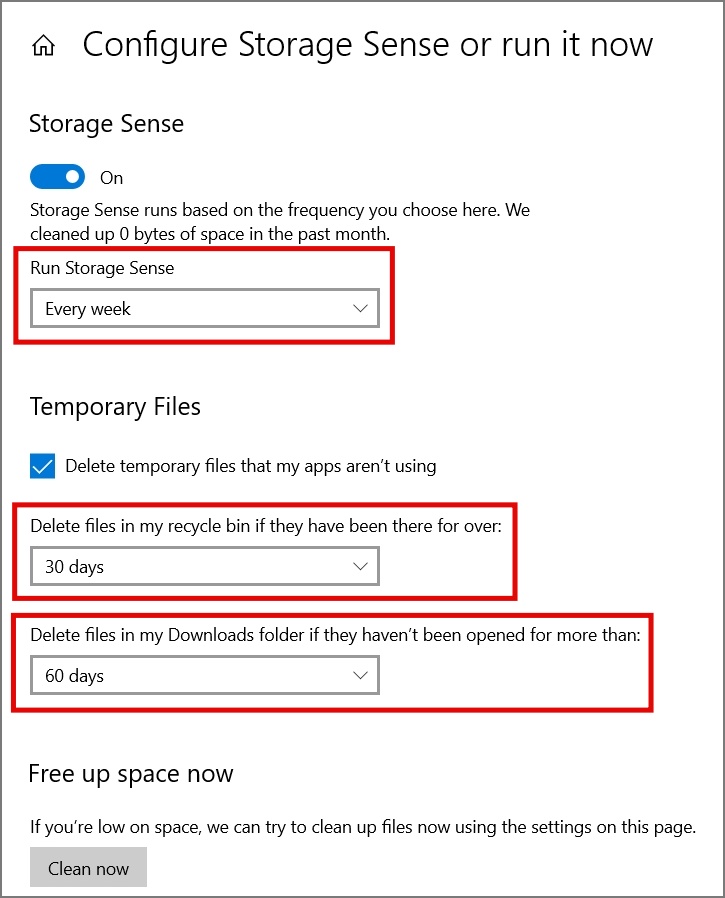
3. Now to configure Storage Sense, click on it and pick the cleanup duration for Storage Sense, Recycle Bin, and Downloads Folder.
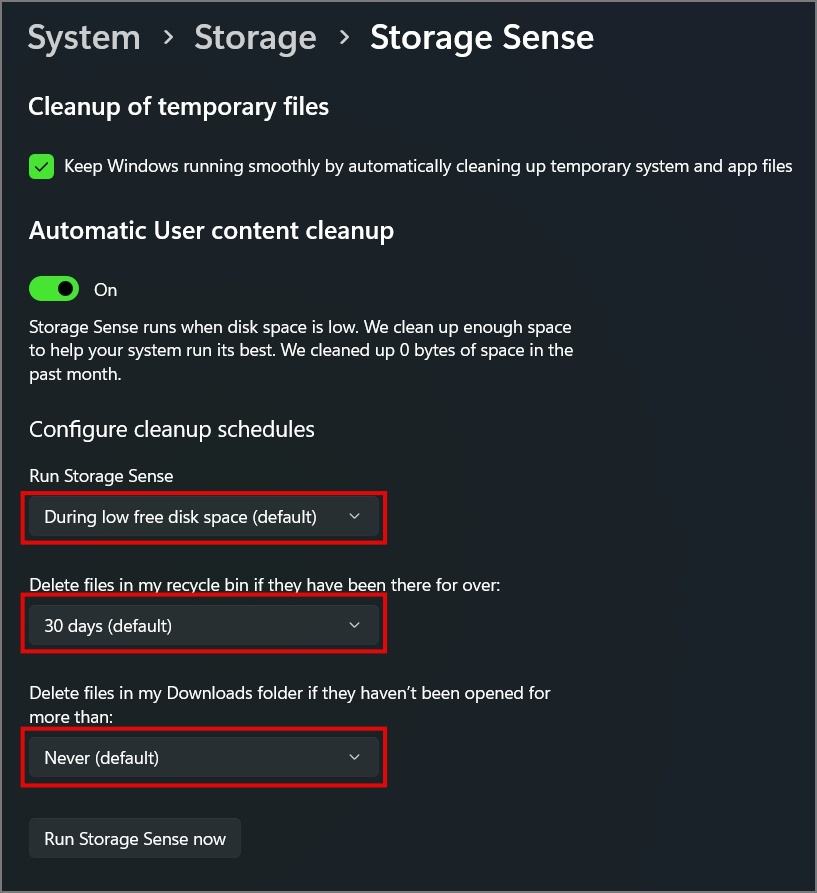
On our laptop, we have set the following settings:
- Run Storage Sense: Every week
- Delete files in my recycle bin: 30 days
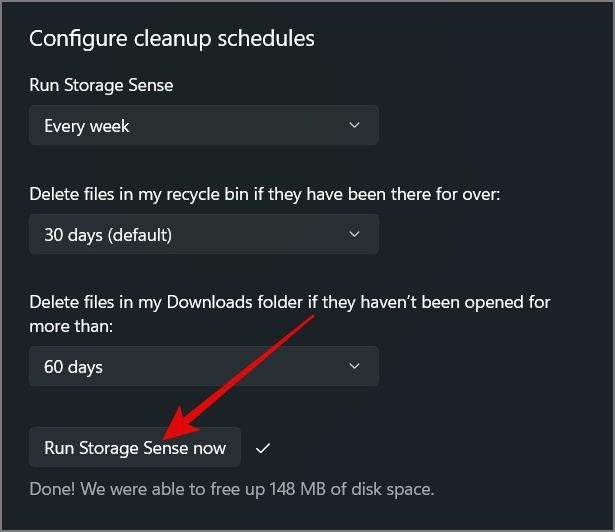
- Delete files in my Downloads folder: 60 days
That’s all! It will now automatically auto-delete all the older files on your computer based on the timeline you have set.
If you wish to manually run the Storage Sense, you can simply click on the Run Storage Sense now button and it will begin clearing out all the temporary or older files from your Windows computer.
For Windows 10:
1. Launch the Settings app (Windows Key + I) and navigate to the System page.

2. Next, head to the Storage section and then enable the Storage Sense feature.
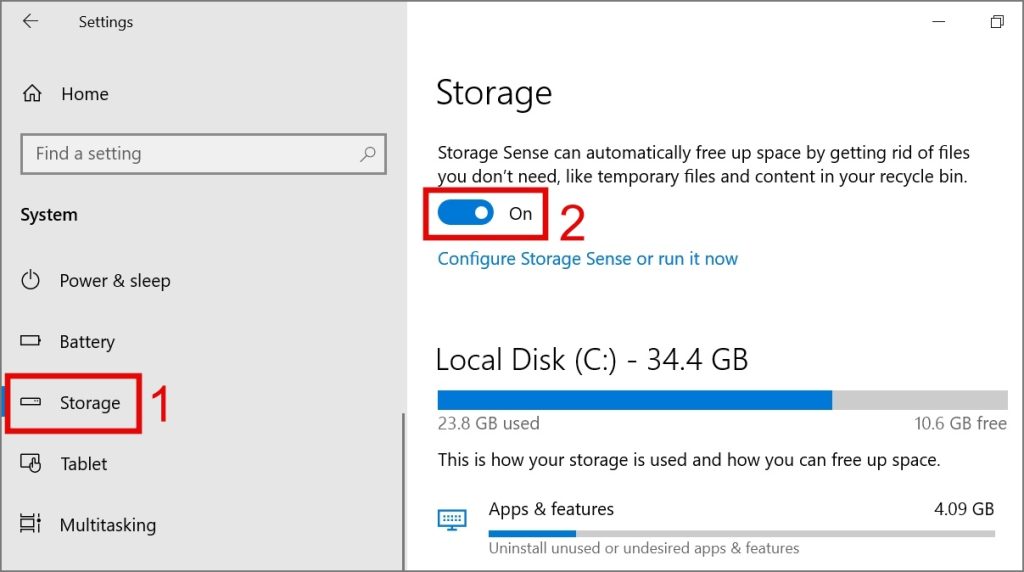
3. To make adjustments, click the Configure Storage Sense or run it now link.
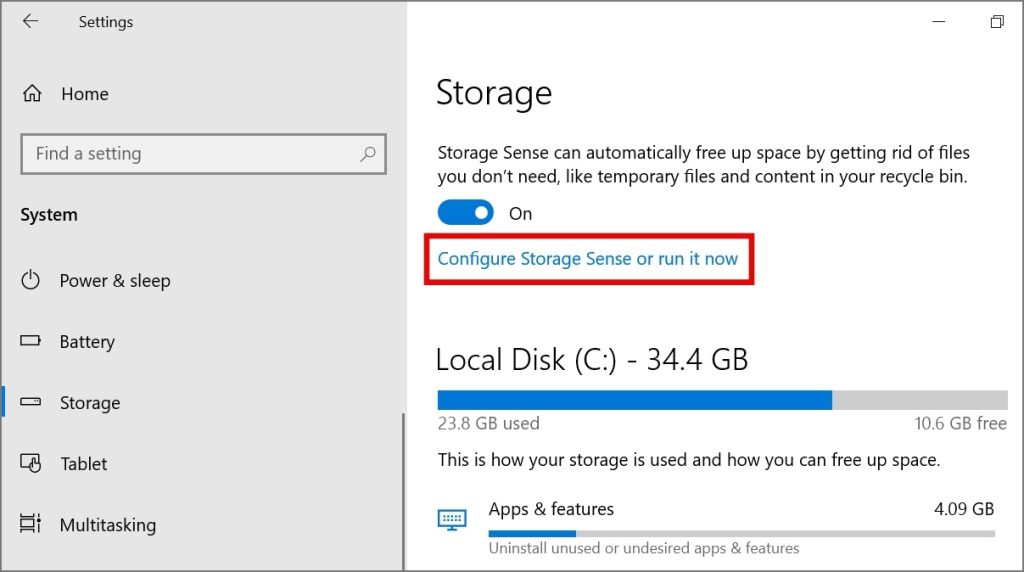
4. Afterward, you can configure settings as per your preference.
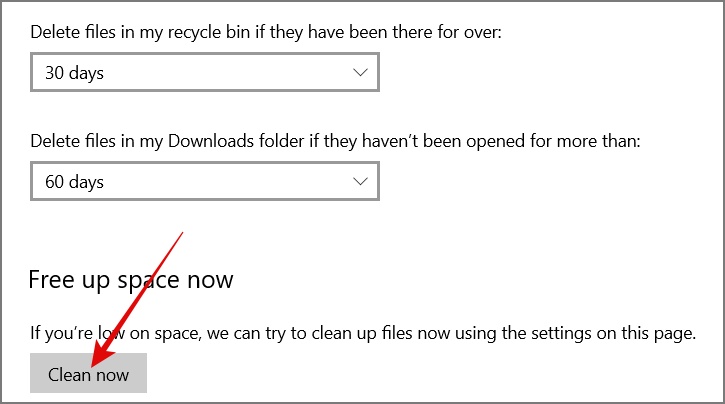
Also, similar to Windows 11, if you wish to manually run Storage Sense, you just need to hit the Clean now button.
2. Using Microsoft PC Manager
In 2022, Microsoft introduced a new tool for Windows 10 and 11 called Microsoft PC Manager. This simple tool enables you to clean temporary files and manage memory usage. The app also offers an option to automatically delete temporary files, helping you keep your computer free from unnecessary clutter. Here’s how it works:
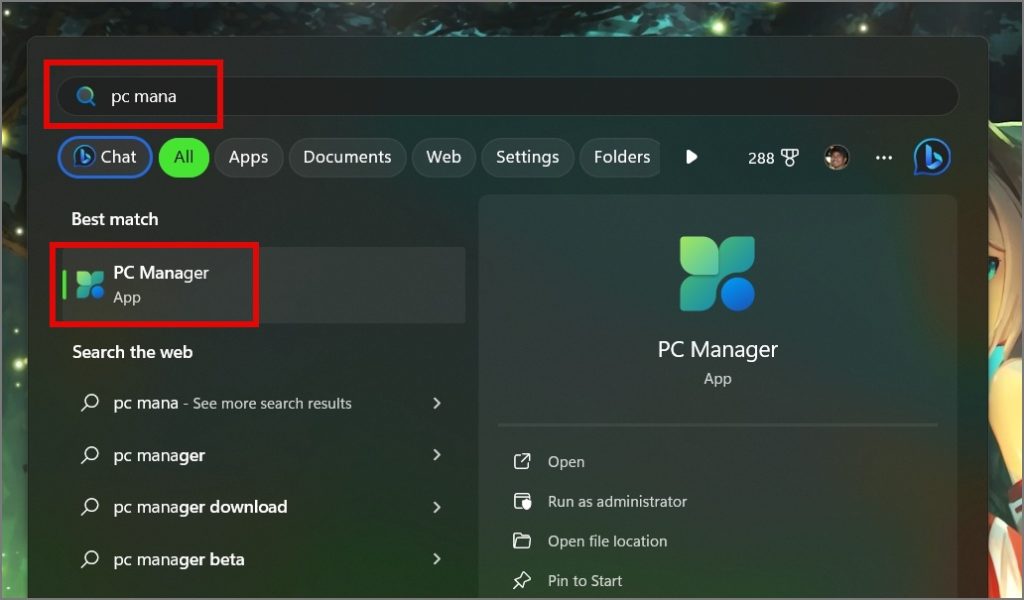
1. Download the Microsoft PC Manager app if you haven’t already and then open the app.
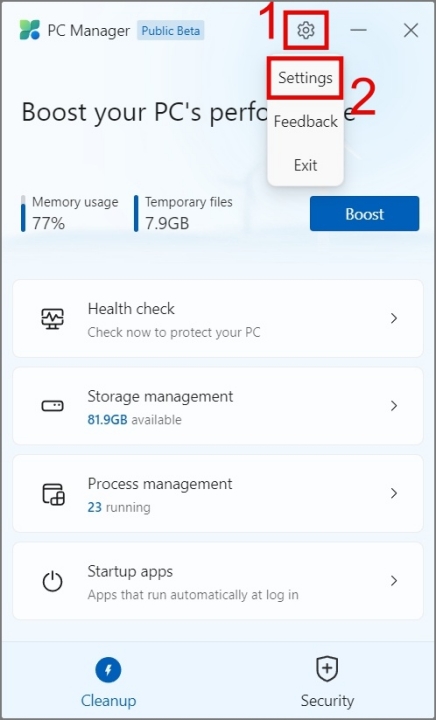
2. Next, click on the Gear/Cog icon and select the Settings option.
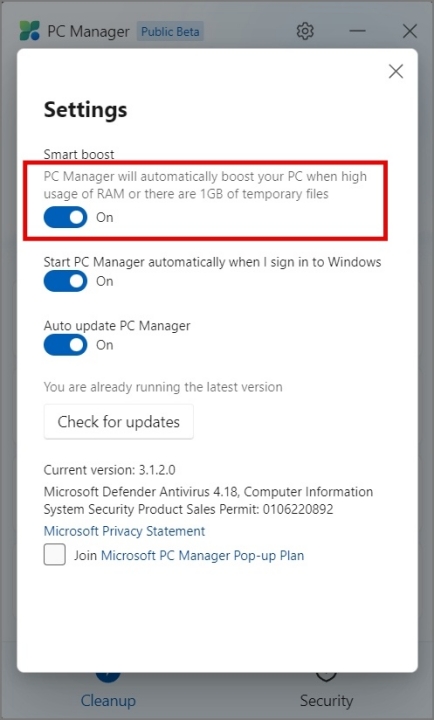
3. Lastly, enable the toggle next to “PC Manager will automatically boost your PC”.
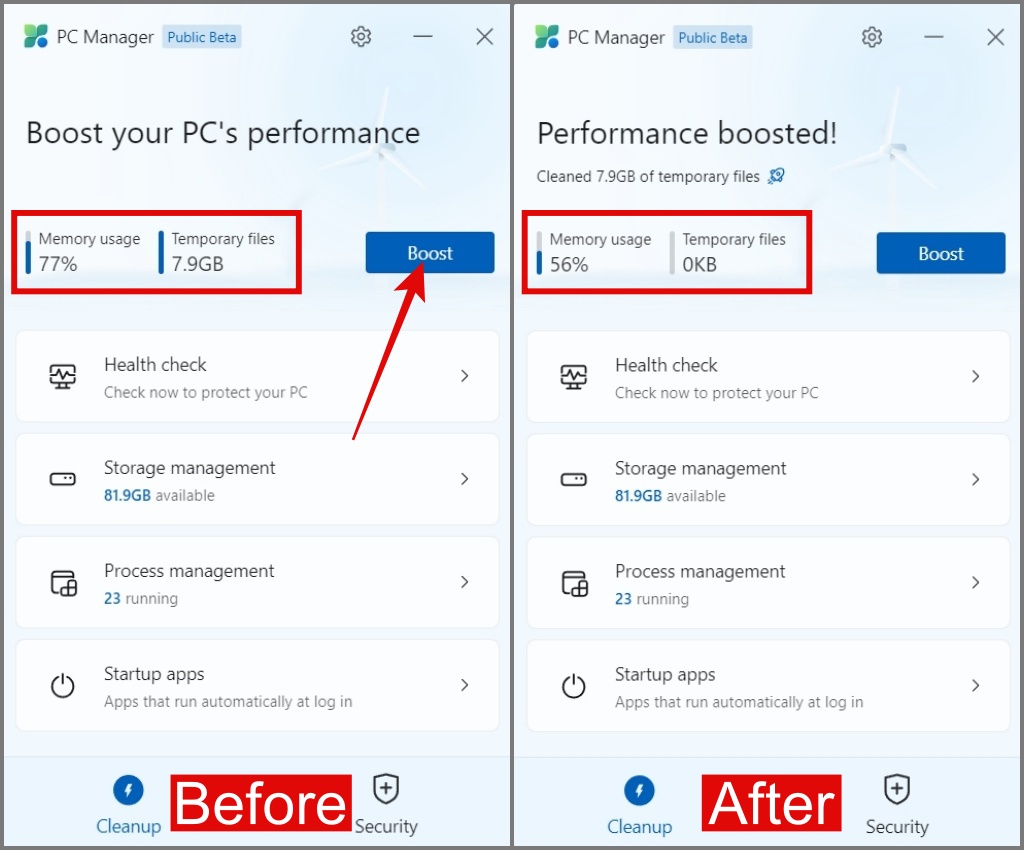
In case due to some bug, the PC Manager was unable to auto-delete the files, you can manually clear out the data. To do so, just click on the Boost button and it will instantly delete all the temporary files from your computer along with memory usage.
3. Using Command Prompt
When using the command prompt, you not only have the capability to delete older files but also the flexibility to choose when to delete them based on the number of days. Let’s begin:
Note: If you want to reverse the action of the “ForFiles command” and stop it from automatically deleting files, you can’t directly reverse the action using the same command. So basically you have no other option than moving the folder’s content to a different location.
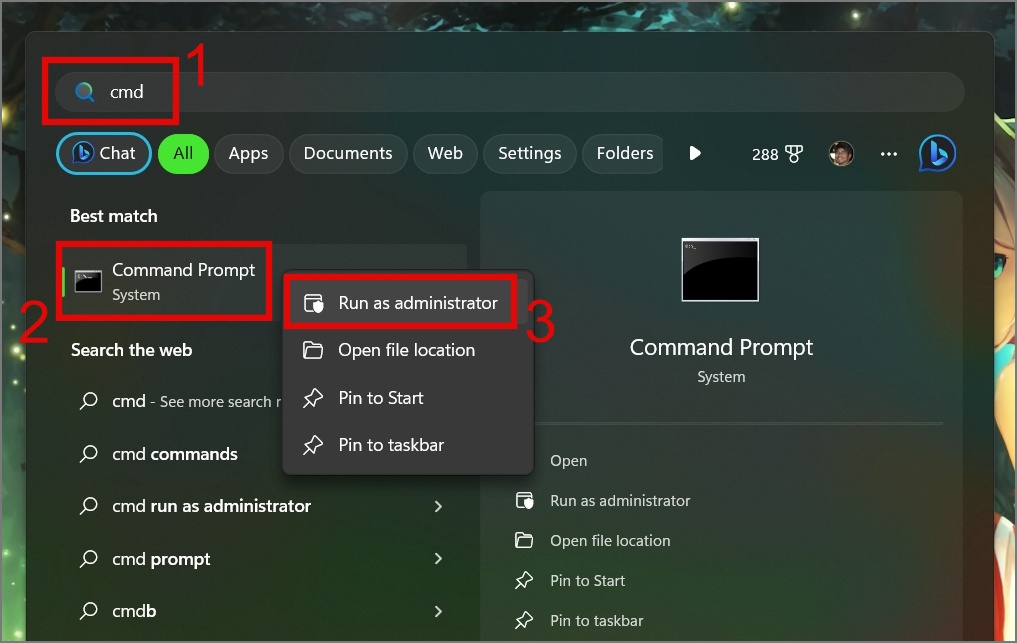
1. Launch the Windows Search (Windows Key + S) and look for Command Prompt. Once found, right-click on it and select Run as administrator option.
2. Next, enter the following command to delete the specific files that you haven’t modified in 30 days:
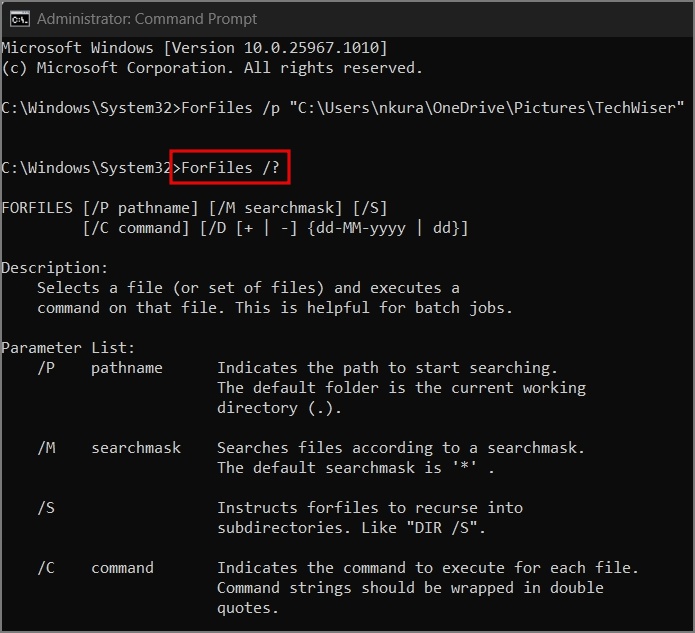
ForFiles /p "C:\Path\To\Folder" /s /d -30 /c "cmd /c del /q @file"Here’s what the ForFiles command does:
- /p – tells the ForFiles where to begin looking for files.
- /s – makes the command search in subfolders too.
- /d – specifies the last modified date for a file.
- /c – Instruct the ForFiles to do something with the files. It’s usually ‘cmd /c del @file.’
- /q – won’t ask for your confirmation to delete files.
If you want to learn more about each command in detail, you can use the ‘ForFiles /?’ command (without quotes).
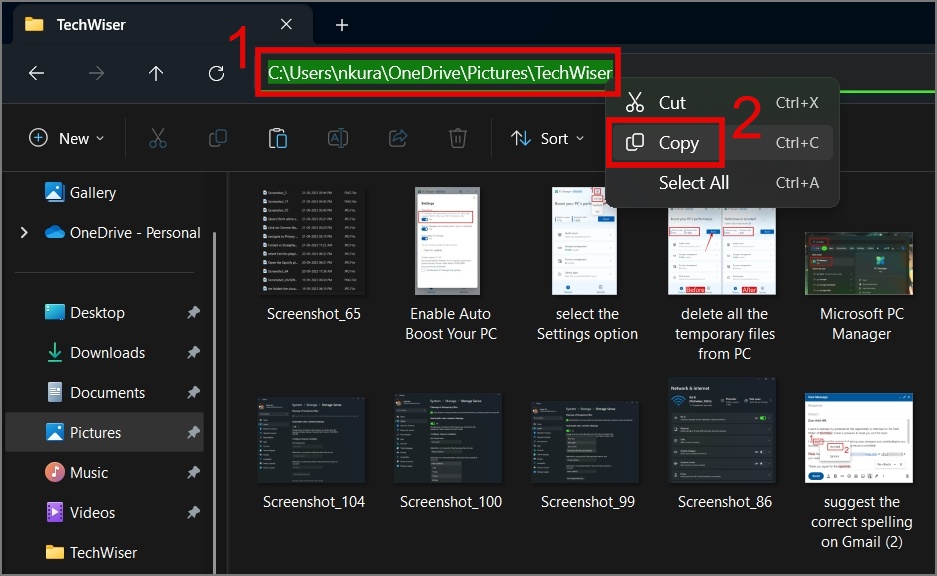
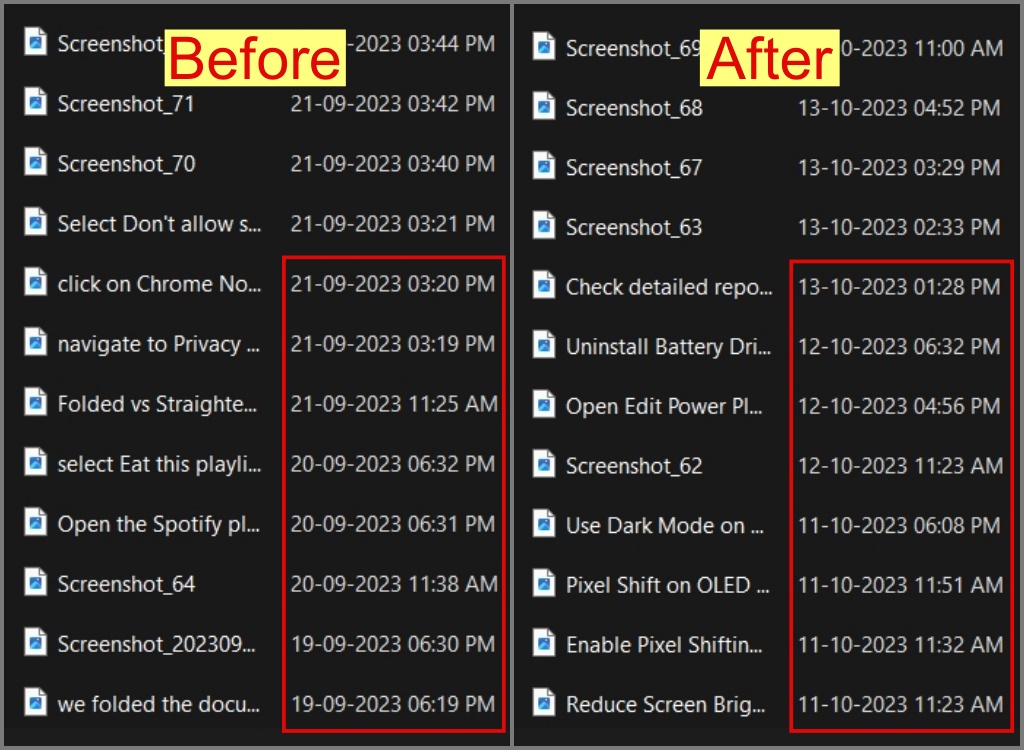
For instance, we substituted ‘C:\Path\To\Folder’ with our specific folder location. Additionally, we adjusted the modified date from 30 to 15 to suit our needs.
ForFiles /p "C:\Users\nkura\OneDrive\Pictures\TechWiser" /s /d -15 /c "cmd /c del /q @file"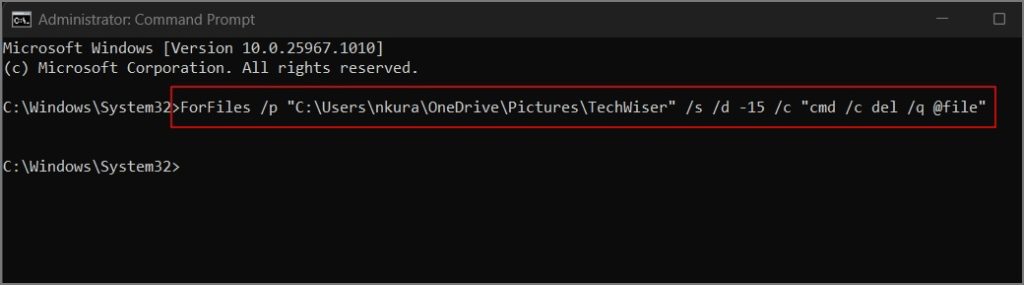
As you can see from the image below, it instantly deleted the old files that were not modified for 15 days.
Declutter Your Windows PC
Our Windows computers used to always be filled with lots of old screenshots and downloaded files, of which half become irrelevant as soon as our job is done with them. But thanks to the methods outlined above, we no longer have to manually delete old files. The only thing we have to keep in mind is not to add any important files to the folder set for auto-deletion, or at least move these files to another location. We hope the above guide was useful for you as well.
Before you leave, you can also learn the key difference between Command Prompt, PowerShell, and Windows Terminal.