Zoom’s automated live caption helps transcribe spoken language into text or captions allowing everyone to understand what is being discussed in meetings and conferences. Live caption works as a hearing aid for individuals with auditory impairment or comes in handy when audio is unavailable/unclear or you are facing difficulty understanding the speaker’s accent. Here is how to enable automated live captions in Zoom and the prerequisites you need to take care of.
Table of Contents
What Is Automated Live Captions in Zoom
Automated live captioning is a real-time conversion of spoken language or audio to text during live events such as presentations, meetings, webinars, and video conferences. Live captioning is made possible with the help of speech recognition algorithms. It has gained popularity with the increase in the use of video conferencing platforms post covid lockdowns and the increase in work from home workforce.
Requirements to Use Automated Live Captions
Although automated live captions are accessible on Zoom for both desktop and mobile, there are a few prerequisites for using it. Zoom enforces a new version every 3 months. The life of the version is 9 months after which it is mandatory to update to the latest global minimum version for using Zoom.
1. Zoom web client or desktop software should be updated to the global minimum or the higher version for Windows, Mac, and Linux.
2. The Zoom mobile application should be updated to the global minimum or the higher version for iOS and Android.
3. To view live captions, the host needs to enable it.
How to Enable Automated Live Captions on Zoom
Live captions have been available to paid Zoom users for a long time. However, it was made available to all Zoom users for free by late 2021. In Zoom, for a participant to view captions, it first needs to be enabled by the host of that meeting. Here is how to enable and use it.
Enable Automated Live Captions
1. Sign In to your Zoom account from your preferred web browser.
2. From the list of options on the left side, click on Settings.

3. Select In Meeting (Advanced).

4. Enable Automated captions here.

5. A confirmation will be required to access the feature, click on Enable.

Note: The changes will not apply to an ongoing meeting. A new meeting will be required to reflect the changes.
How to Use Automated Captions in Zoom Meetings
During a meeting live captions are turned off by default, here is how to enable it on desktop and mobile.
On Desktop
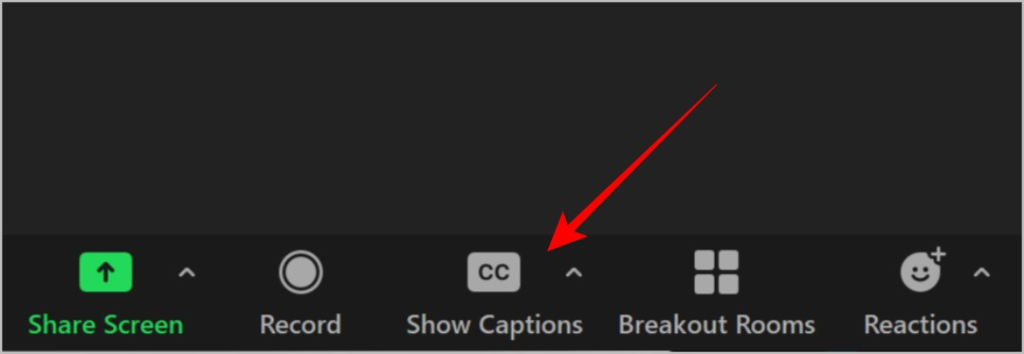
1. In your Zoom meeting on the desktop, click on Show Captions.

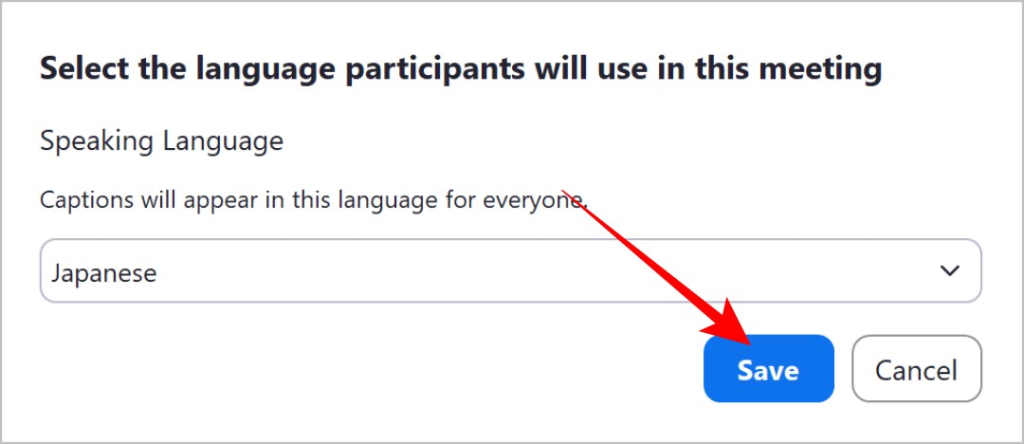
2. A confirmation will appear to confirm the language, which is English by default. Click on Save.

The process to enable the live captions is similar in the case of a group of users or individuals. We have shown the process for a host. Refer to the Zoom support page for clarity on how to enable live captions for a user or group of users.
Tip: If you want to improve and deliver a more engaging experience on Zoom, we have compiled a list of Zoom apps to help you with that.
On Mobile
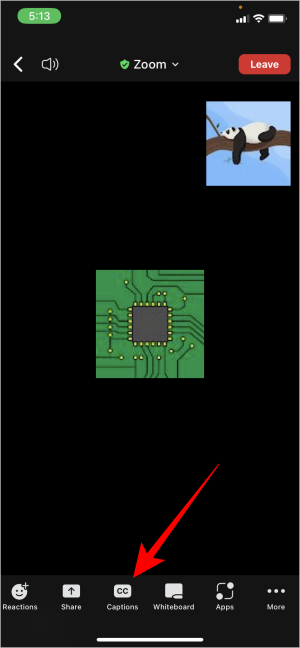
1. In your Zoom meeting on the mobile, slide the options present at the bottom and tap on Captions.
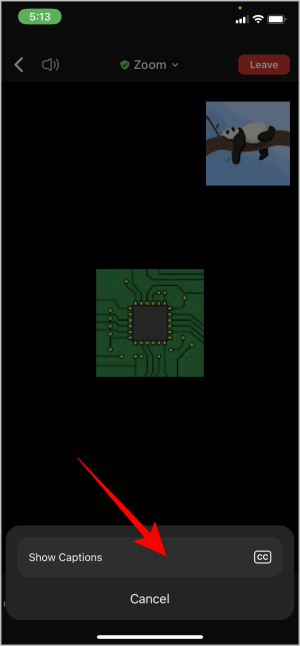
2. Tap on Show Captions.
How to Request Automated Live Captions
In a meeting, the participants can only use live captions if the host has enabled it for the particular meeting or webinar. In case the live captions are not available, here’s how to request.
1. In the bottom toolbar, click on Request Captions.

2. A confirmation will pop up for sending the request to the host. Click on Send.

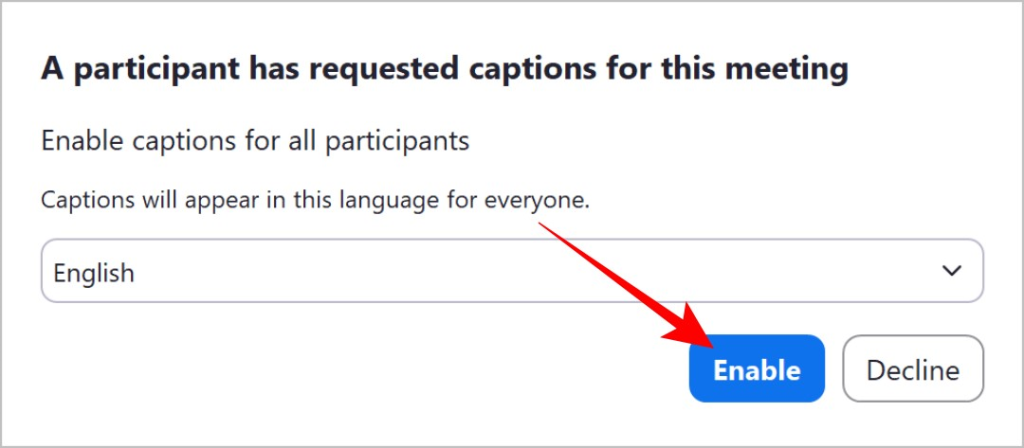
3. The host will receive a notification for enabling the caption. Once confirmed, participants can use live captions in their meetings.
Note: Mobile application users do not have the option to request captions. Use the desktop version for requesting the captions.
Limitations of Using Live Captions
The HIPAA security rule is a set of national standards that aim to safeguard the electronic personal health information of individuals that is created, received, used, or maintained by a covered organization. HIPAA-enabled accounts do not have access to automated captions. To enable this, contact your administration to update the account.
How to Change Language
By default, captions in Zoom are generated in English. This can be changed according to the language of the speaker for the automated live caption to work. Zoom supports more than 30 languages for automated live captions.
On Desktop
1. In your Zoom meeting over the desktop, click on Show Captions.
2. You will see a confirmation to verify that the language is English by default. Click on the drop-down, and a list with all the languages will appear.

3. Select the language of the speaker from the drop-down.

4. Click on Save and the changes will be applied.
5. To change the language after enabling the captions, click on the up arrow next to the Closed Caption button.

6. Under Your Caption Settings, click on Speaking language.

7. Select the language and the changes will be applied.

On Mobile
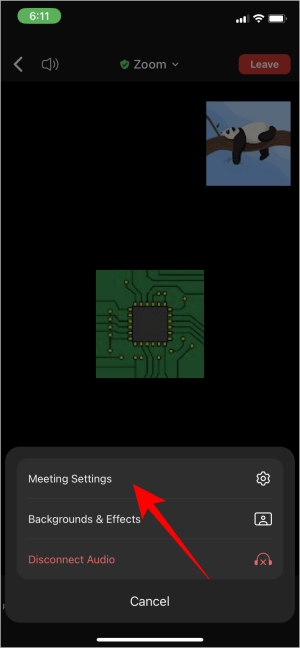
1. Slide the options available at the bottom of the meeting. Tap on more.

2. Tap on Meeting Settings.
3. From the list of settings, tap on Speaking Language.
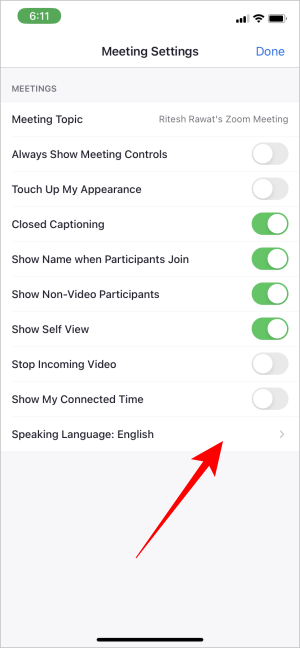
4. Select the language of the speaker and tap on Done.

What Is Manual Caption
With manual captions, a participant in the meeting selected by the host manually types the captions. A host can also type the captions manually in place of any participant. Manual captions can be more accurate than automated live captions.
FAQs
1. What factors affect the accuracy of Automated Live Captions?
Automated live caption are AI-generated captions and it keeps getting better with time. Accuracy can be affected by internet connectivity, the language of the speaker, the speaker’s audio clarity, and audio volume.
2. Can we save Closed Captions?
Yes, closed captions can be saved during and after a meeting. To enable the settings for saving the closed caption, in your browser open the Zoom account then go to Settings > In Meeting (Advanced) > Save Captions.
3. Can we use a third-party caption generator?
Third-party generators can be used in Zoom to generate highly accurate captions. This feature is available under the manual caption generator.
4. What is the difference between Subtitles and Closed Captions?
Captions are a written version of what the attendees are saying in a video in real time. On the other hand, subtitles are translations of what’s being said in different languages. Both are super helpful for people who can’t hear the audio.
Tip: Here are some handy Chrome extensions that may help you have a better Zoom meeting.
Automated Live Captions in Zoom
Automated live captions in Zoom are an essential part of a meeting helping the participants better communicate and understand. While manual captions may be more accurate, automated captions provide a more convenient solution by utilizing the audio from the meeting to generate captions in real-time. It’s like having a personal stenographer at your fingertips!