iOS 17 brings the cool contact posters feature that lets you set full-screen photos for incoming calls on iPhone. The same contact posters will be sent when you share a contact using the iOS 17 Name Drop feature. So if you have been wondering how to edit and customize the contact poster on iPhone, you have arrived on the right page. Let’s check the best tips to customize contact posters.
Note: The following contact poster tips can be used to customize your own or someone else’s contact posters on your iPhone.
Table of Contents
1. Set Full-Screen Photo for a Contact
One of the first things that you can do to customize contact posters on an iPhone is to set a full-screen picture. To set a custom full-screen photo for your own contact, follow these steps:
1. Open the Contacts app and tap on the first contact at the name. It’s your own contact card.

2. Tap on Contact Photo & poster followed by Edit.

3. Tap on the Customize button under the existing poster and select Poster to go to the contact poster customization screen.

4. Then, tap on Photos and select the photo that you want to use. If you don’t see your photos directly, tap on the Gallery icon at the bottom.
5. Then, use the pinch gesture to zoom in and out of the photo. Finally, tap on Done.
Note: If you don’t see the Photos option, tap on + instead of the Customize button.

Tip: Know how to set full-screen photos for incoming calls on Android.
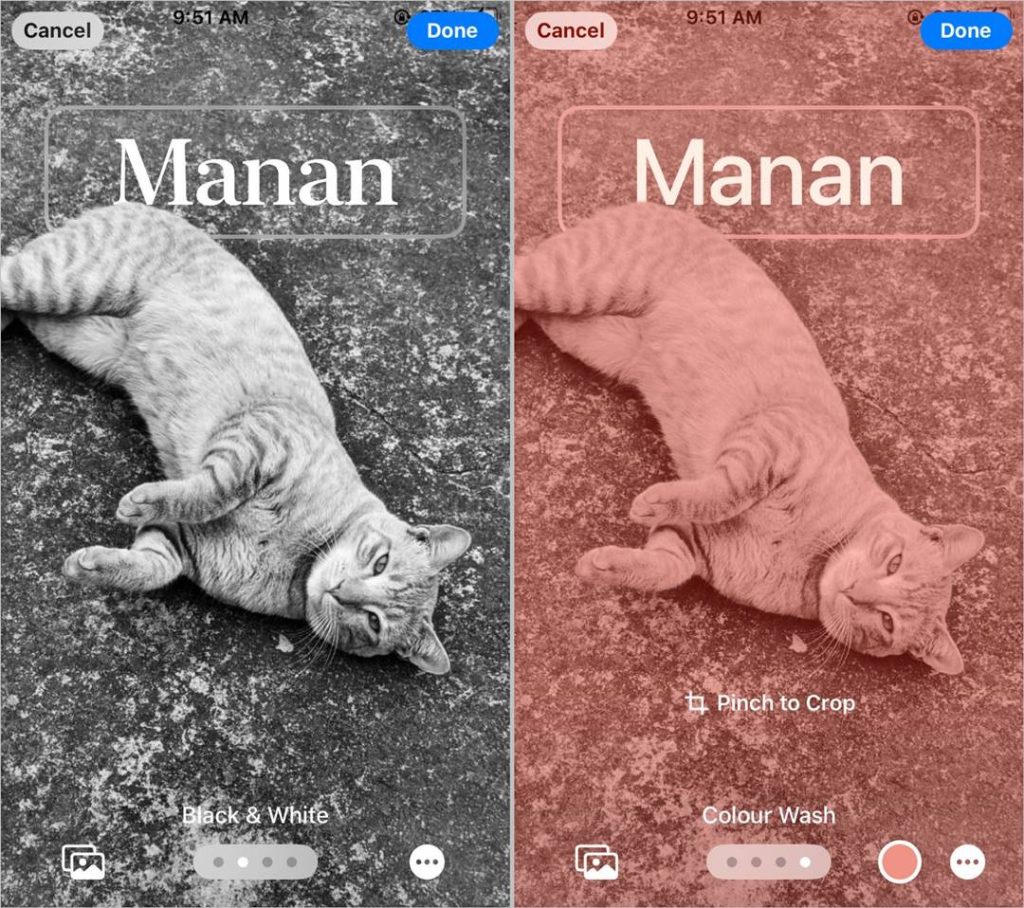
2. Add Effects to the Photo
When you capture a photo or use it from your gallery as a contact poster, swipe right or left on the editing screen to switch between different photo effects.
Tip: Know how to make a photo black and white except for one color.
3. Add Depth and Other Effects
While editing photos for contact posters, look at the bottom-right corner. You will get additional editing tools like the ability to add depth effects, add color to the photo, and other things. Tap on an effect to add or customize it.

Tip: Know how to fix blurry wallpaper on your iPhone.
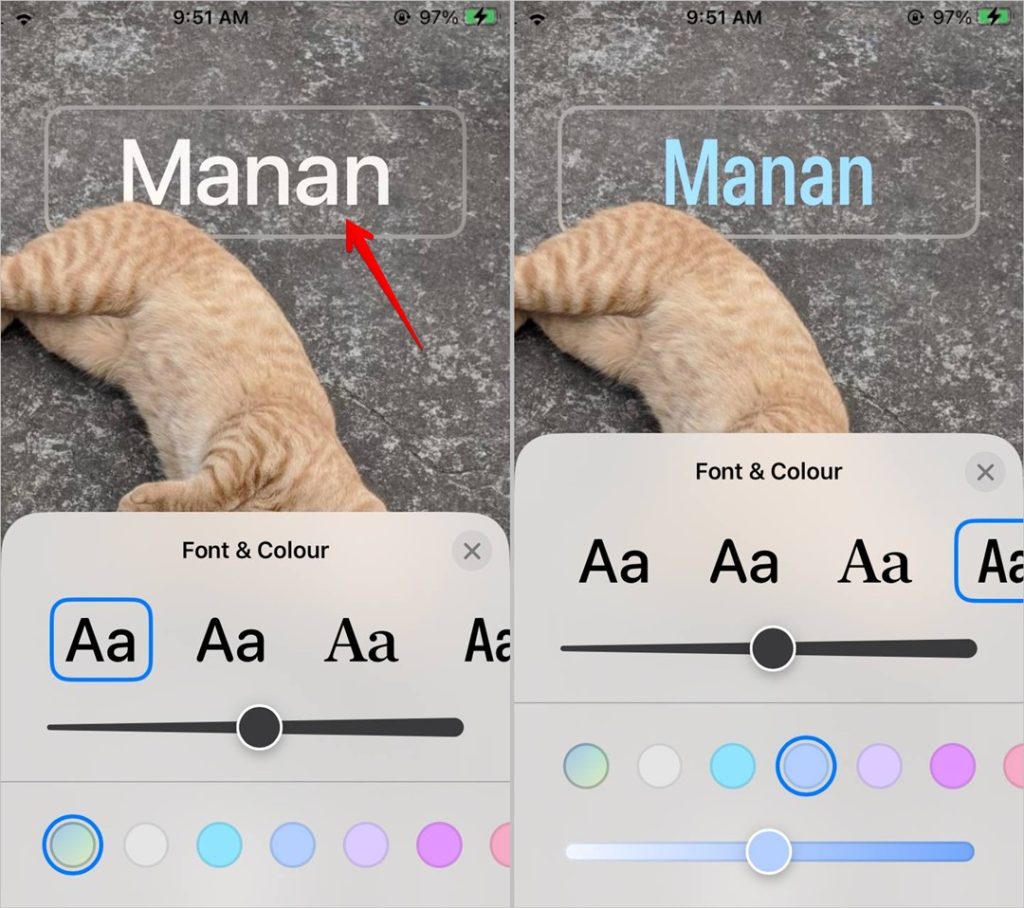
4. Customize Name Font Size, Style, and Color
In the contact poster editing mode, tap on the contact name to reveal the Font & color window where you can change the font size, style, and color. Use the slider to adjust the font size or select a color from the list.
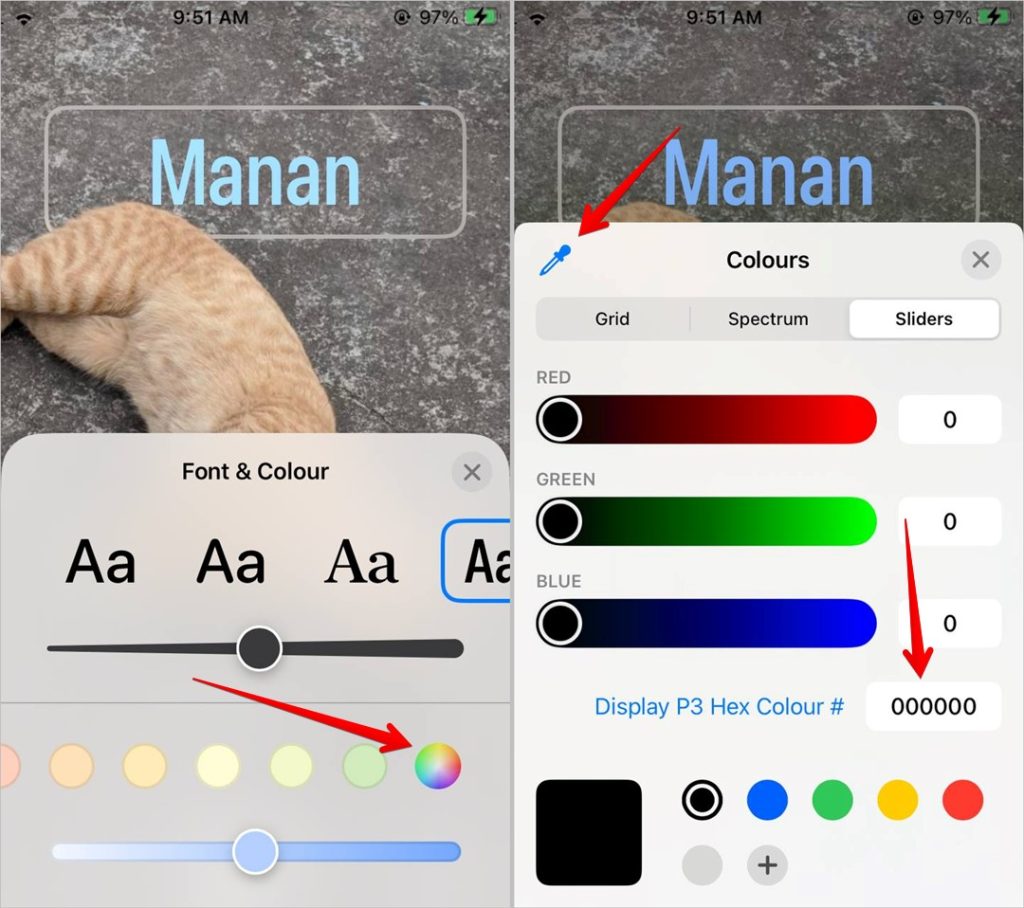
What’s even more interesting is that you can choose any custom color. For that, go to the last color and tap on the color palette icon. You can even add a Hex code of the color under the Sliders tab. Or use the color picker tool available at the top-left corner to select a color from your image.
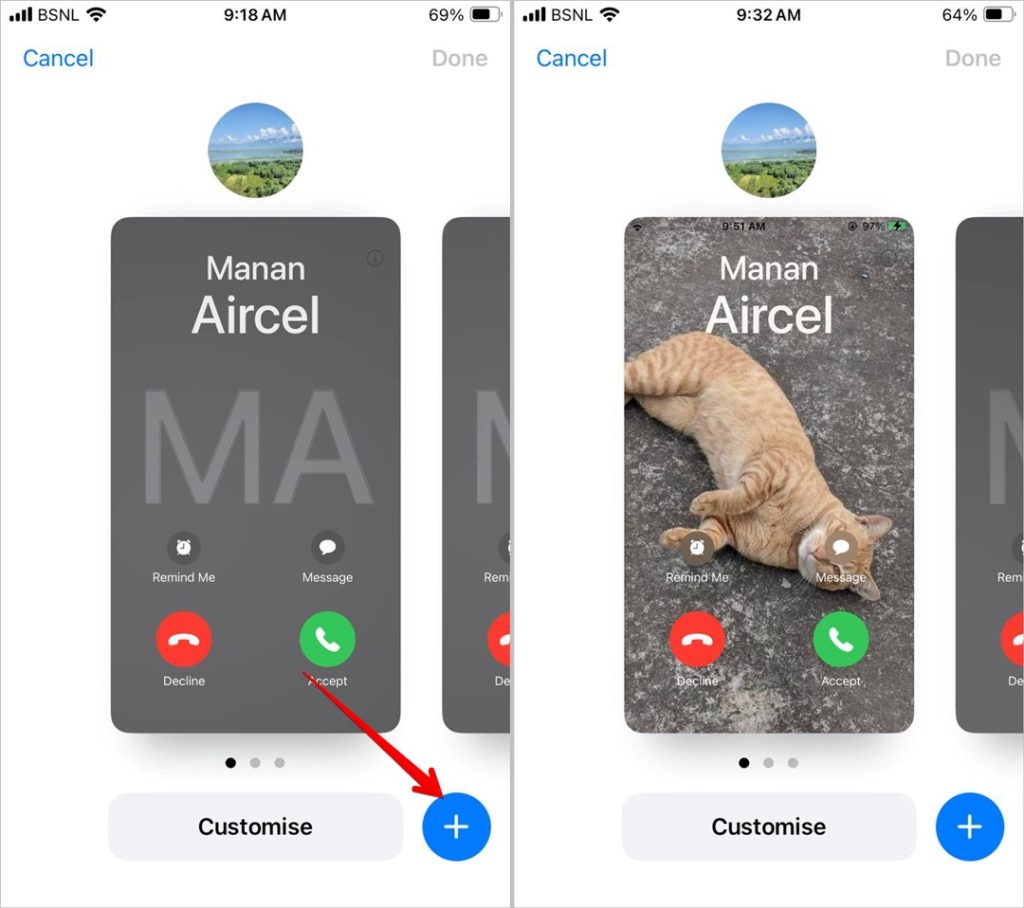
5. Create Multiple Contact Posters
In iOS 17, not only can you create one contact poster but you can have multiple contact posters for each other. If you get bored of one poster, you can quickly switch to the other one. To create multiple posters, go to the Contact poster screen. Now, instead of tapping Customize under the current poster, tap on the + (plus) button. Then, create and edit a contact poster as shown in the tips.
Once you have created more than one contact poster, swipe left or right to see the other posters. Tap on the poster that you want to set as the default poster.
Note: If you have created a poster with a photo, you will have to create a new poster with memoji or initials. You cannot change the existing poster to a different theme.
6. Create a New Memoji
In addition to photos, you can even use a memoji on your contact poster. But what’s interesting is that you can directly create a new memoji matching the particular contact.
Create a new contact poster and tap on the Memoji button. Then, press the + (plus) icon to create a new memoji. Customize the memoji as per your preference.

Tip: Know how to edit memojis on iPhone.
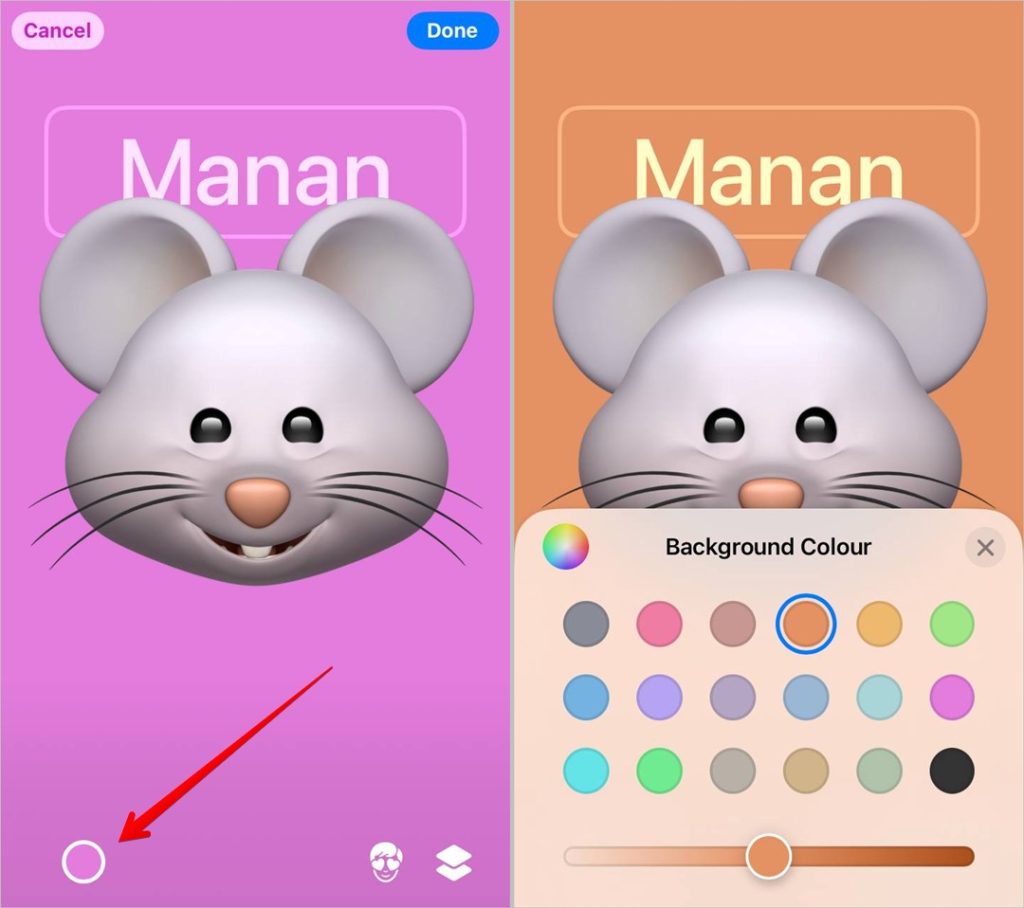
7. Change Background Color of Memoji Contact Poster
After creating or selecting a memoji for the contact, tap on the color icon at the bottom-left corner. Select the background color for the memoji poster. You can also tap on the Color palette icon on the Background color window to select a custom color, add color using hex code, or use the color picker tool.
8. Customize Contact Poster Monogram
The third theme that you can use for customizing contact posters is the name monogram or the initials. You can use up to 2 initials
First, create a new poster and select the Monogram style from the poster style. Then, tap on the initial at the bottom-right corner to enter your preferred initials.

Tap on the contact name to open the Font & color window where you can change the font style and size for both the name and its monogram.

Tap on the Color icon at the bottom-left corner to change the background and font color of the monogram. The monogram color will change automatically according to the background color selected.

Tip: Know how to draw on photos on iPhone.
9. Delete a Poster
If you have created multiple posters for a contact, you can remove the unwanted ones. For that, go to the Contact poster screen. Swipe up on the poster that you want to delete and press the Delete icon to remove the poster.

Things to Know While Using Contact Posters on iPhone
- The contact posters that you create will show up for both outgoing and incoming calls.
- You cannot use the same poster for every contact.
- You cannot create contact posters in third-party apps and import them to the Contacts.
Customize Your iPhone
Customizing contact posters is similar to customizing the lock screen on an iPhone. Before you go, know how to customize StandBy mode on iPhone. Also, check out other hidden features of iOS 17 on iPhone.